29 December 2023
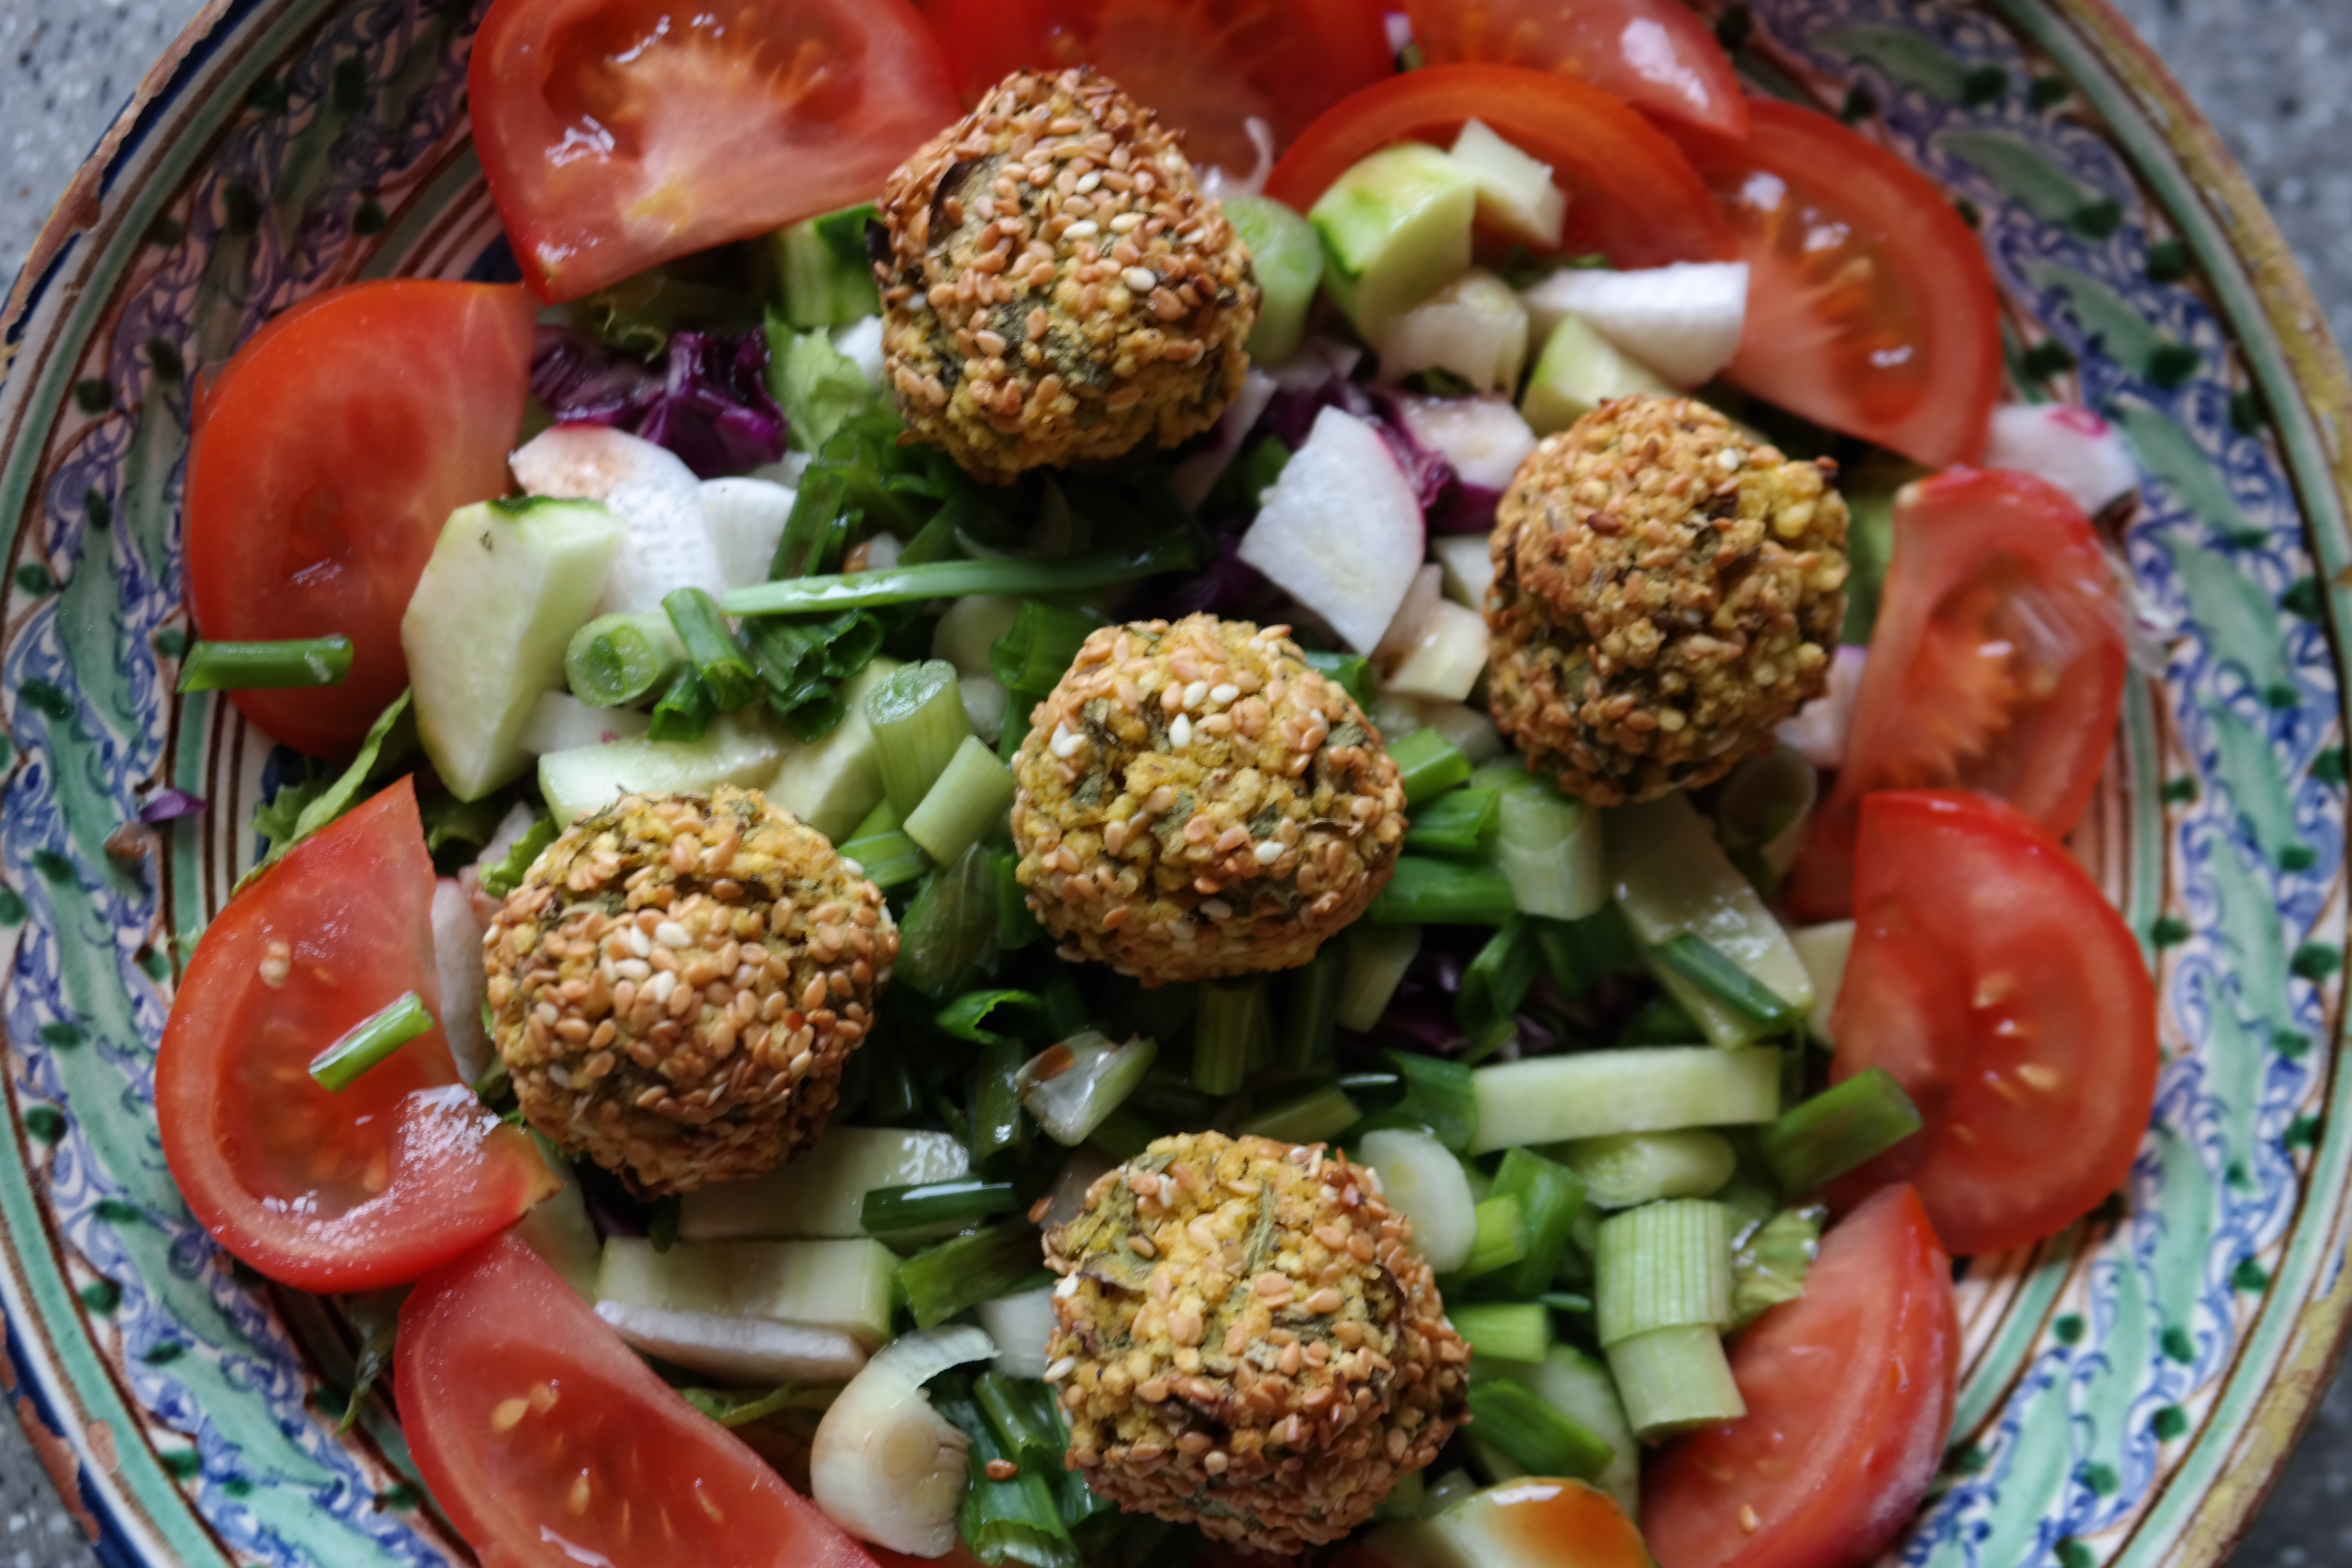
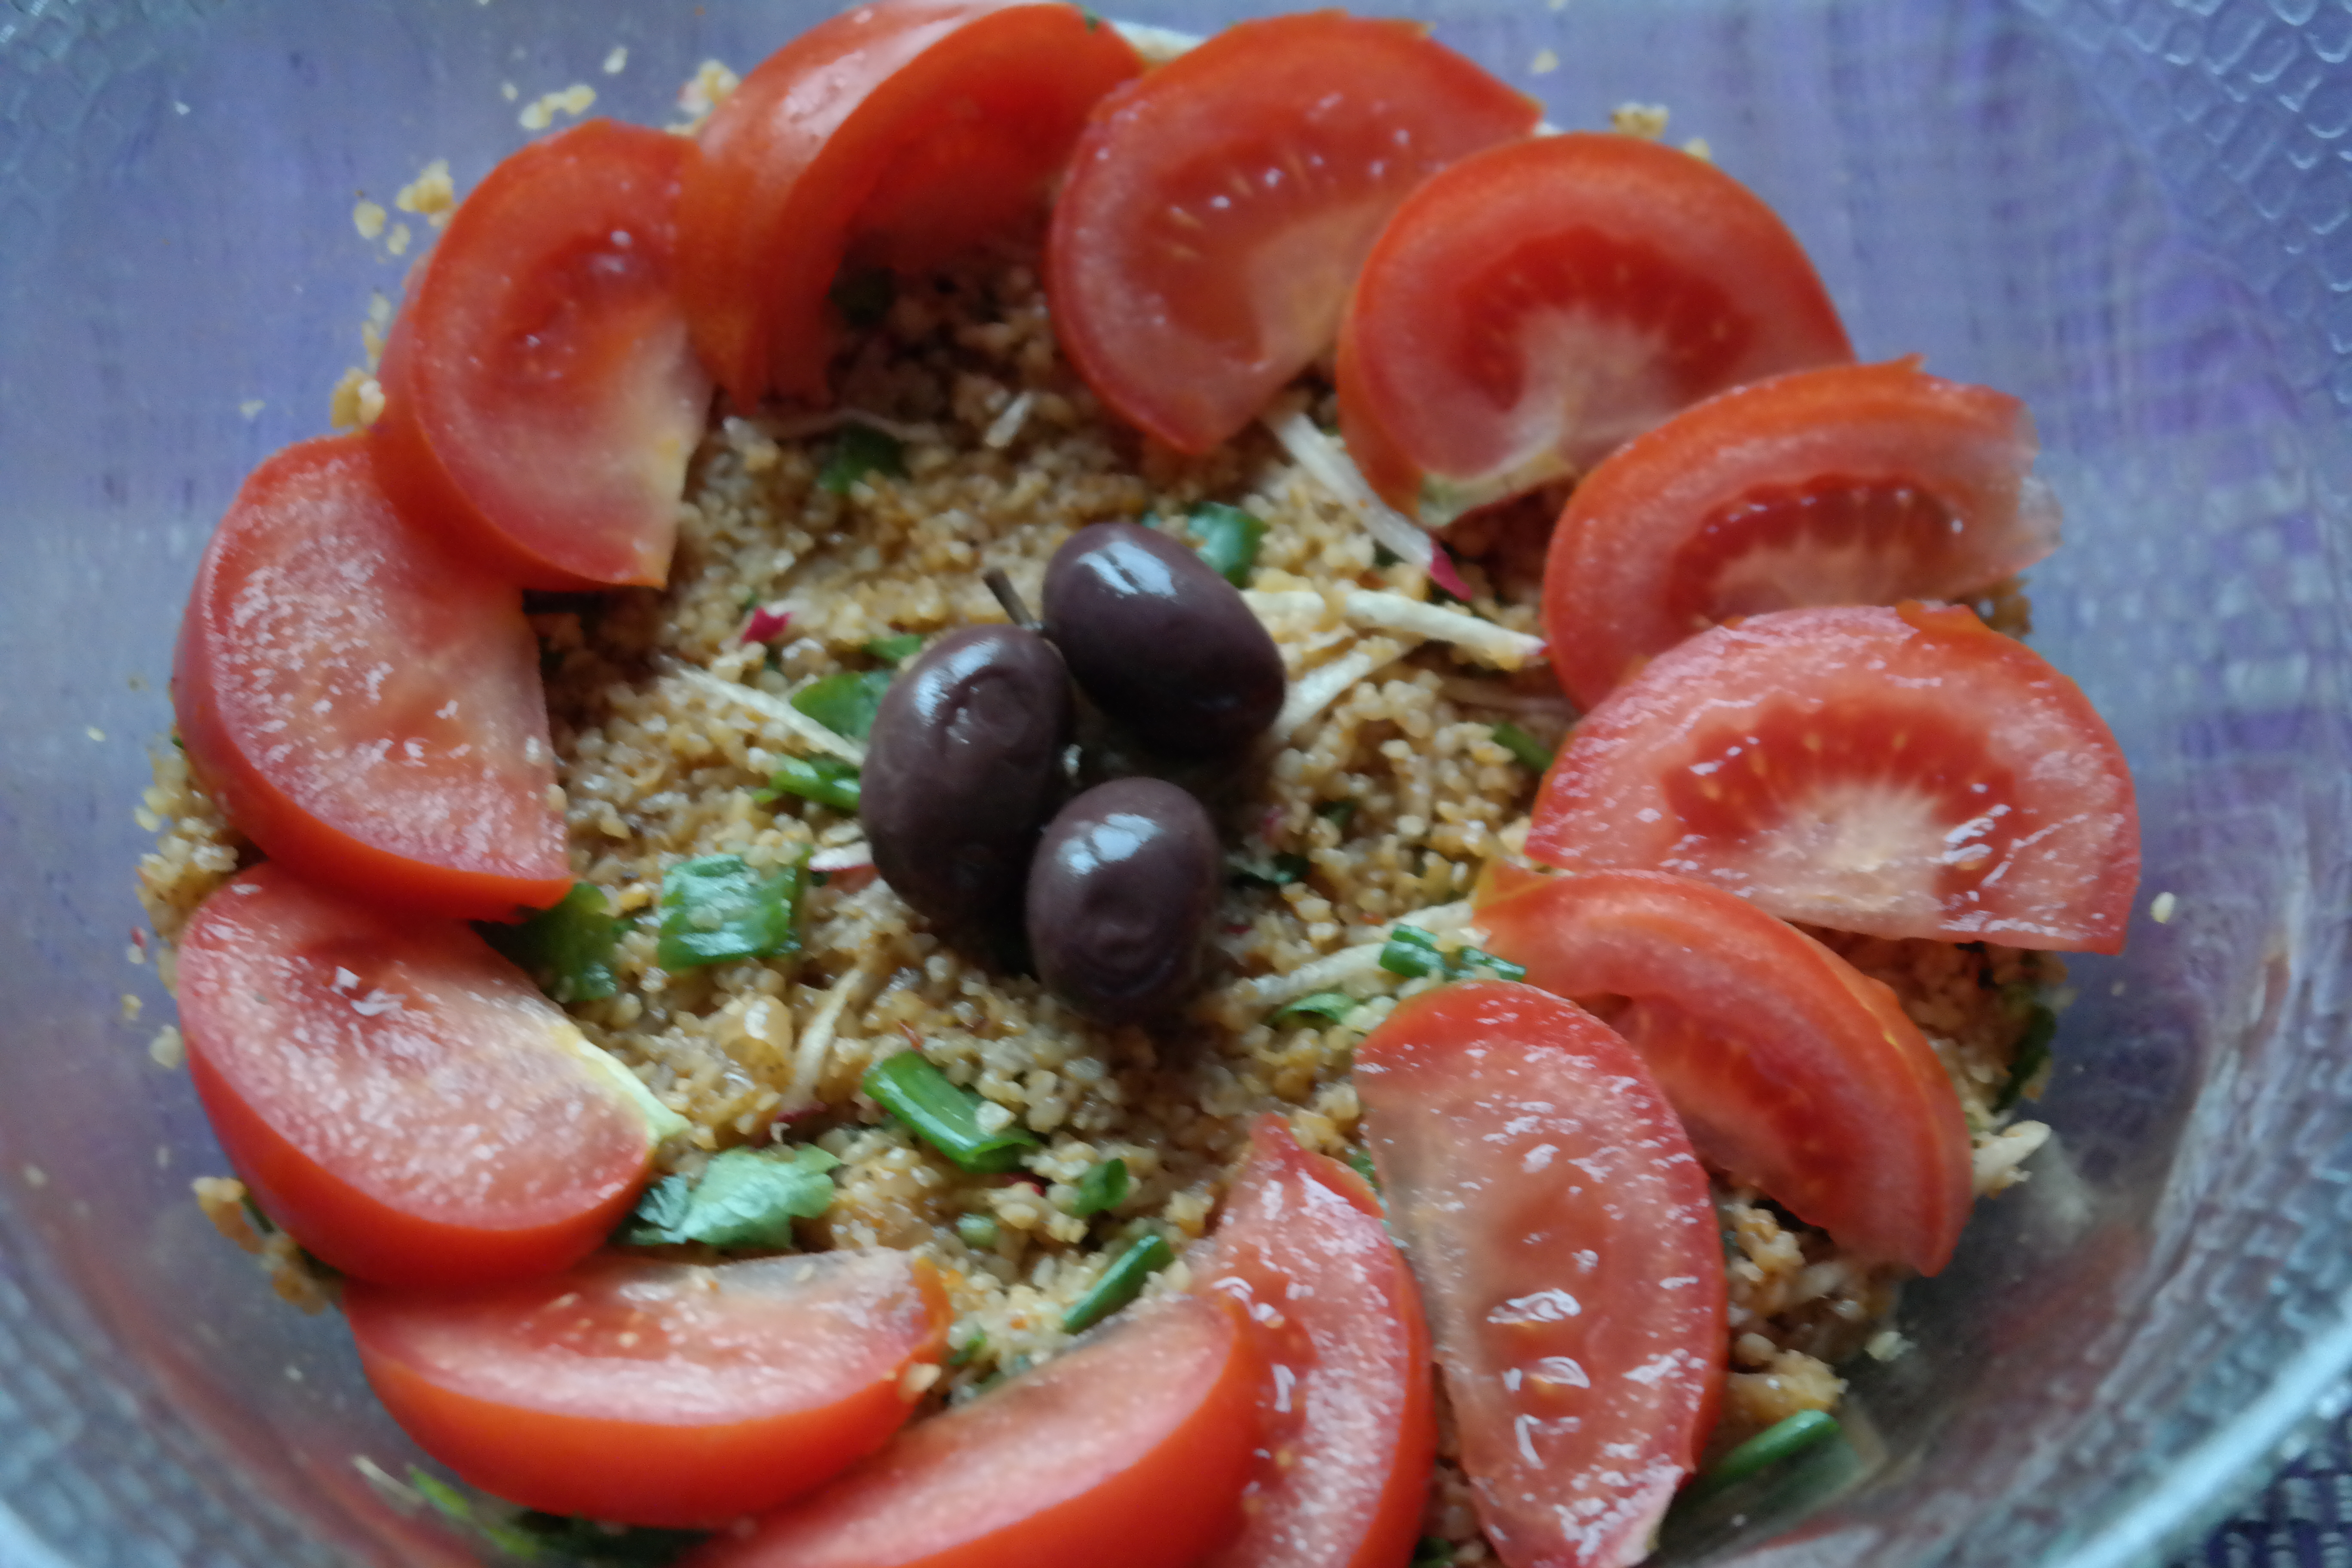
As 2023 draws to a close, let’s take a look at some striking winter salads to liven up the end-of-year table. To complement our perennial favourite, our Olivier (with an Edge) salad, we’re looking to a coleslaw variation to add some colour to the New Year’s Eve spread. With the new year just around the corner, KCC wishes all its readers a prosperous and peaceful 2024, full with culinary adventures and many more mouth-watering meals!

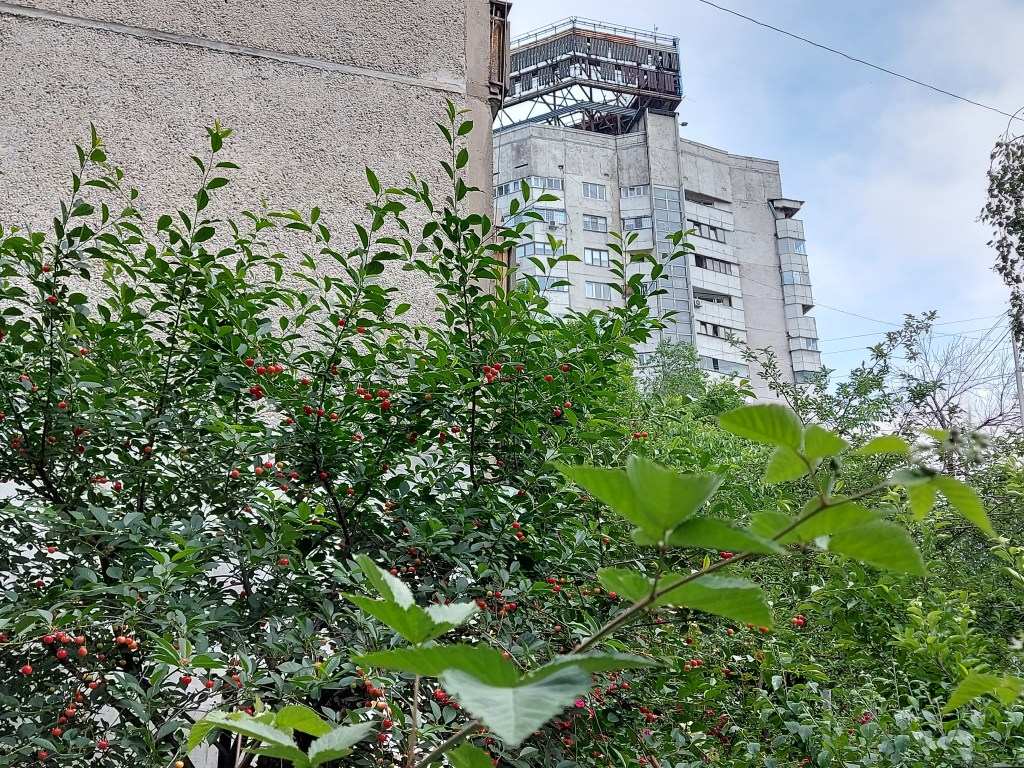
This winter has been a strange one here in Kazakhstan. We should be in the depths of winter now, but the snow didn’t arrive until the first week of December. Then there was a week or so of freezing weather with the temperature dipping to -28c, but now, as we approach the end of December, there’s very little snow on the ground in Almaty – it’s even been raining, which is really unusual at this time of the year.

The purple hues of red cabbage pair so well with the orange of carrots and the green of rocket. For a bit of bite, we’ve added some grated radish (we used green radishes, but you can use red radishes or mouli if you can’t find green ones), along with some grated pear and pomegranate seeds for a sweet and tart note. Add in some pumpkin and sunflower seeds and raisins before dressing with tahini and pomegranate sauce.
Ingredients (serves 3-4)
- 100 g shredded red cabbage
- 100 g grated carrot
- 50 g chopped rocket
- 50 g grated green radish
- 50 g grated pear
- 25 g pomegranate seeds
- 25 g raisins
- 1 teaspoon dried oregano
- 2 teaspoons pumpkin seeds
- 2 teaspoons sunflower seeds
- 1 tablespoon tahini
- 1 tablespoon pomegranate sauce
- a slice of fresh lime
Method
- In a large bowl mix the red cabbage, carrot, rocket, green radish, pear and pomegranate seeds together. Add the raisins, oregano, pumpkin seeds and sunflower seeds. Make a dressing with equal parts pf tahini and pomegranate sauce and thin with a bit of hot water to obtain a smooth consistency. Pour over the salad, stir well, give it a squeeze of lime and serve.