19 March 2025
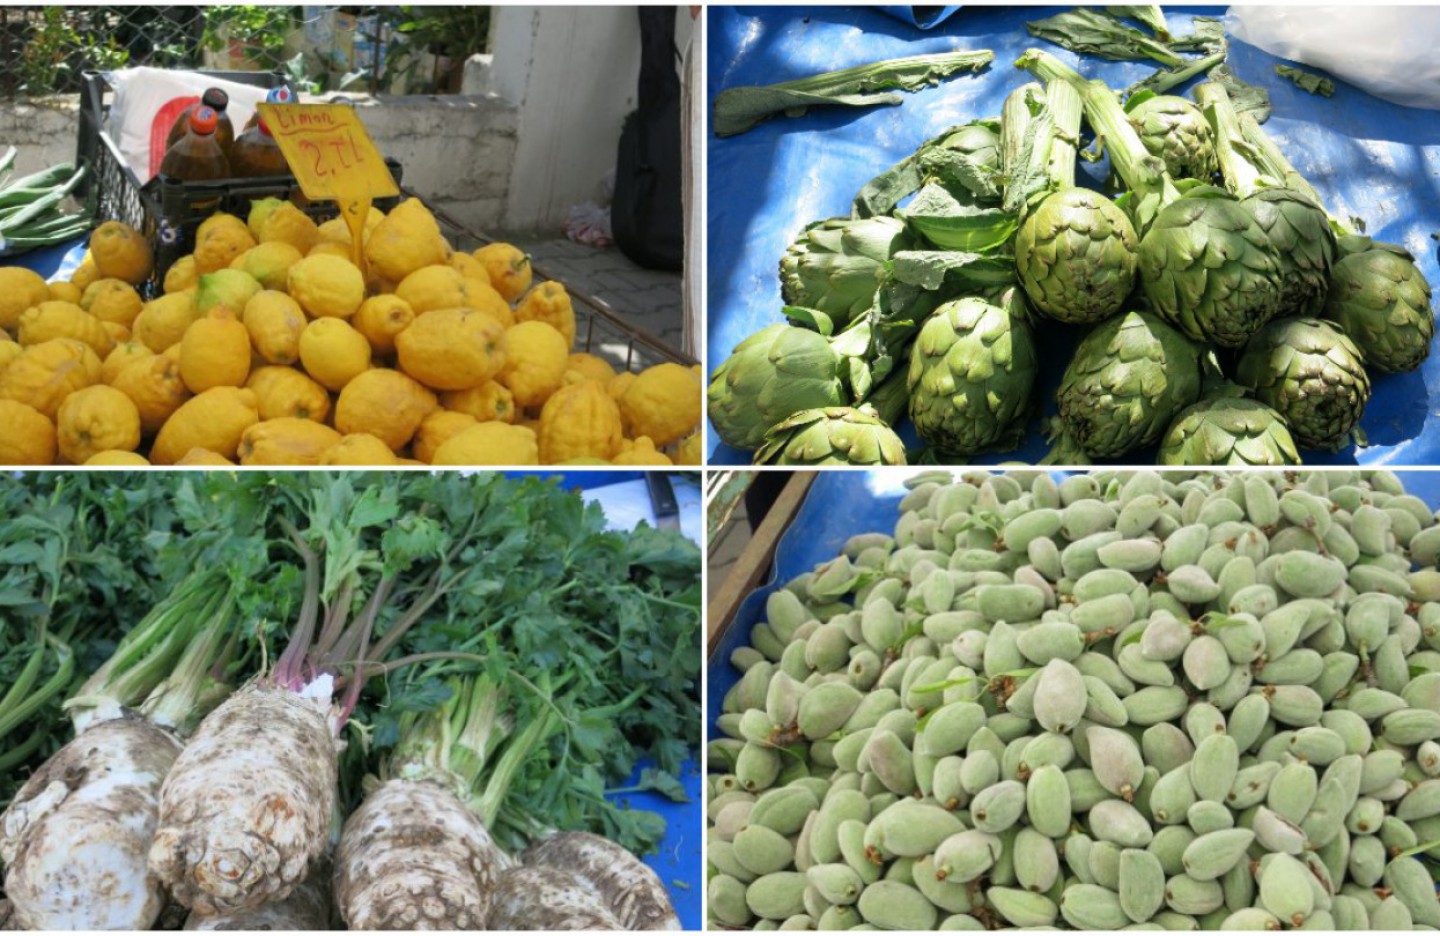
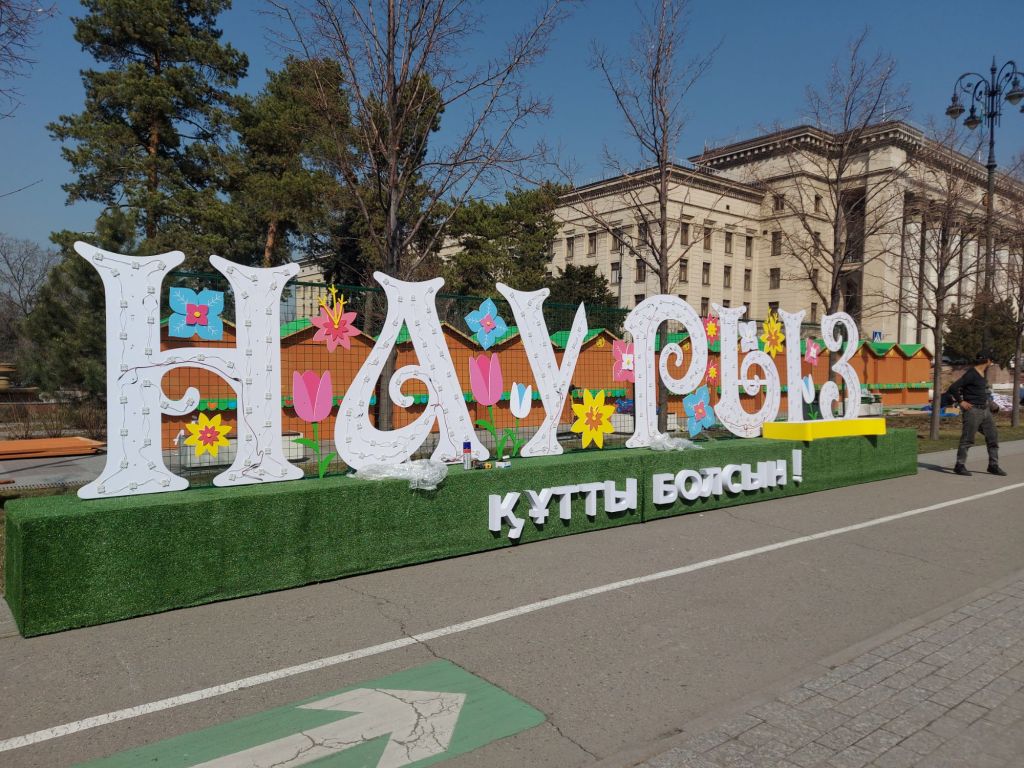
This weekend is Nowruz, a spring festival which originated in Persia some 3,000 years ago. Nowruz, or New Day, is a celebration of the end of winter and the start of a new year on the date when day and night are equal in the Northern Hemisphere – usually on or around the 20 – 21 March. The holiday is celebrated in Iran, Afghanistan, Azerbaijan and Central Asia, and in parts of Turkey, Syria, India, Iraq, Pakistan, Russia and China.
There are many traditional foods associated with the holiday – Uzbekistan has sumalak, a paste made from what flour, sprouted wheat and oil. Kazakhstan has Nauryz Kozhe, a soup made from seven ingredients: barley, meat, kumis (fermented horse milk), onion, garlic, water and salt.

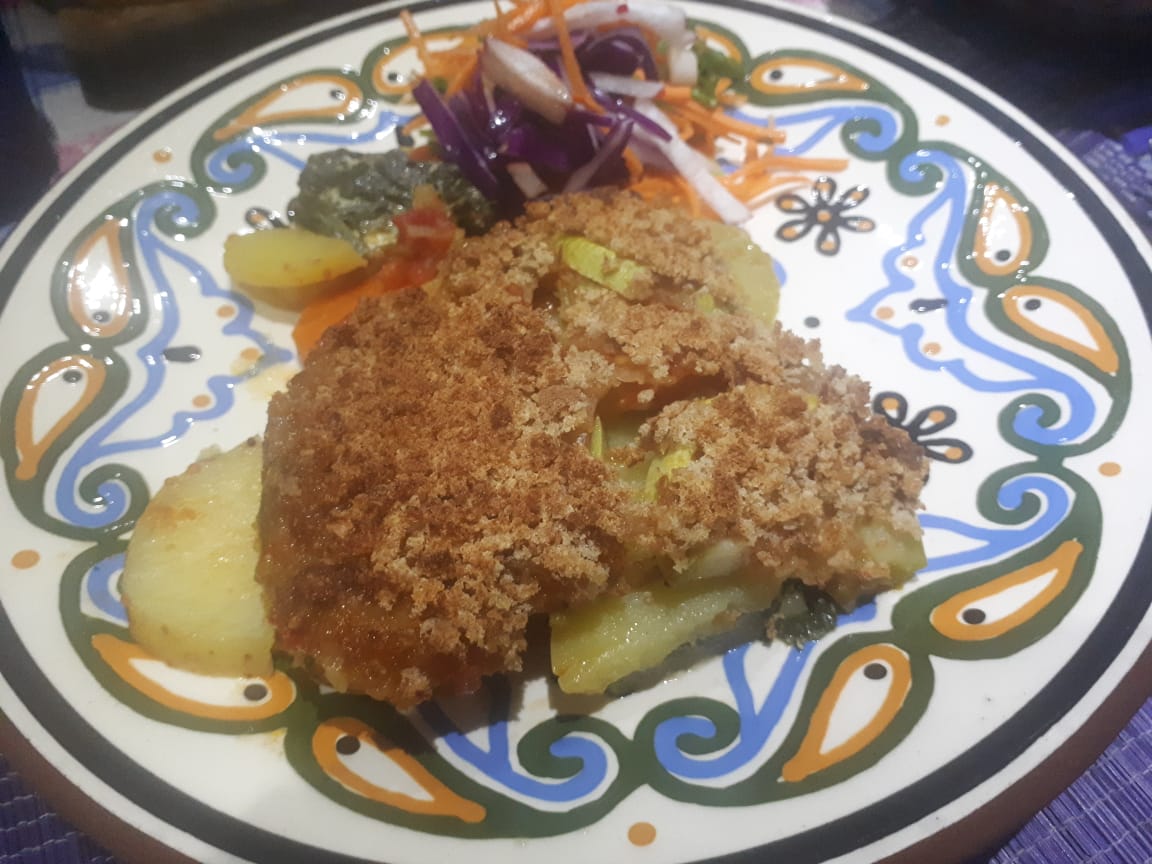
Iran’s Nowruz table features the wonderfully named Kookoo Sabzi, sometimes written as Kuku – a herb-filled cousin of Italy’s frittata. The fresh herbs represent rebirth, while the eggs stand for fertility.
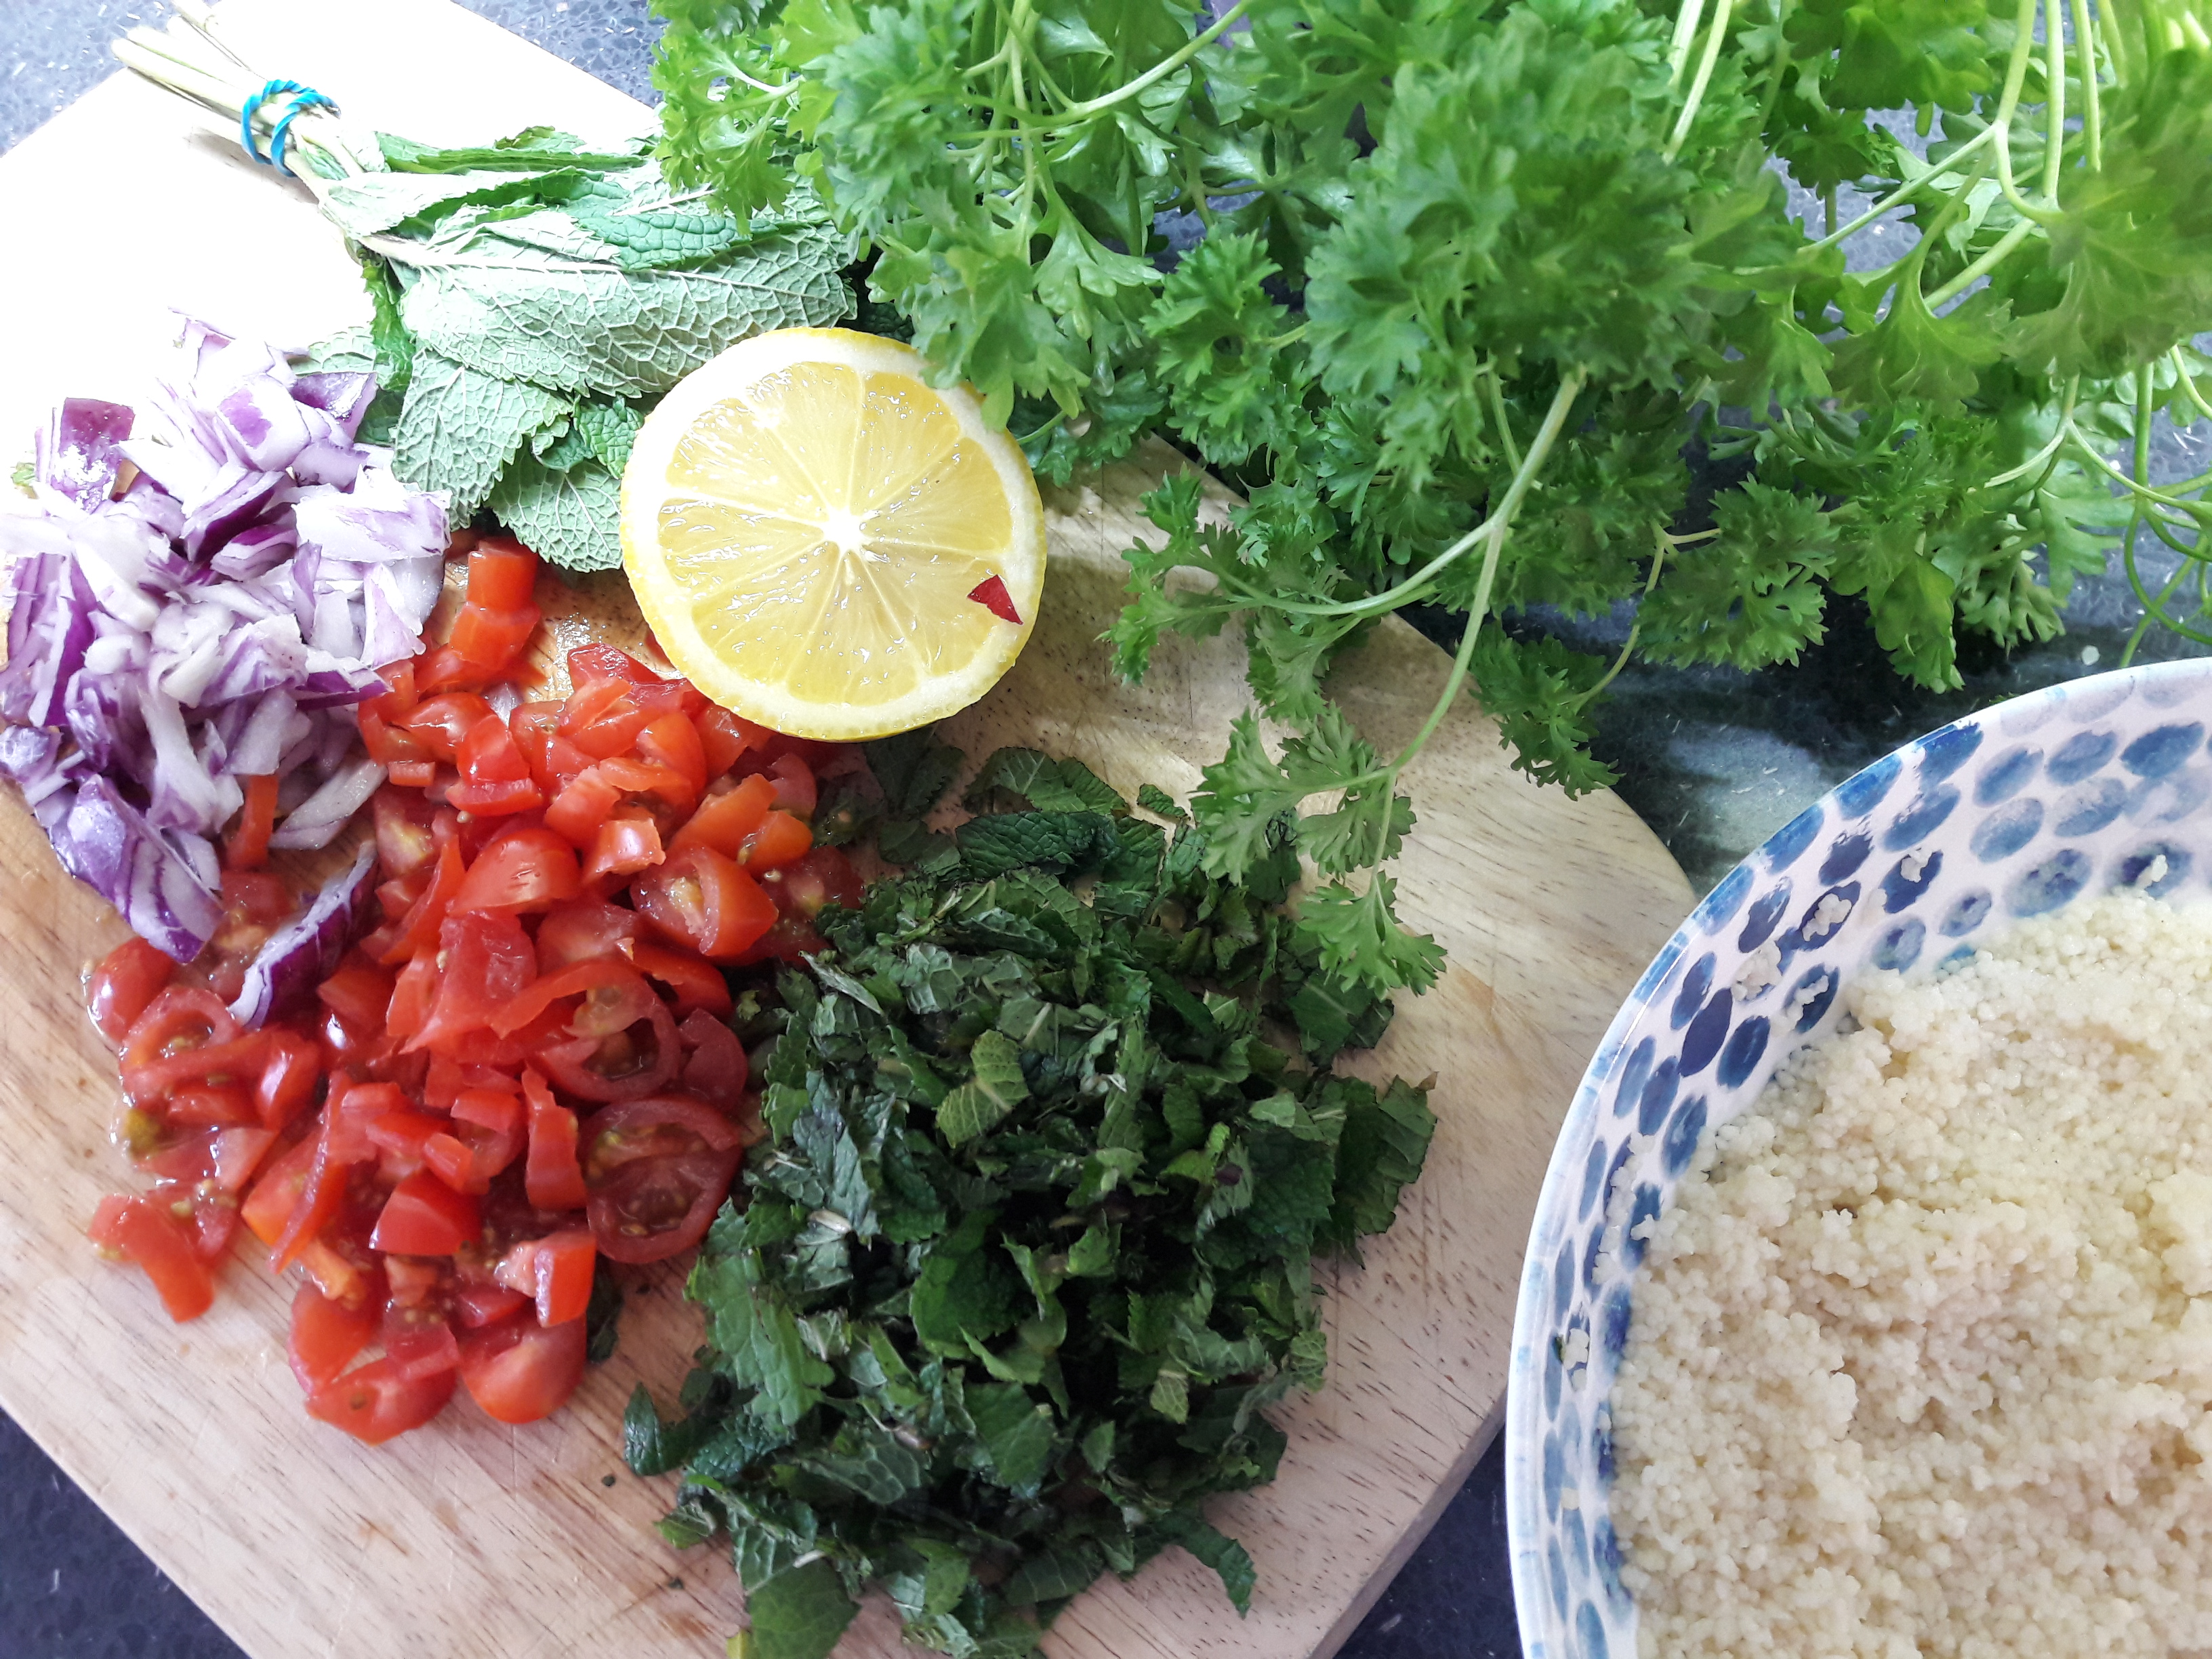
Kookoo Sabzi is usually a combination of garlic chives, corainder (cilantro) and dill, but seeing as we’re not fans of dill, we’ve opted to replace it with parsley and mint. You can also omit the coriander if that’s not your thing (feel free to add some dill if you must). We’ve added parsley and mint, along with toasted walnuts, for some protien, and barberries (if you can find them – we couldn’t), to add a tart edge to the dish. Cranberries are a good replacement if barberries are proving hard to track down.
Ingredients (makes four servings)
- 50 g fresh parsley
- 50 g fresh coriander
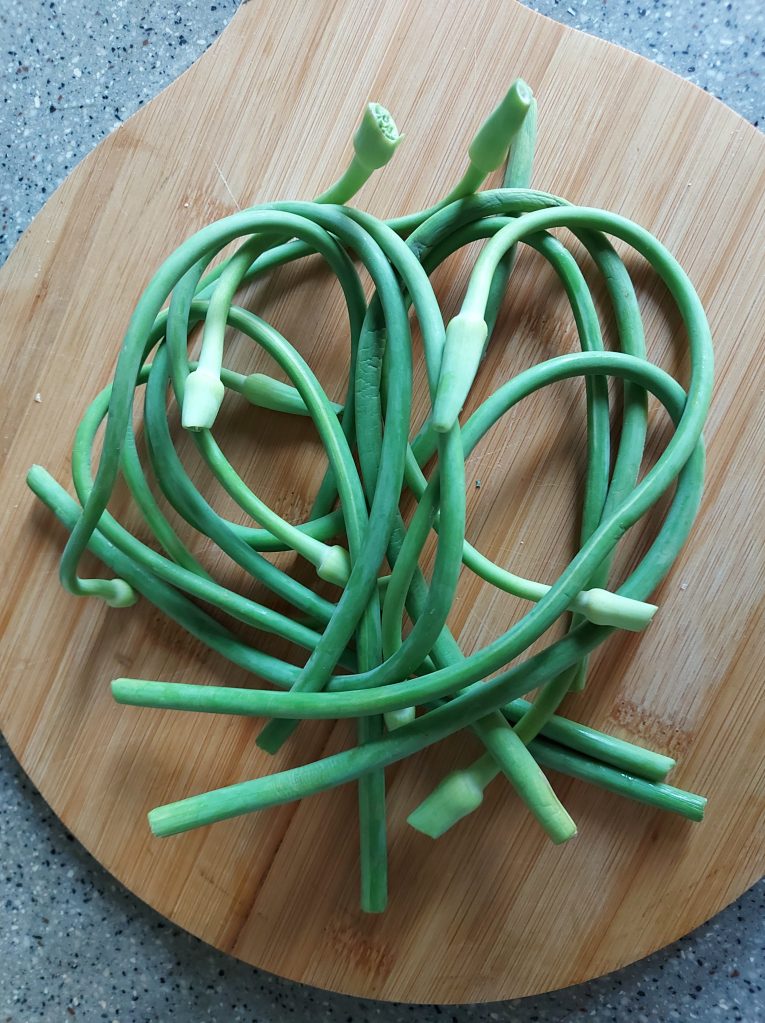
- 50 g garlic chives (jusai)
- 25 g fresh mint leaves
- 50 g walnuts
- 10 g dried barberries (or cranberries)
- 4 eggs
- 20 g chickpea flour
- One teaspoon each of: cumin seeds, sumac and turmeric
- 25 ml olive oil
Method
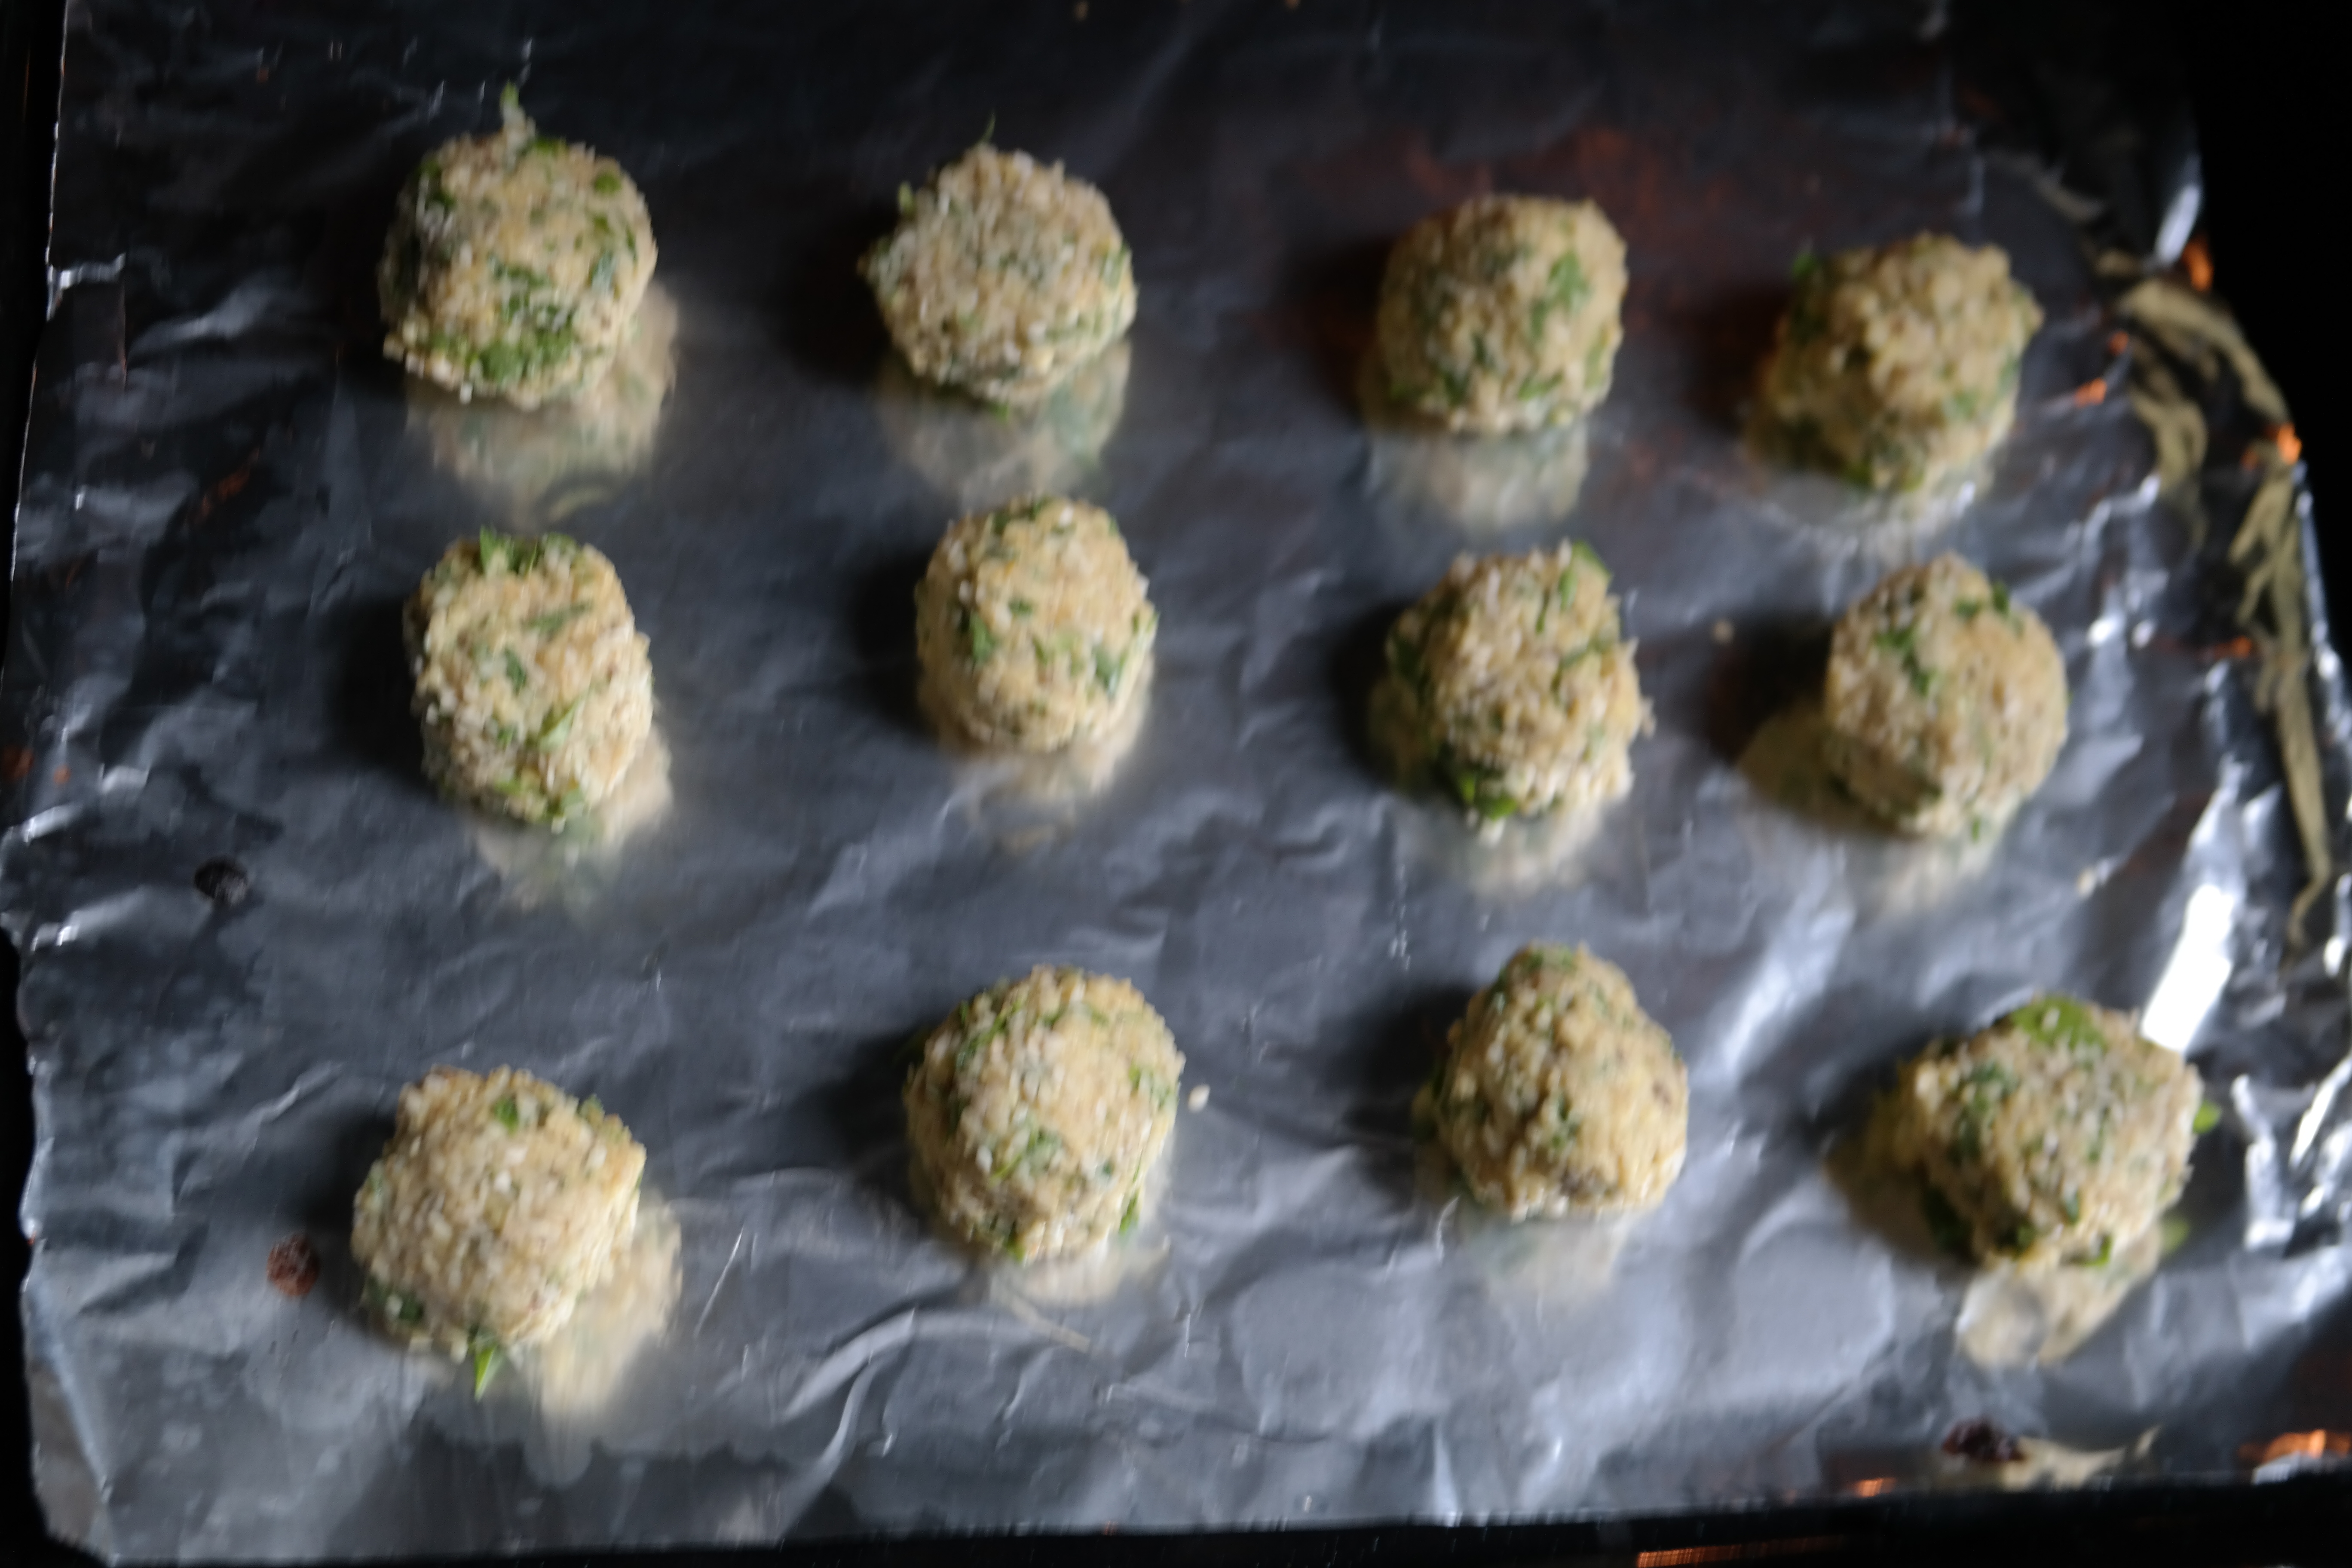
- Wash the garlic chives and cut into 0.5 cm pieces. Leave to dry on a tea towel or kitchen paper. Wash and finely chop the parsley, coriander (including stems) and mint leaves. Combine all these ingredients with the chickpea flour, spices, berries and the eggs.
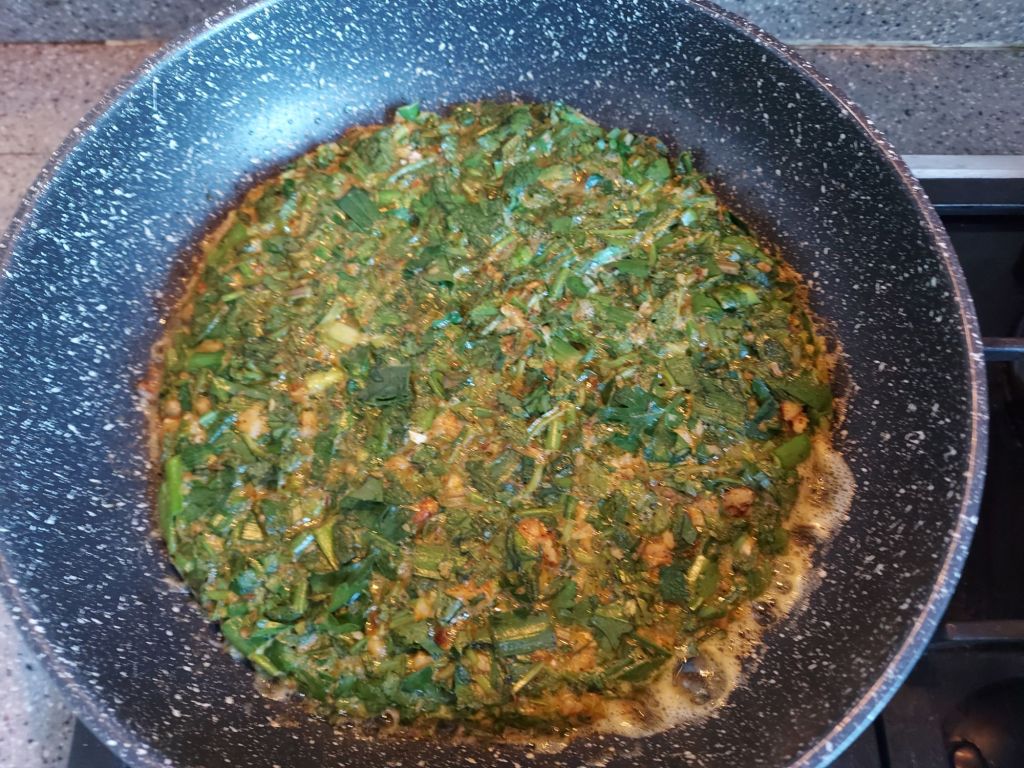
- Crush and then toast the walnuts (without oil) for 10 minutes in a 12 cm frying pan. Remove the walnuts and mix them in with the herbs and eggs. Put half the olive oil in the frying pan and heat it up and then add the herb mixture, flattening it with a spatula.
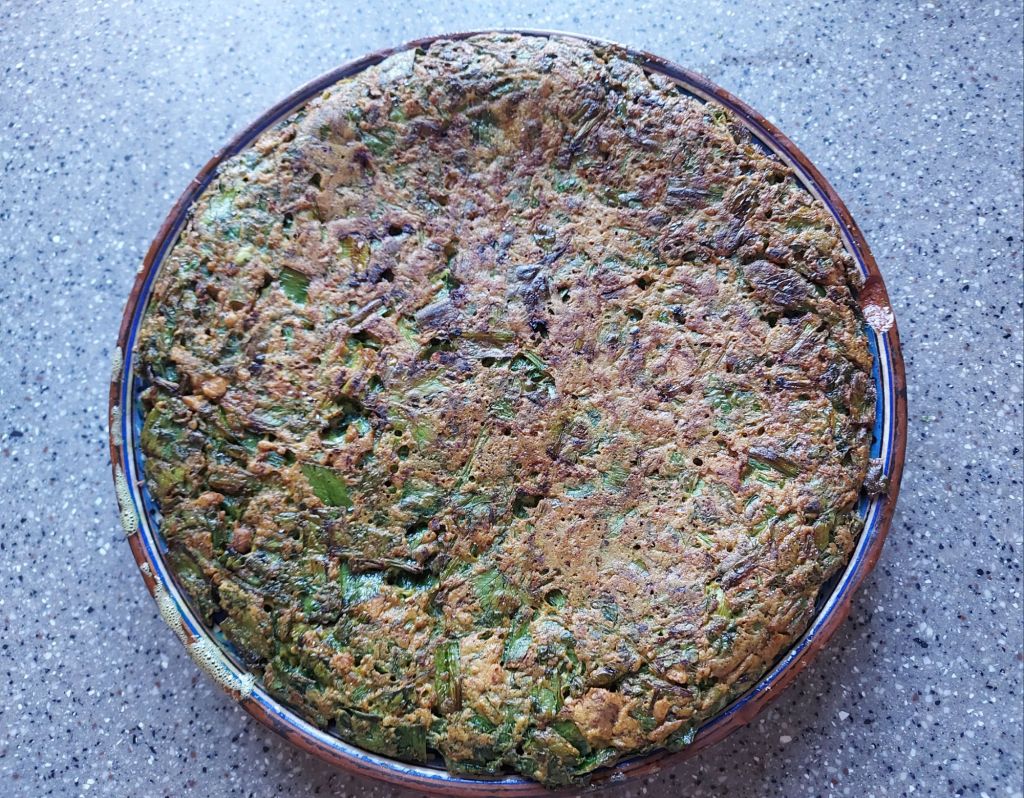
- Cook over a medium heat for 10 minutes. Put a plate on top of the kookoo and turn the frying pan over. Add the rest of the oil to the empty pan and heat it up. Slide the kookoo back into the frying pan and cook for another 10 minutes.
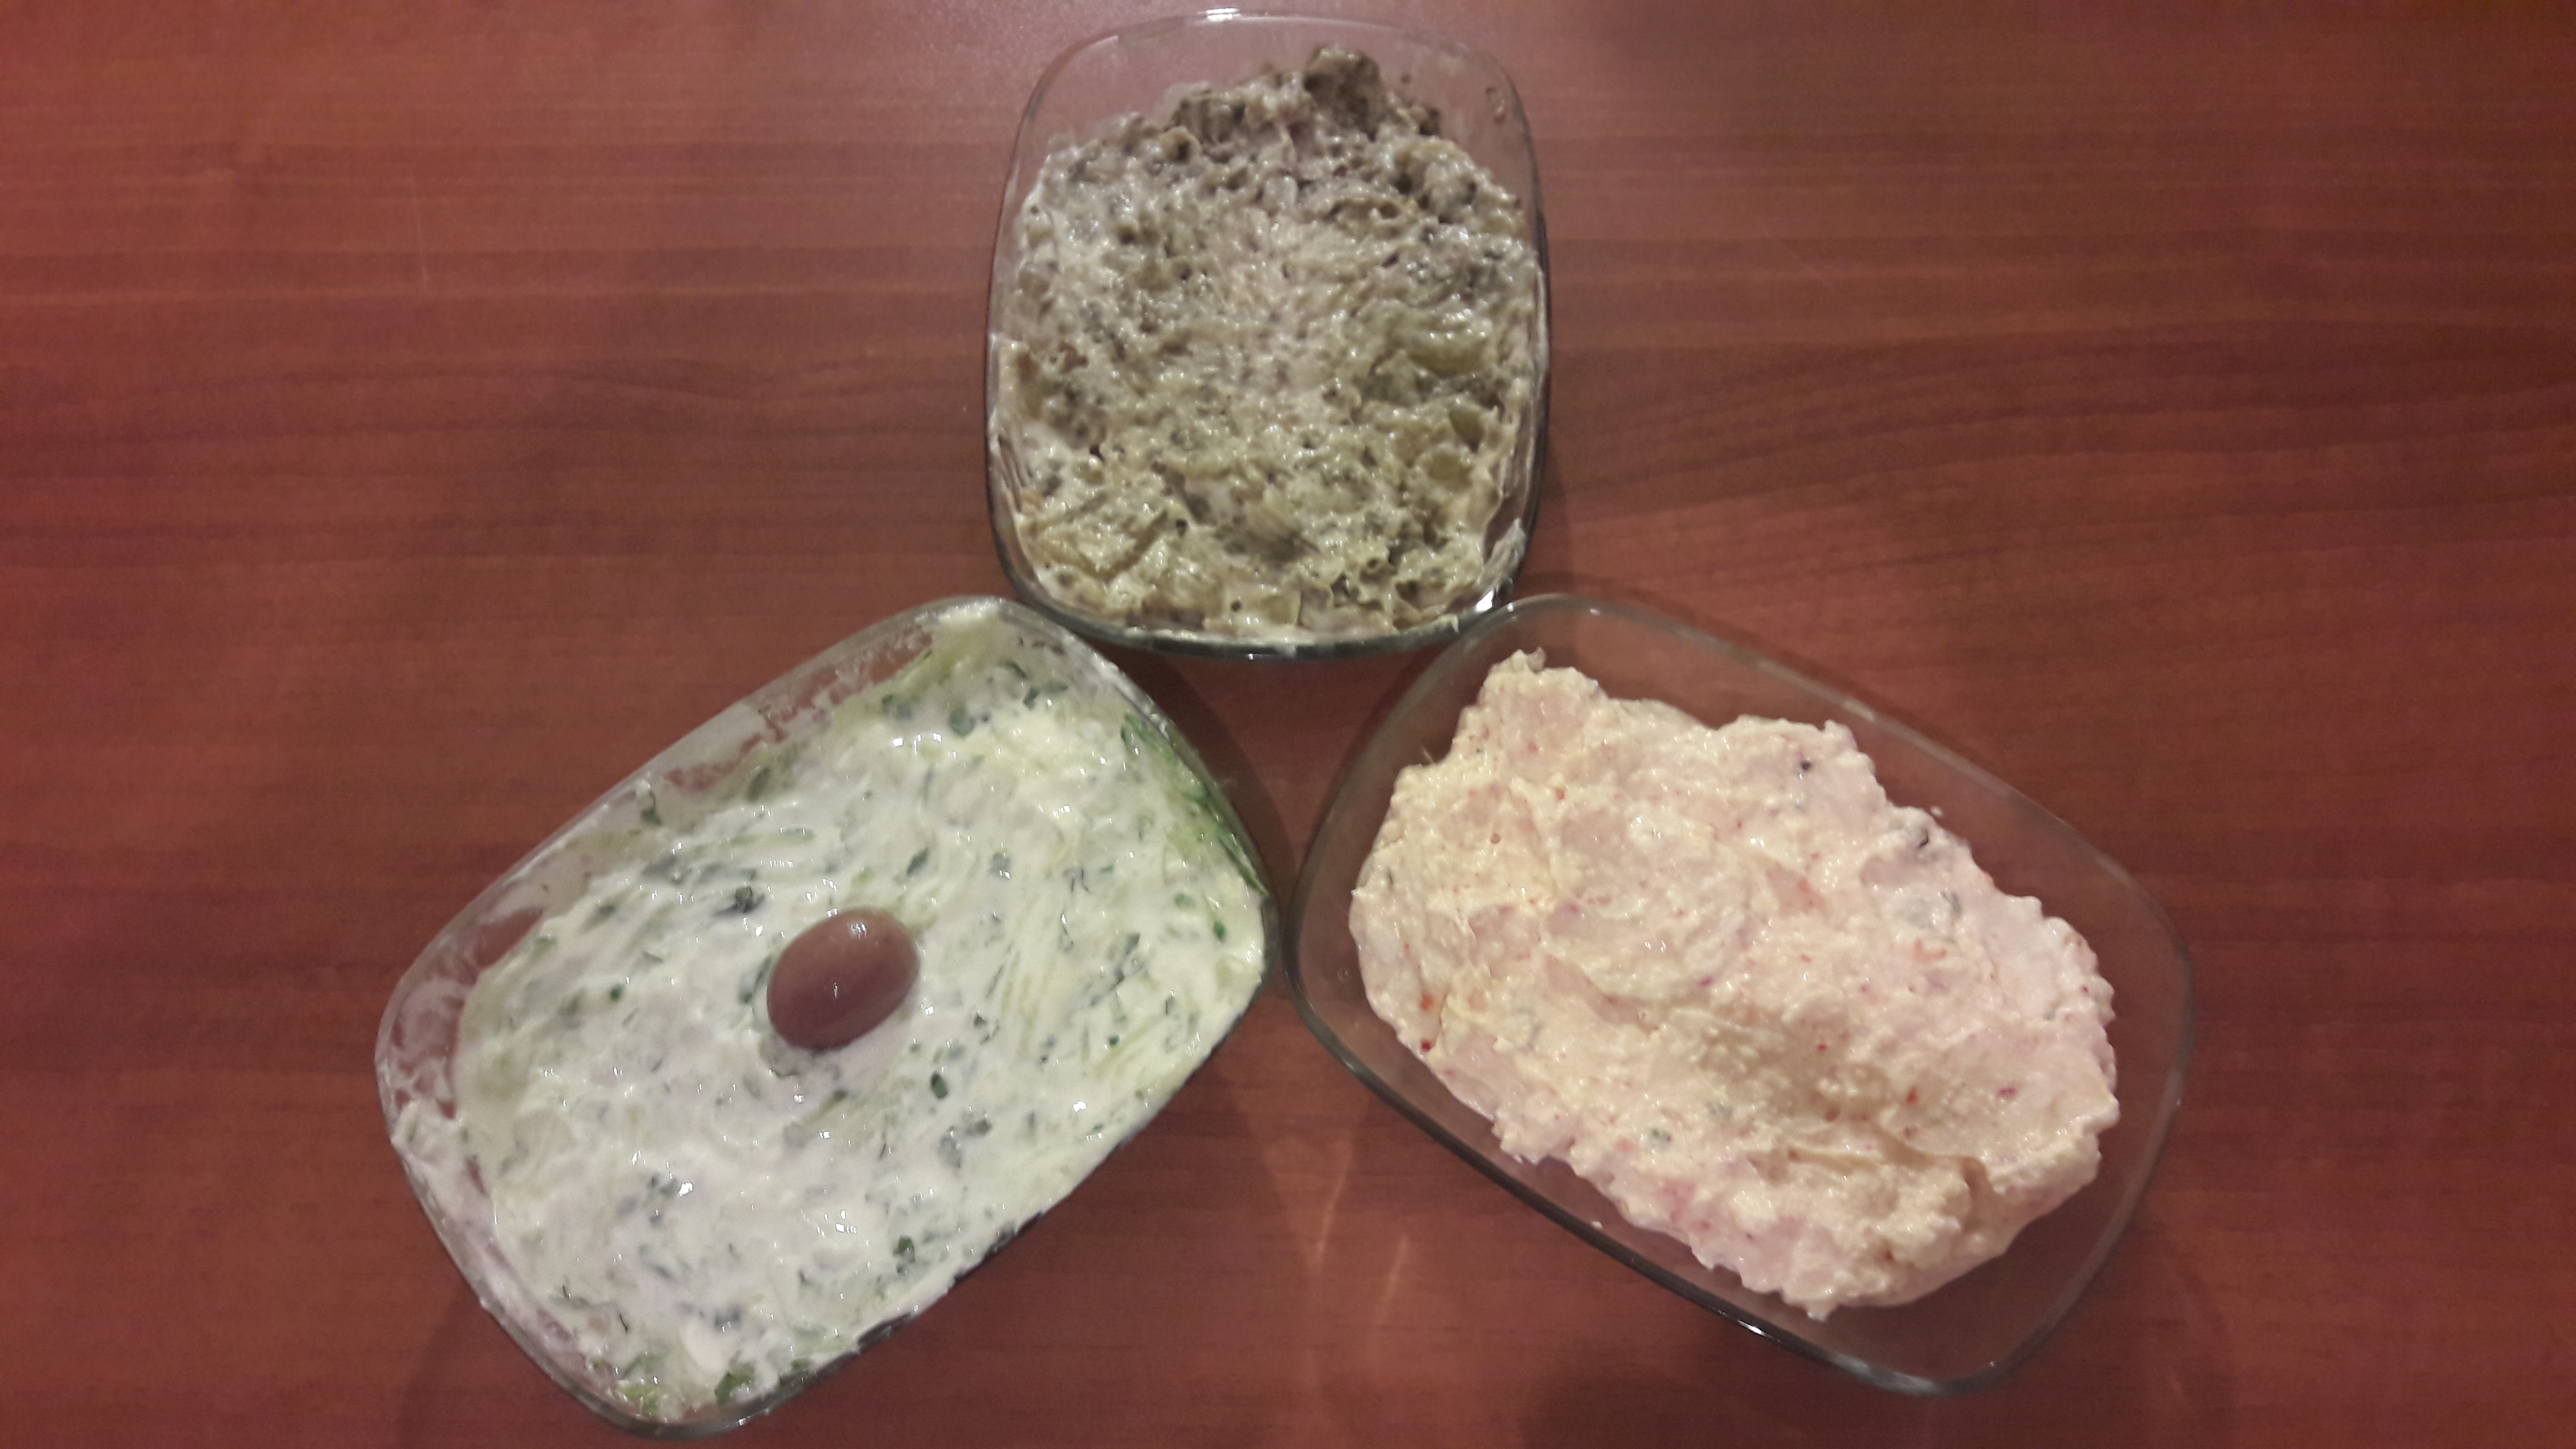
- Cut the kookoo into four slices and serve with a dollop of natural yogurt and some olives.


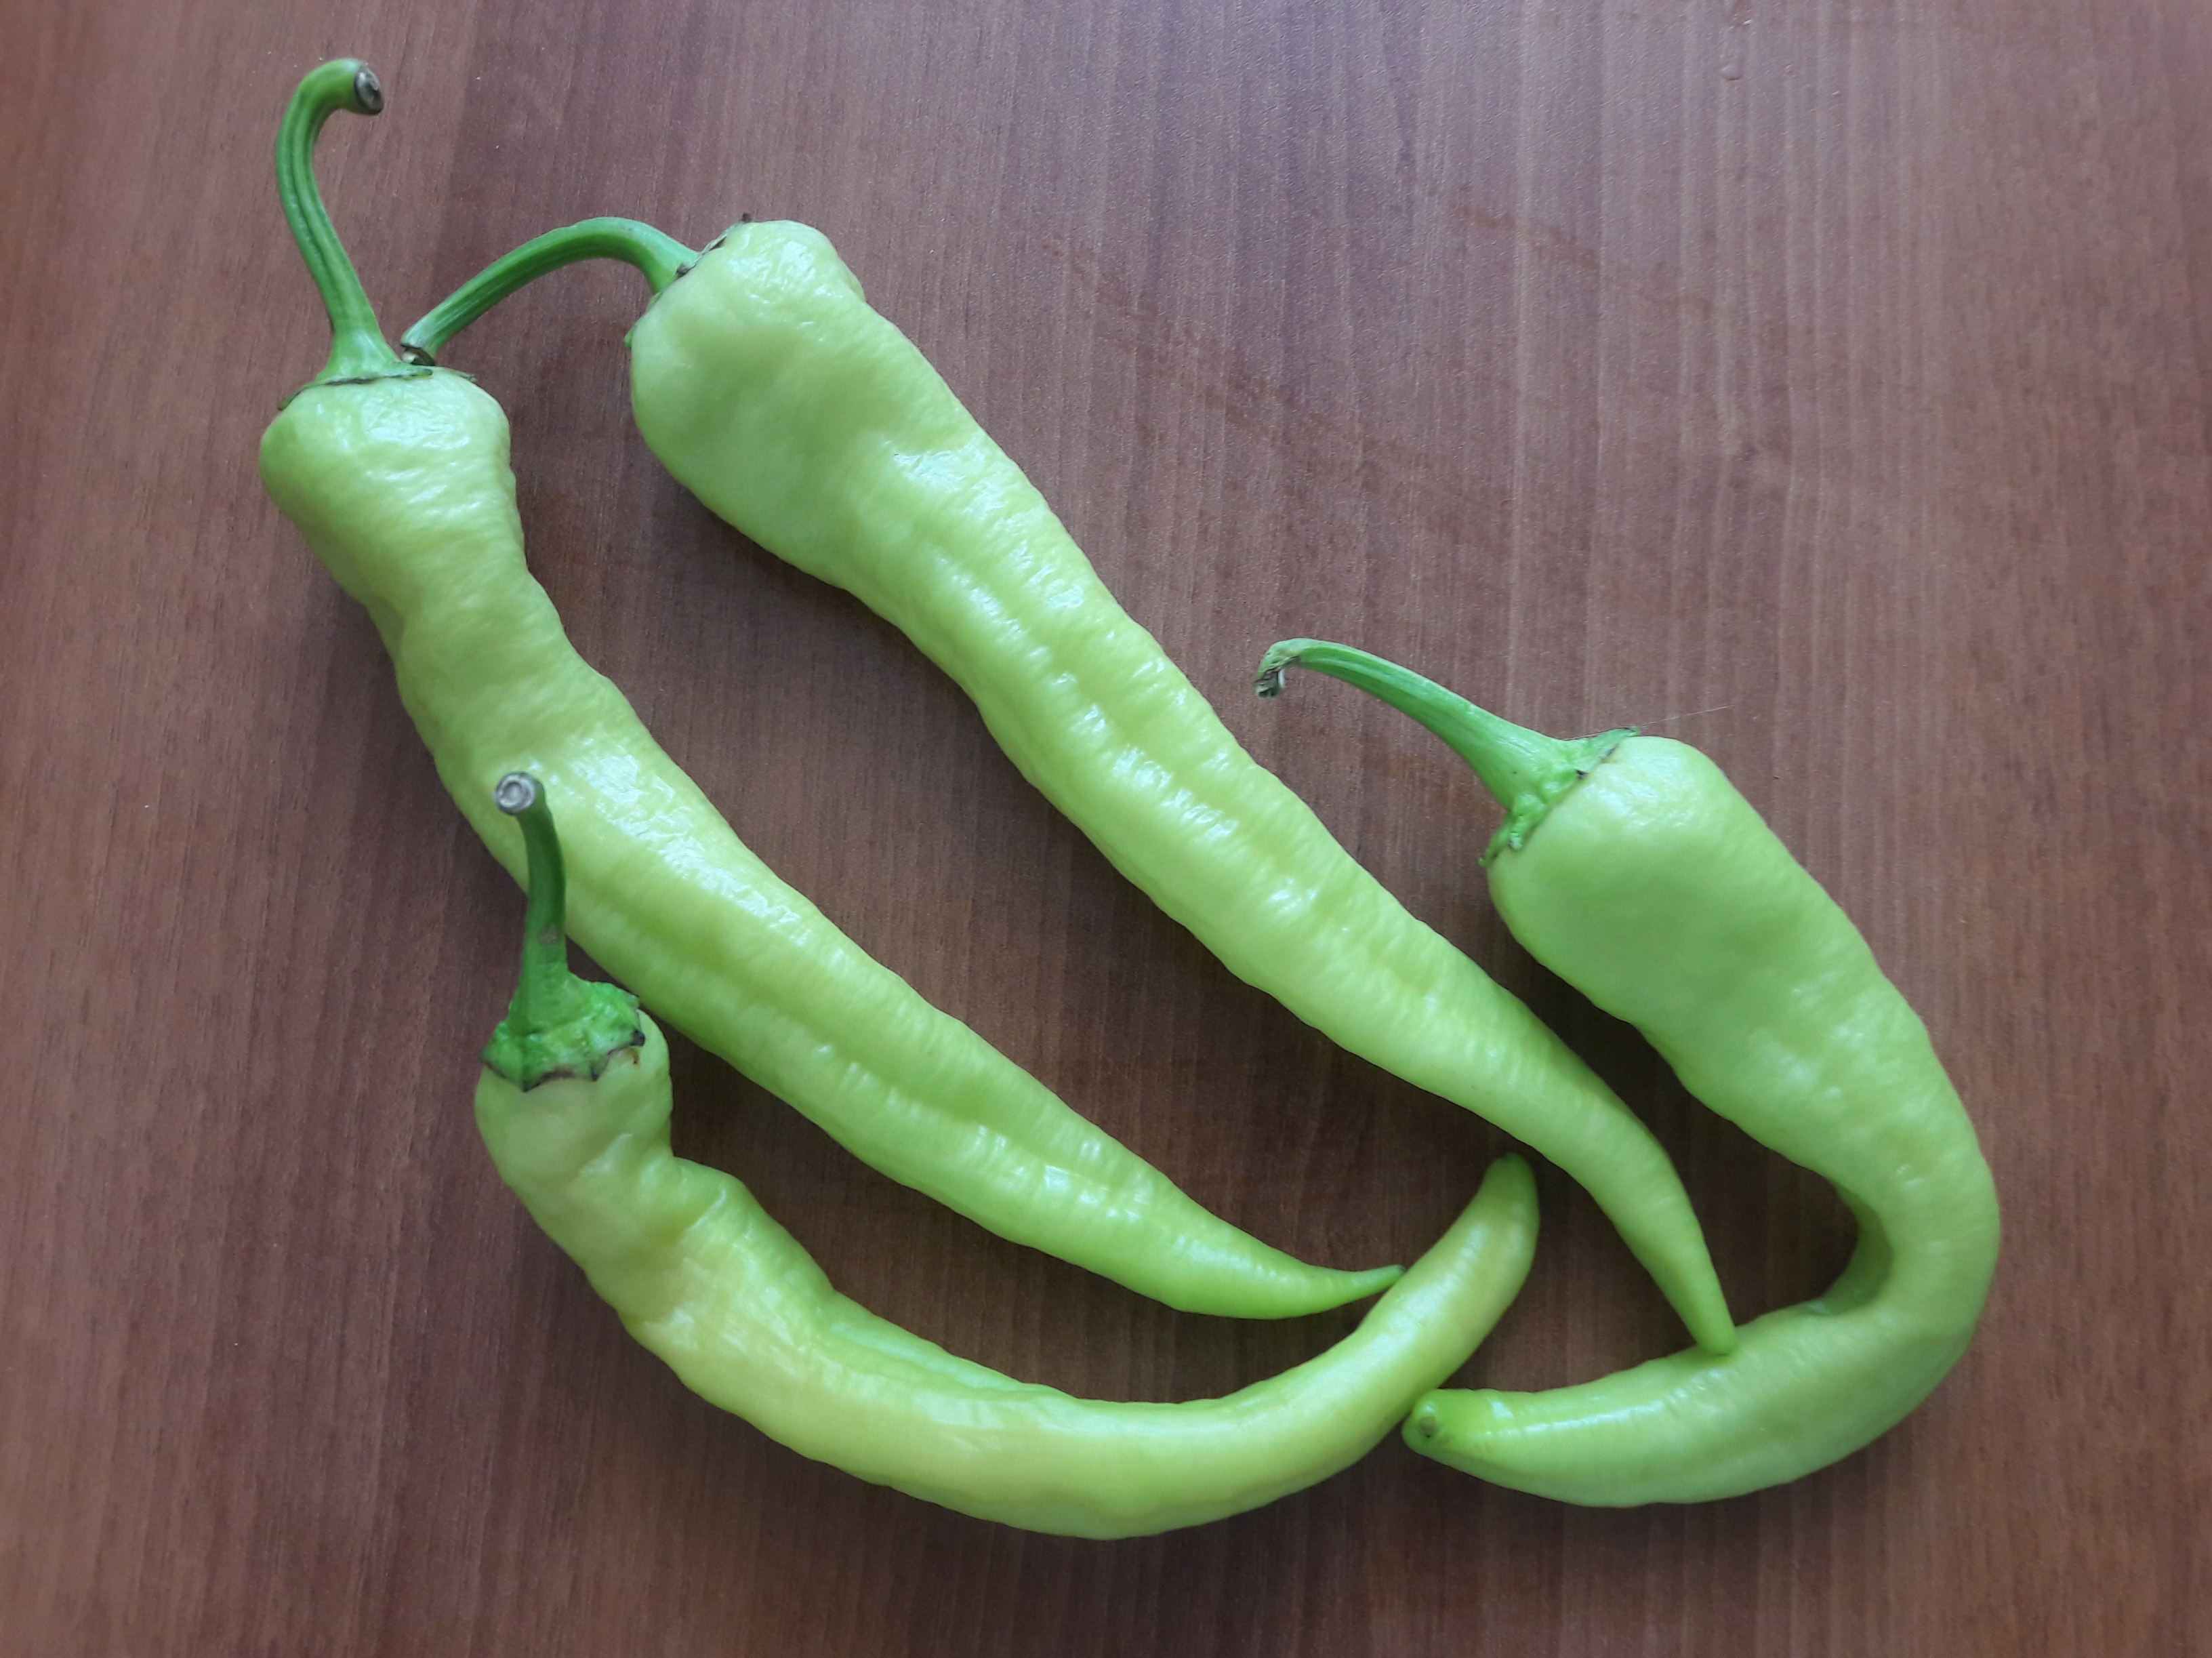 Turkey’s çarliston peppers aka banana peppers