Mooli Mattar Mücver

10 February 2023

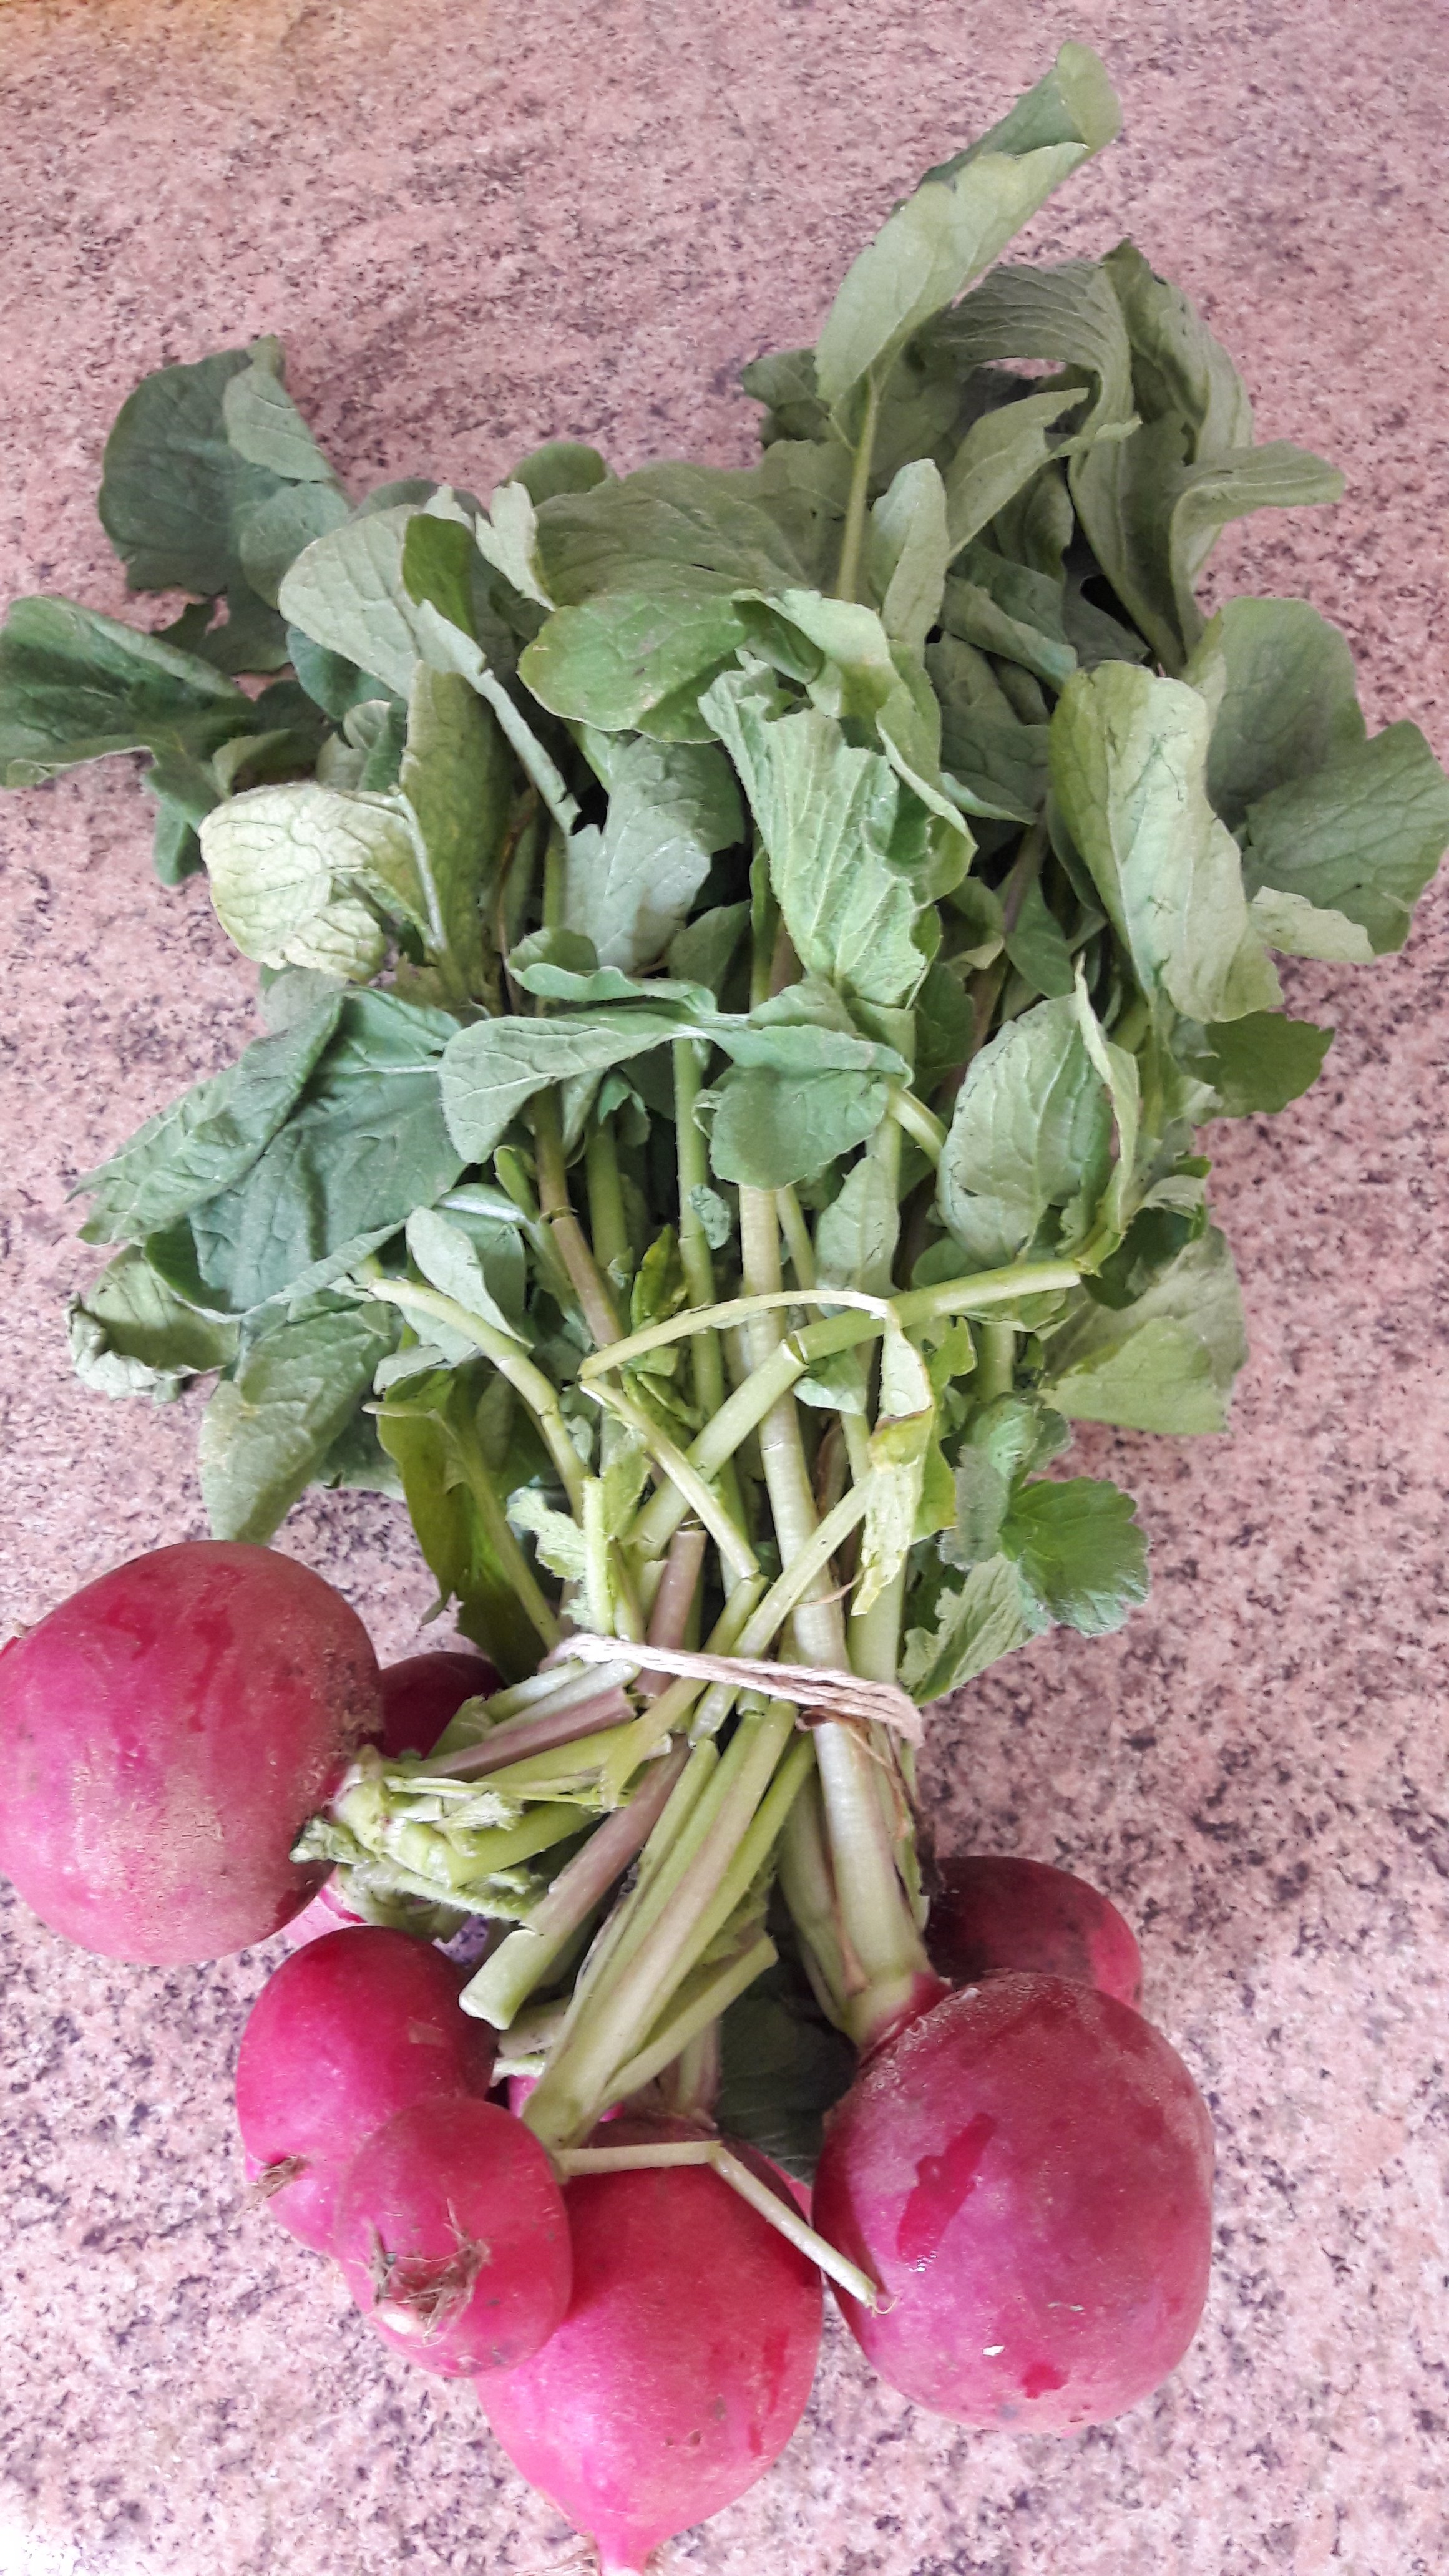
This time round on KCC we’re taking a look at mooli, or daikon as some of you might know it. This large, white member of the radish family is common in Japanese, Korean and Chinese cuisine and is also widely used in the Indian sub-continent. It’s a versatile, vitamin-packed vegetable that can be eaten raw or cooked in a variety of dishes. It has a milder flavour than its smaller red cousins but adds an interesting, mildly spicy crunch to salads and stir fries.

Mooli mattar mücver served in a bap with salad

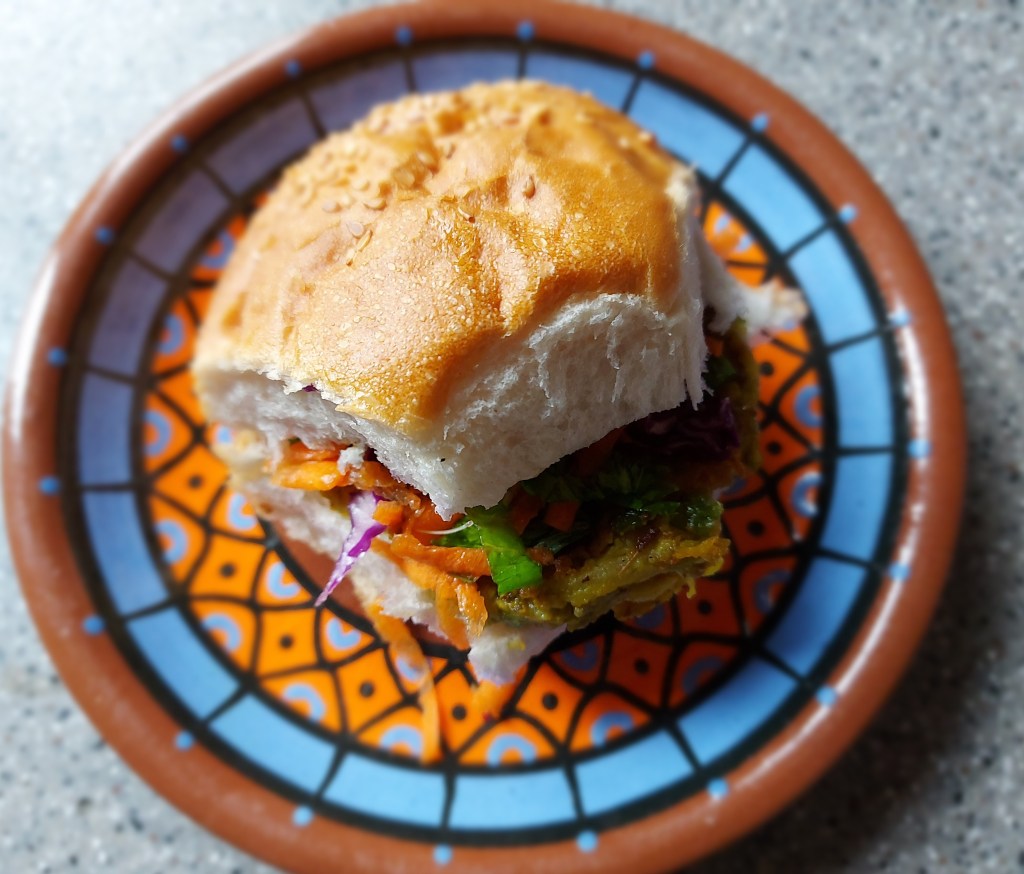
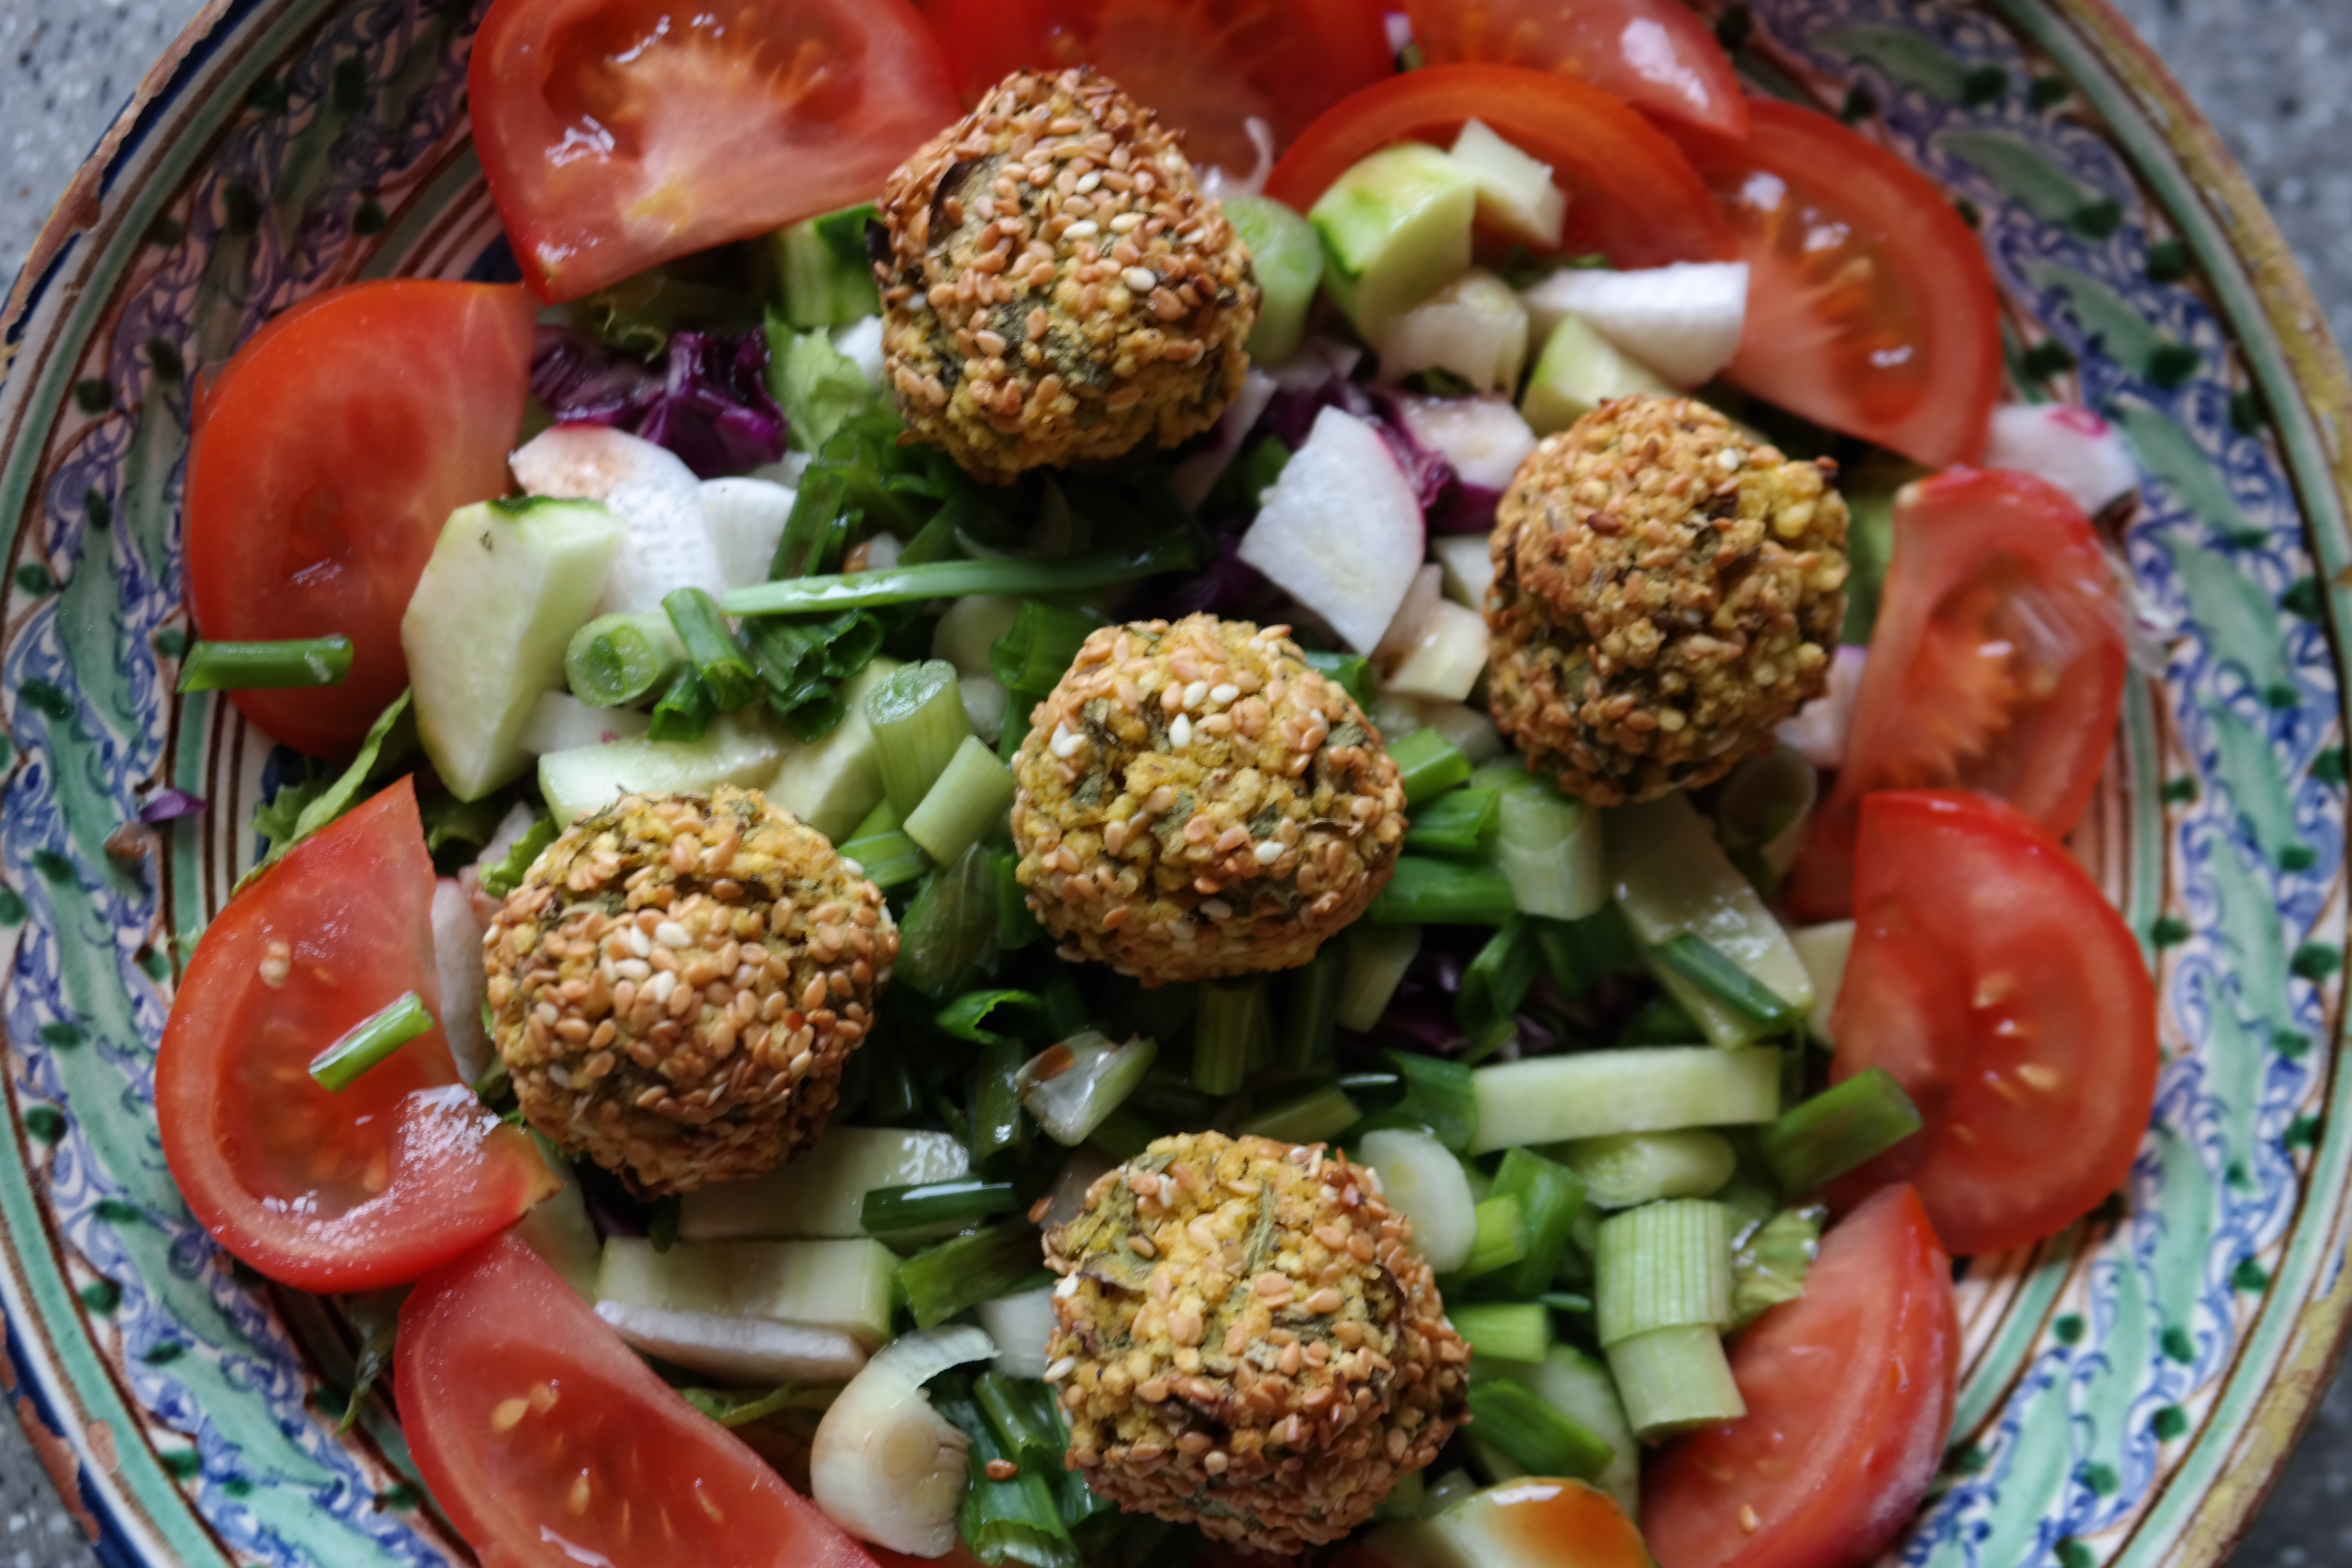
Mücver fritters are a perennial KCC favourite so we decided to make some with grated mooli, mattar (green peas), celery and some chickpea flour to glue it all together for our latest mücver variation. This version is great served in a burger bun or baguette with some fresh coleslaw, shredded salad greens and a dash of soy sauce.


Meet the mooli aka daikon or winter radish

The mooli can be quite wet when grated so give it a good squeeze to remove the excess liquid. The chickpea flour will help bind the fritters together and soak up any remaining moisture so that they hold their shape better when frying.

Ingredients (makes four 125 g fritters)

  • 200 g grated mooli
  • 200 g green peas (fresh, tinned or frozen)
  • 1 celery stick 
  • 50 g chickpea or pea flour
  • One teaspoon cumin seeds
  • One teaspoon turmeric
  • Two teaspoons paprika
  • Oil for frying

Method

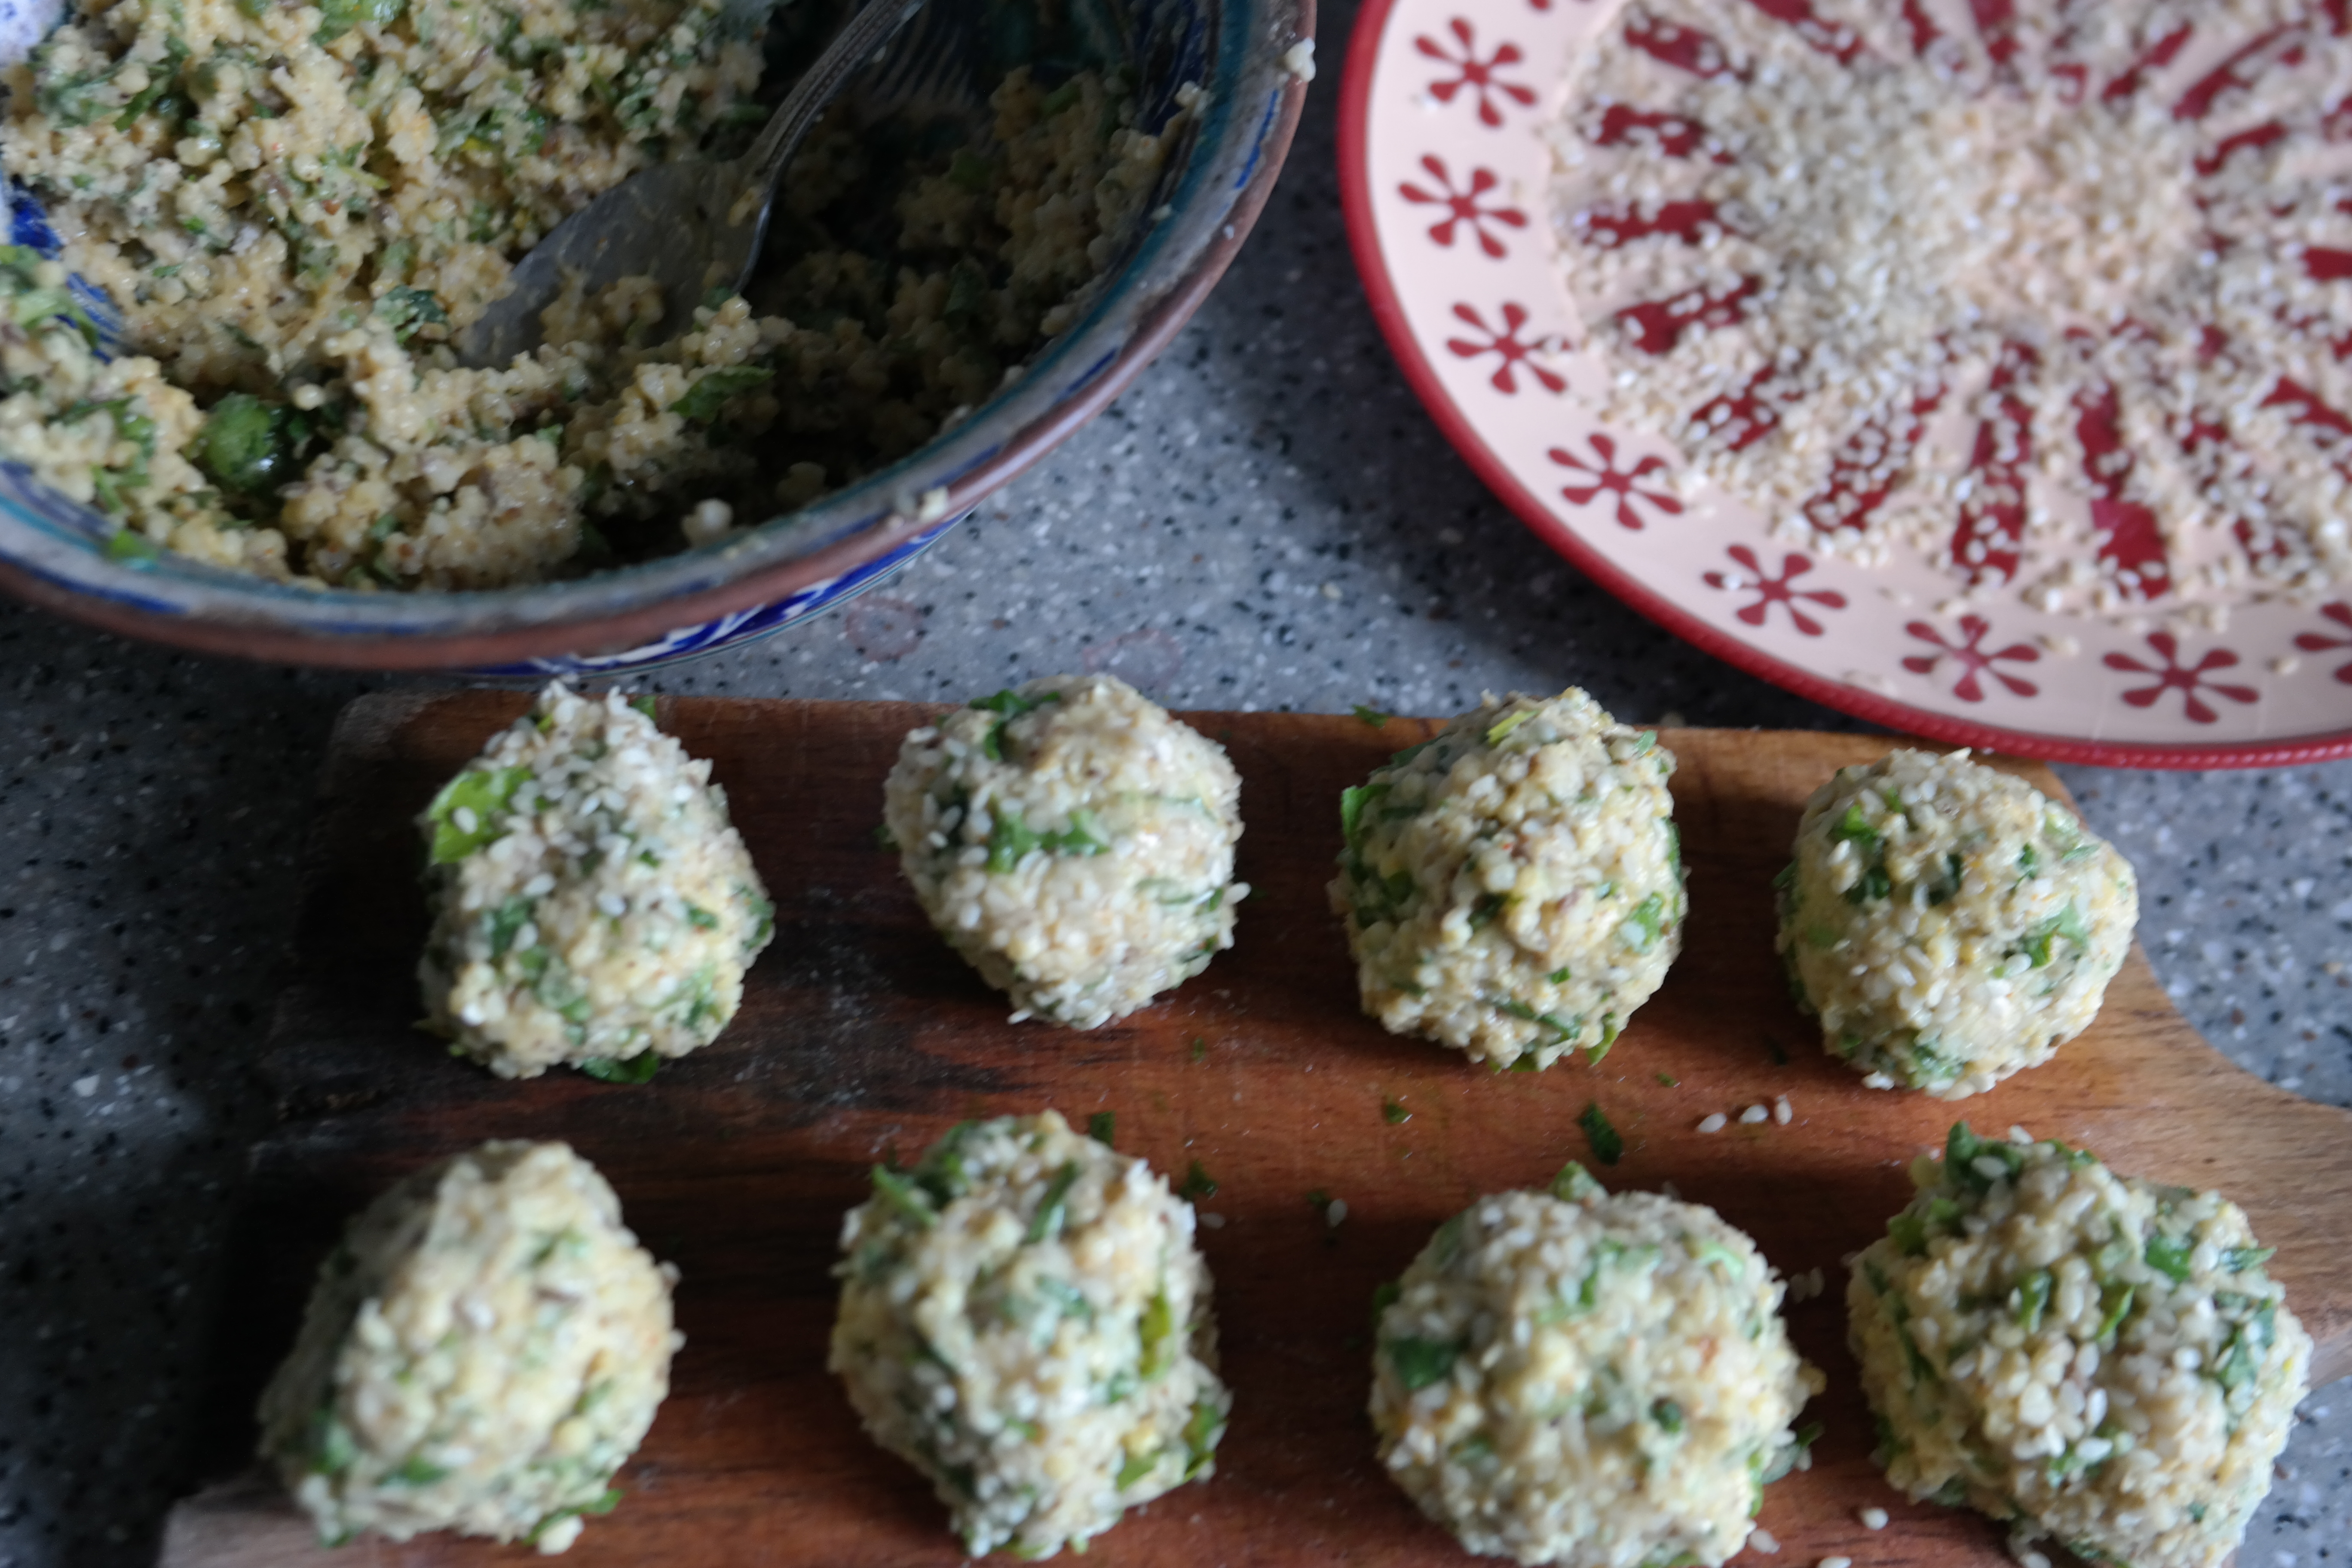
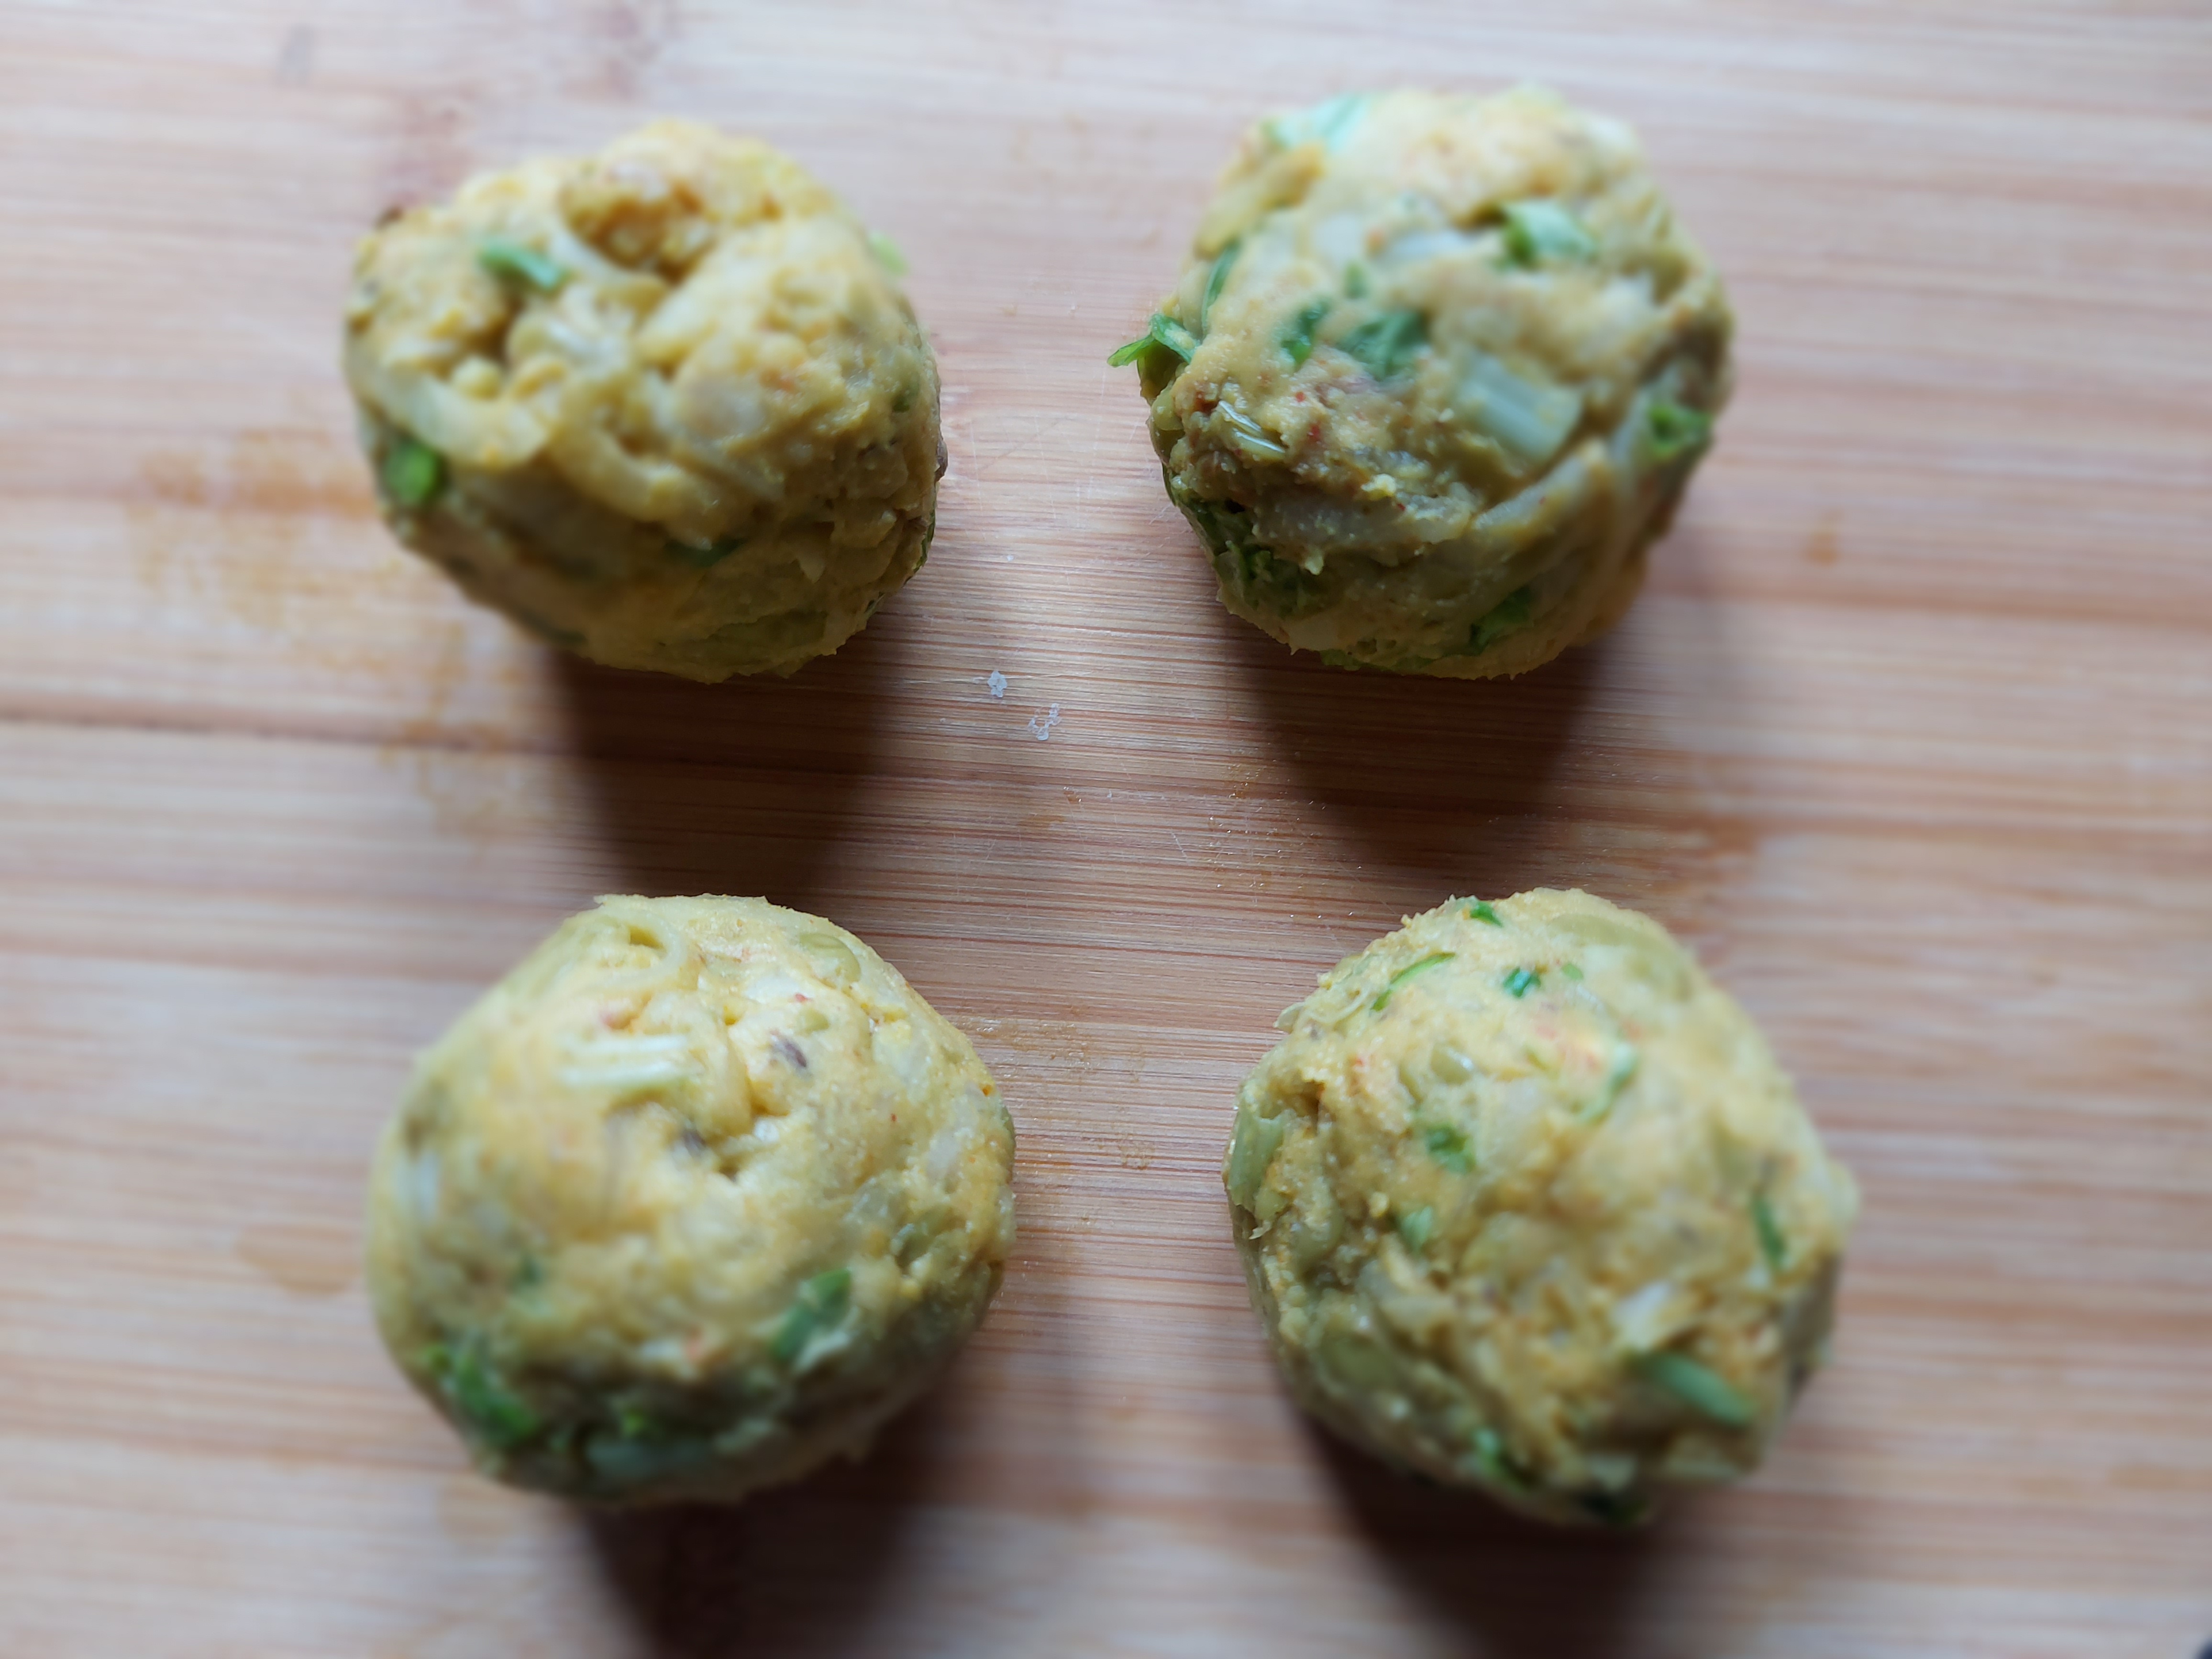
  • Peel and grate the mooli into thin strips. Squeeze the moisture from the grated mooli. Chop the celery stalk and leaves finely and  put into a bowl with the grated mooli. Add the peas and the spices and mix well. Now add the chickpea flour and blend everything together. The mix should be sticky but not wet – if it’s too moist, then add a bit more flour until you get a sticky consistency. 
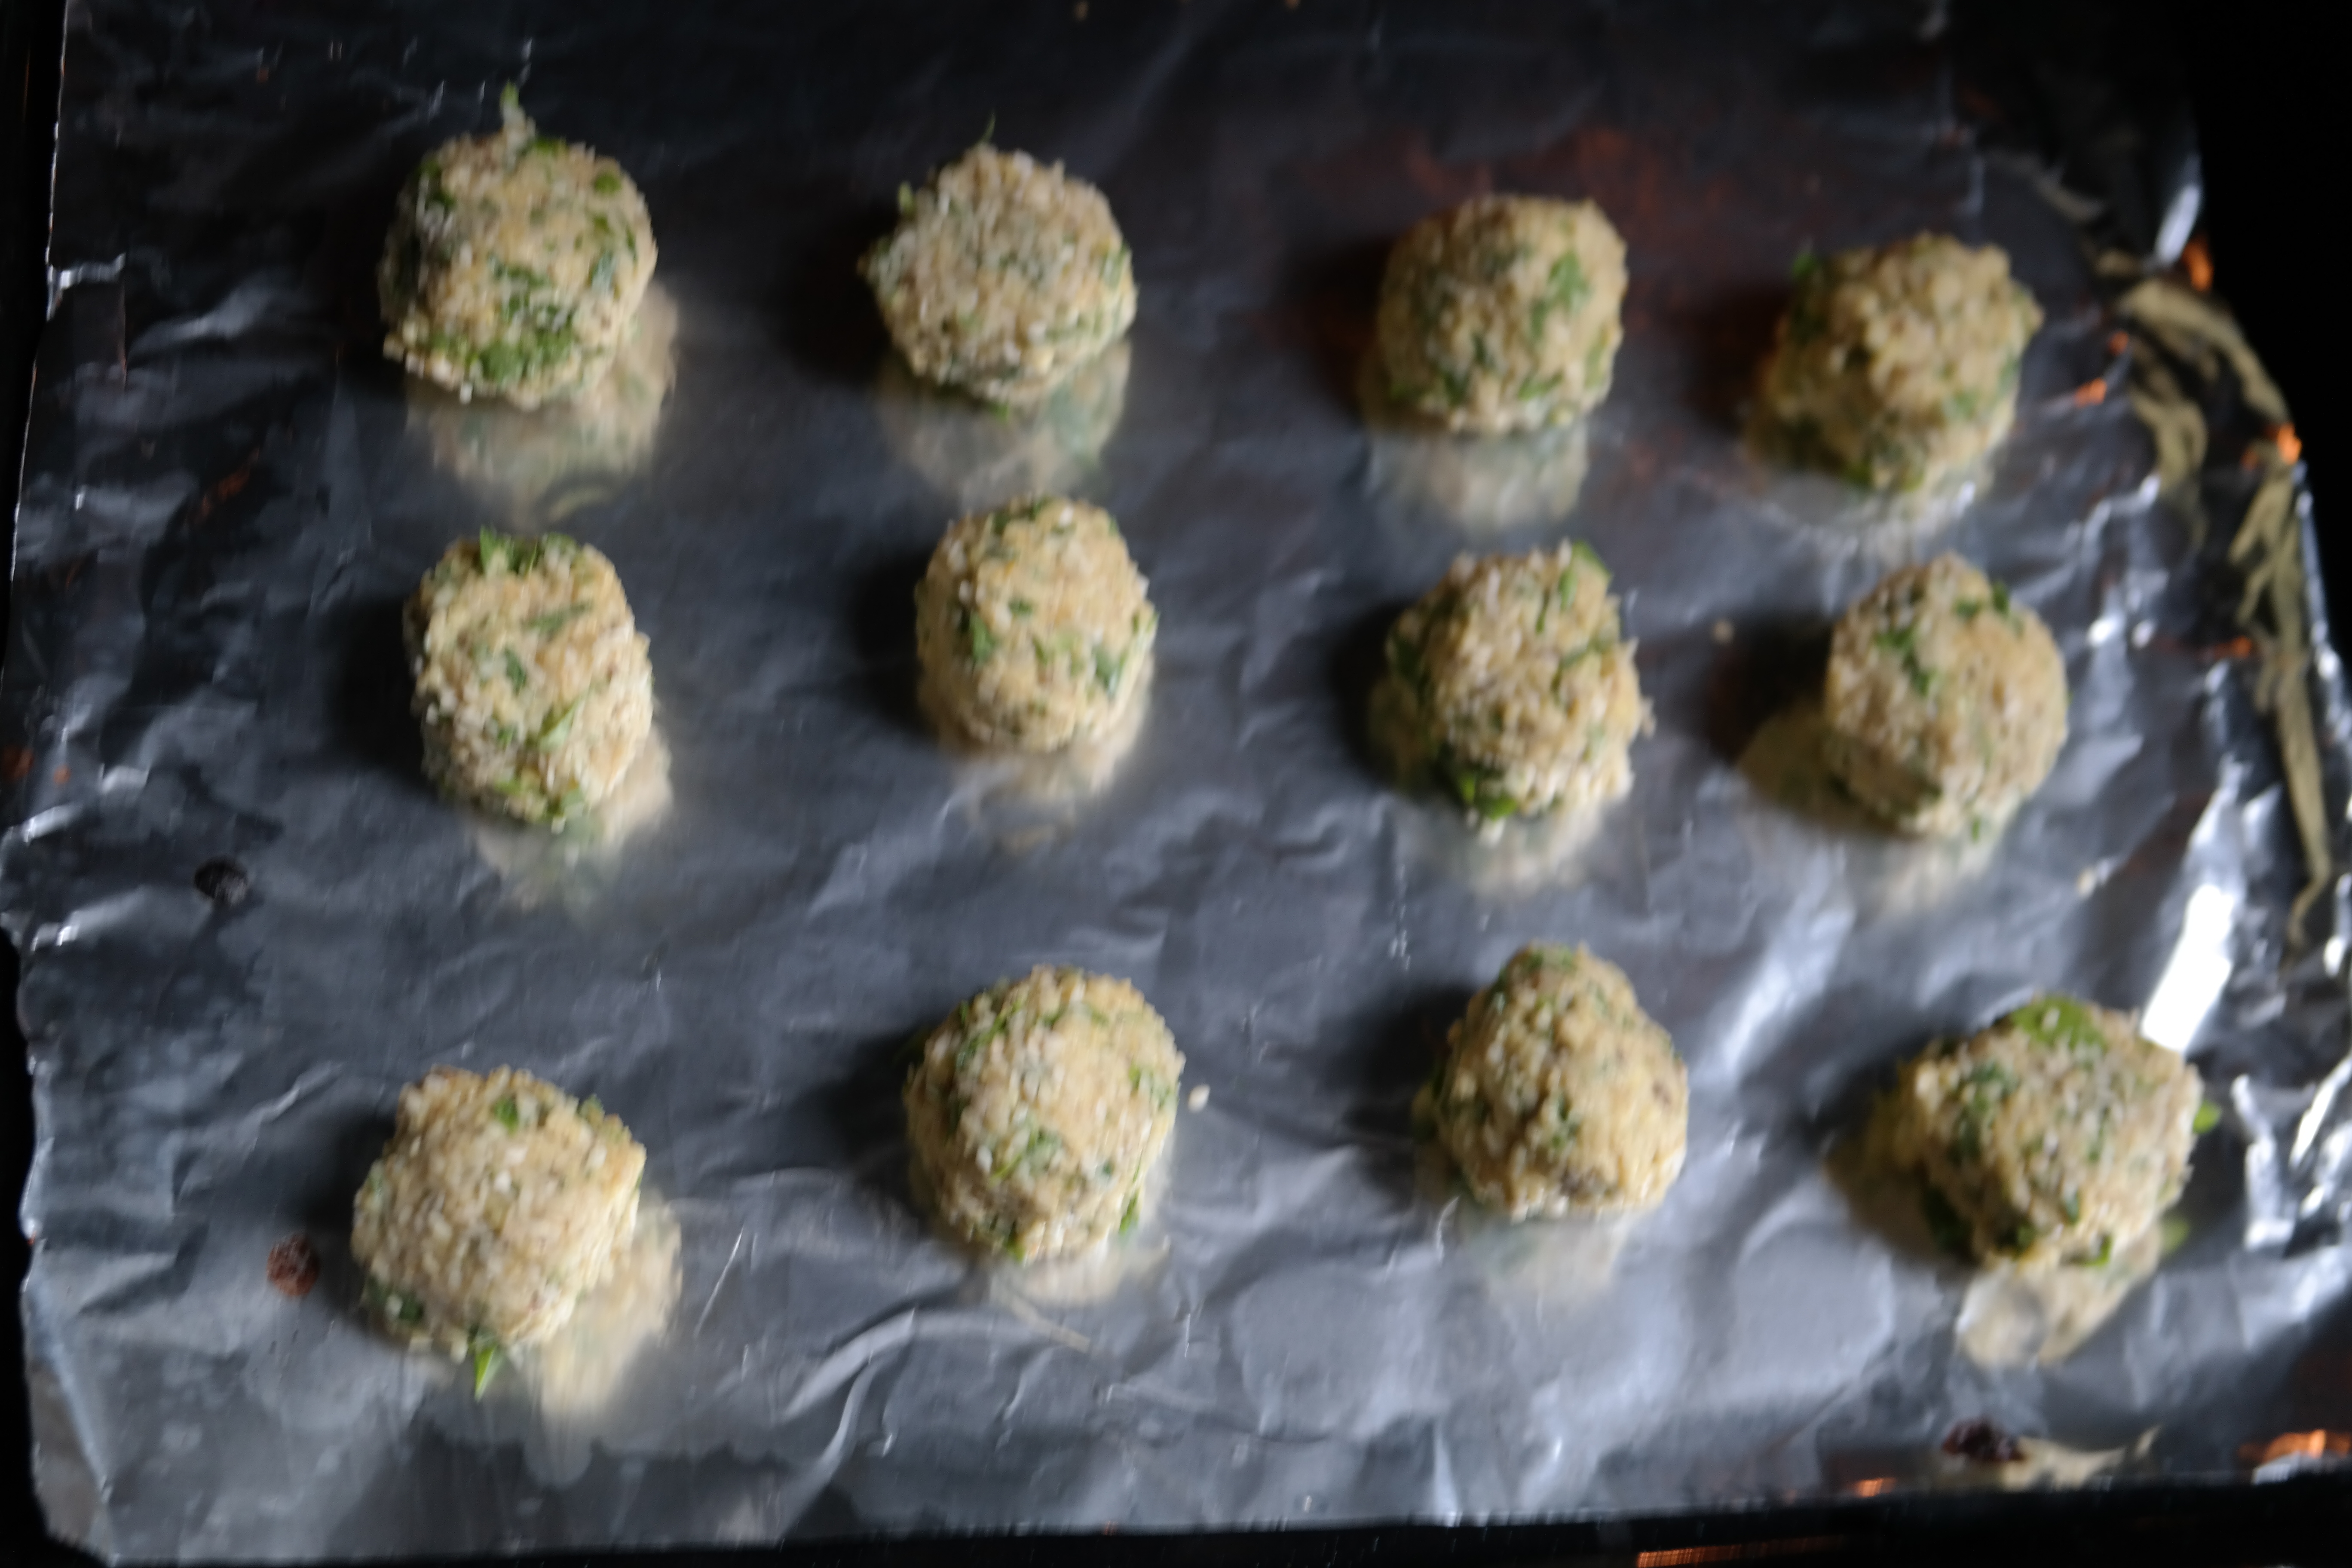
  • Heat the oil in a frying pan. Form the mix into four golf ball-sized pieces. Place in the pan and flatten with a fish slice. Turn the fritters over after frying for two to three minutes. Cook for another two to three minutes until both sides are a golden brown colour. Serve in a burger bun or in a baguette. Top with grated carrot and red cabbage and shredded lettuce or rocket, add a splash of soy sauce and enjoy!
Advertisement

Apricot and Lentil Courgette Roundels

13 October 2022

It’s that in-between time of year as the nights grow longer and thoughts turn towards more substantial meals after a long summer of salads and lighter fare. The last of the seasonal vegetables such as tomatoes and courgettes are perfect for stuffing and baking in the oven, making a bridge between summery salads and the heartier soups and stews of winter that are coming up.

Apricot and lentil courgette roundels drizzled with pomegranate sauce and served with a seasonal salad

We stuffed some courgettes with a mixture of red lentils, apricots, tomato, onion, bulgur wheat and lemon juice to make a versatile roundel that can be served as part of a main course or eaten on its own as a meze, a fully vegan alternative to the sausage roll!

Apricot and lentil courgette roundel – a vegan alternative to the sausage roll?

The autumn fruit is at its best at the moment, and we’ve added some pear and pomegranate to an autumnal red cabbage, carrot, celery and radish salad to accompany these apricot and lentil courgette roundels to make a great lunch or supper. By adding a jacket potato, you can make it into a more filling main course.

Ingredients (makes enough mixture for 10-12 roundels)

  • Three medium sized courgettes
  • 100 g red lentils
  • 50 g dried apricots (or four fresh apricots if available)
  • One small red onion (approx 75 g)
  • One medium tomato (approx 100 g)
  • 50 g fine bulgur wheat
  • 25 ml olive oil
  • 200 ml vegetable stock
  • Juice of half a lemon
  • One teaspoon cumin seeds
  • One teaspoon red chilli flakes
  • Black pepper to taste

Method

  • Cut the dried apricots into eight pieces and soak in hot water for at least 30 minutes. While the apricots are soaking, heat the oil in a heavy based pan and add the cumin seeds. When they start to sizzle, add the finely chopped onion and fry over a medium heat until they start to soften. Grate the tomato into the fried onion and cook over a low heat for five minutes or so, stirring occasionally.
  • Now add the washed lentils, pour in the stock and stir. Cook over a low heat for 15-20 minutes until most of the water has been absorbed. Add the fine bulgur wheat, mix it in well and leave covered for 15 minutes. Drain the apricots and stir them into the mixture. Add the lemon juice, chilli flakes and black pepper to taste and mix well.
  • While the lentils are cooking, start to prepare the courgettes by slicing off the ends to make them flat. Cut into 3 cm slices. Gouge out the seeds with a small spoon, leaving a little bit of flesh at the bottom of the roundel.
  • Pre-heat the oven to 180 c. When the lentil mix is cool, pack it into the courgette roundels and stand them on a baking tray with the filling topmost. Bake at 180 c for 30 minutes or so – the courgette should still be firm and not too squidgy and the lentil mix should rise slightly and be beginning to brown on top. 
  • Serve alongside a salad of red cabbage, carrot, celery, radish, pear and pomegranate and a jacket potato, drizzling pomegranate sauce over the roundels or allow to cool and serve the roundels as a snack on their own.

Ride the Raspberry Rocket

30 June 2022

With Wimbledon in full swing and the British hopes fading fast, it’s time to seek some consolation in some seasonal soft fruits. Strawberries and cream, of course, is a dish associated with the tennis extravaganza in SW19.

This summer, KCC has noticed a glut of strawberry recipes in the mainstream UK press and on Instagram, using these berries in salads or in gazpacho, a cold, blended vegetable soup.

KCC’S Raspberry, rocket and walnut delight

We popped along to see Gulzhaina, our local greengrocer in Almaty, but alas she only had raspberries in stock. Not to worry, though, as these tart berries are also great when used in a salad.

We served our raspberries on a bed of rocket, radish and spring onion and topped with toasted walnuts, pomegranate sauce and olive oil – a great combination on a hot summer’s day.

Falafel to the Fore

18 June 2020

This time round on Knidos Cookery Club we’ll be taking an armchair culinary tour to the Middle East and looking at the origins of the humble falafel. Arguments abound as to where this street snack par excellence originated, but most likely it was Egypt according to the evidence.

SAMSUNG CSC
Millet falafel, anyone?

The Egyptian version of this tasty bite is usually made with fava beans, known as fūl in Arabic, which is thought to be the base for the name falafel , whilst in other parts of the Mediterranean region chickpeas are preferred.

SAMSUNG CSC
Falafel salad

With both chickpeas and fava beans in short supply in Almaty at the moment, it was back to the drawing board to look for an alternative base for our falafel. While stocking up during lockdown in our local shop we came across a pack of millet and a spot of googling revealed that this would work just fine as the base for our take on the falafel.

SAMSUNG CSC
Forming the falafel

We baked them in the oven rather than deep-fried them as it’s a lot less hassle. Be sure to use plenty of parsley, cumin, coriander and chilli powder to spice up the millet. The resulting falafel were crisp on the outside but soft and fluffy in the centre, just as they should be.

SAMSUNG CSC
Bake the falafel in the oven

Be careful when cooking millet as it has a tendency to stick to the pan if you don’t keep an eye on it and stir regularly. We found it best to rinse and soak it for a few hours before cooking as this reduces the time needed to cook it.

Ingredients (makes 12-16 falafel)

  • 150 g millet
  • 300 ml water or vegetable stock
  • one garlic clove
  • one bunch of parsley
  • one teaspoon cumin
  • one teaspoon coriander
  • one teaspoon chilli powder
  • Sesame seeds to coat the falafel

Method

  • Rinse and then soak the millet in a pan for four hours. Drain the millet and cover with water or vegetable stock. Bring to a boil and then simmer until the liquid is absorbed. Stir regularly as the millet will stick to the bottom of the pan if not watched carefully.
  • Finely chop the parsley, both leaves and stalks, mince the garlic clove and add to the cooked millet. Add the spices – if you want to give your falafel more oomph, double the amount. Mix well and then form into balls. Roll the balls in the sesame seeds and then place on a tray and oven bake for 20 minutes at 200 c, or until the falafel turn a golden-brown colour.
  • Serve in pita bread with salad and sauces of your choice or as part of a salad – we made one from cucumber, tomato, spring onion, celery, red cabbage and radish. These falafel will keep in the fridge for a few days so you can cook a large batch at the same time.

Lockdown Lunch: Kicking off with Kısır

9 April 2020

We’re heading towards the end of the second week of serious lockdown here in Almaty. Our local shops remain well-stocked with basics (we’re not supposed to go further than 500 metres form home) and the greengrocer’s reopened after closing for a week, so fresh vegetables are readily available.

SAMSUNG CSC
Basic kısır with radish

For this week’s Lockdown Lunch we’re making kısır, Turkey’s bulgur wheat salad answer to the Middle East’s tabbouleh salad. Kısır is one of those dishes that everyone has their own recipe for, but the basic ingredients are fine bulgur wheat, onion, chilli pepper, tomato paste, olive oil, lemon juice, parsley and pomegranate sauce.

SAMSUNG CSC
Kısır with olives and tomatoes

We’ve added some radishes, tomatoes, spring onion and black olives to the standard package above that can be eaten as a main meal (you might want to add some nuts or beans for a protein punch) or as a side salad. If you are on a gluten-free diet, then you can use millet in place of bulgur wheat.

SAMSUNG CSC
A fresh kick for your kısır

Kısır is easy to prepare and it benefits from sitting in the fridge overnight – leaving more time for all those Zoom parties and, of course, the Tajik football season, which kicked off last weekend.

Ingredients (for 3-4 servings)

  • 100g fine bulgur wheat
  • 200 ml vegetable stock or water
  • One medium onion
  • One medium tomato
  • One medium radish
  • One spring onion
  • One garlic clove
  • Ten black olives
  • Two tablespoons tomato paste
  • 25 ml olive oil
  • One lemon
  • 25 ml pomegranate sauce
  • Few sprigs of parsley
  • One teaspoon chilli pepper flakes
  • One teaspoon cumin seeds
  • One teaspoon sumac

Method

  • Heat the oil in a frying pan and add the cumin seeds and fry until they start to sizzle. Add the finely chopped onion and mashed garlic and cook for a few minutes over a low heat, stirring occasionally. Add the chilli pepper and sumac and stir.
  • Add the fine bulgur wheat and stir to cover the grains then add the stock or water, Add the tomato paste, pomegranate sauce and the juice of half the lemon. Stir and bring to the boil. When boiling, turn off the heat, cover the pan and leave to stand for 30 minutes or so until most of the liquid is absorbed.
  • Fluff up the grains with a fork and add the grated radish, sliced spring onion and chopped parsley. Mix together and put in a salad bowl. Before serving, garnish with lemon and/or tomato slices and black olives.

Lockdown Lunch: Beansprout Bonanza

2 April 2019

With movement getting ever more restricted in the lockdown — we’re now limited to not going more than 500 m from our flat in Almaty, which rules out big supermarkets for shopping trips, maintaining a supply of fresh ingredients is becoming more tricky – so this is the time when beansprouts come into their own…

This slideshow requires JavaScript.

So, this time round we’ll be looking at some things you can do in the home, such as sprouting beans and lentils, to add a fresh, nutritious kick to your salads and stir-fries. We’ve gone for mung beans which are easy to sprout – your first crop will be ready in a matter of days and all you need is a glass jar and some mesh netting (we re-purposed a yoga mat bag by recycling the nylon mesh for our sprouter).

SAMSUNG CSC
KCC’s sprout-powered salad with carrot, chickpeas, spring onions and radish.

Here are the steps for germinating mung beans:

  • Select clean, undamaged mung beans and wash them thoroughly.
  • Sterilise your glass jar and mesh lid with boiling water and/or in a hot oven.
  • Fill the jar about a quarter of the way with washed beans.
  • Soak the beans in cold water in the jar for at least four hours.
  • Drain off all the water and put the jar in a cool, dark cupboard.
  • Rinse the mung beans a few times a day with cold water and drain the liquid off.
  • After two or three days, your first crop will be ready for eating.
  • When the sprouts are around 2-3 cm long, put them in the fridge until using.

Warning: Raw bean sprouts can lead to food poisoning if not prepared in sterile conditions and regularly washed with clean water.

  • If the sprouts look slimy or smell strange, throw them away.
  • Once sprouted, store the sprouts in the fridge and try to use them as quickly as possible.
  • And don’t forget to wash your hands frequently, especially when preparing food.

Julienne Funchoza’s Noodle Extravaganza

18 July 2019

This time round on Knidos Cookery Club we’re looking at some ways to beat the heatwave with a noodle-based salad that can be whipped up with the minimum of fuss.

20190711_203617

Funchoza is a popular salad across Central Asia that combines glass noodles, which can be produced from various forms of starch such as rice or mung bean, with julienned raw vegetables and a spicy dressing. The noodles just need to be cooked in boiling water for a few minutes so it’s a cinch to prepare on a hot summer’s day.

20190711_182826

These noodles are a staple of Uighur cuisine, but have been adopted by the Central Asia’s Korean community who have made funchoza famous to a wider audience across the former Soviet Union and beyond.

The Uighurs are Turkic-speaking  muslims living mainly in Xinjiang, an autonomous territory in northwest China, where they face increasing persecution by the Chinese authorities, under the pretext of a crackdown on terrorism.

To this end, thousands of Uighurs, Kazakhs, Kyrgyz and Chinese muslims have been interred in ‘re-education’ camps and, as the Guardian put it in a recent editorial, “Those who are nominally free in fact exist in a digital gulag of constant surveillance.”

Earlier this month, 22 states – including Britain, Canada, France, Germany, Australia and Japan – signed a letter to UN human rights officials in condemnation of China’s treatment of Uighur and other minorities there.

Ingredients (makes 3-4 servings)

  • 150 g dried glass noodles
  • 10 g dried seaweed
  • 2 small cucumbers
  • 2 radishes
  • 8 spring onions
  • 2 red peppers
  • 2 carrots
  • Coriander seeds

For the dressing:

  • 4 teaspoons tahini
  • 2 tablespoons apple vinegar
  • 2 tablespoons soy sauce
  • 2 tablespoons pomegranate sauce (Nar Eksisi)
  • 2 teaspoons chilli powder

Method

  • Bring a large pan of water to the boil and cook the noodles in the water according to the pack instructions. Remove and put in a pan of cold water until needed.
  • Soak the dried seaweed in cold water for 15 minutes, drain the water. While the seaweed is soaking,  cut the spring onions into 1 cm slices, remove the seeds for the cucumber and then julienne along with the other vegetables into long, thin slices (use a grater  or chop finely if you don’t have a julienne peeler). Chop the seaweed into 5 cm strips.
  • Remove the noodles from the cold water and cut into 10 cm strips and put in a large bowl. Add the julienned vegetables and mix all the ingredients together. Put all the dressing ingredients into a glass jar with a screw top and shake well, then pour over the salad and mix well. Grind some coriander seeds over the salad.
  • Serve cold – let the flavours mingle by keeping the salad in the fridge for a couple of hours.


Leeky Pastitsio

5 April 2018

We’re back and, with Orthodox Easter just around the corner, this time round on Knidos Cookery Club we’ll be making our own version of pastitsio, a Greek take on Italy’s lasagne. Our version comes with a red wine, tomato and lentil ragu and a leek infused béchamel sauce.

leeky pastitsio
KCC’s Leeky Pastitsio

A few weeks ago, I left some beans soaking overnight and when I checked them in morning the pan was mysteriously filled with soaked penne rigate pasta! A quick look online to determine if the pasta was usable led me to this post on the Ideas in Food blog, and this confirmed pre-soaking in cold water as an effective way of preparing dried pasta.

20180402_204515
Leeky pastitsio and salad

Pastitsio is one of those dishes that tastes great straight from the oven but improves with age as the cinnamon, nutmeg and other flavours have time to blend properly. It works well heated up the next day or even tastes good cold. We served ours with a crisp salad of rocket leaves, carrot. radish and tomato.

Ingredients (For 3-4 hearty servings)

200 g penne rigate pasta

For the ragu:

25 ml olive oil

4 spring onions

200 g cherry tomatoes

2 tablespoons tomato paste

100 g red lentils

175 ml red wine

1 teaspoon of cinnamon, cumin, black pepper and red chilli flakes

For the Béchamel sauce:

50 ml olive oil

250 g leek

3 tablespoons flour

400 ml milk (dairy or non-dairy)

60 g cheese (dairy or non-dairy)

One teaspoon of nutmeg

Method

Soak the pasta in a pan of cold water for two hours and while it’s soaking cook the red lentils in 200 ml water until mushy and all the liquid is absorbed. Then prepare the ragu and after that the béchamel sauce.

For the ragu, heat the oil in a heavy-based pan and then fry the chopped spring onions for a few minutes. Add the quartered cherry tomatoes, tomato paste and spices and mix well. Add the wine and when it starts to bubble add the cooked and drained lentils. Cook for ten minutes over a low heat.

For the béchamel sauce, heat the oil in a heavy-based pan and then add the sliced leeks and cook for five minutes over a medium heat. Add the flour and mix well and then ad  the milk slowly, stirring continuously with a wooden spoon. Add half the grated cheese and nutmeg and cook until the sauce is just starting to boil, stirring all the while.

Layer half the soaked penne in the bottom of an oven proof dish and pour the ragu over. then layer the rest of the pasta on top of this and pout the béchamel sauce over. Add the remainder of the grated cheese and bake in a pre-heated oven at 200c for thirty minutes.

Serve straight away with a green salad or let it sit overnight in the fridge for a tastier pastitsio that can be served hot or cold.

Relish the Radish

3 August 2017

In keeping with the ‘Waste not, want not‘ mantra, this week we’ll be using some radish greens in a mini quiche.

20170624_144252

Often discarded, these peppery leaves taste great when fried up with some spring onion, garlic and a dash of soy sauce.

Ingredients ( makes four mini-quiches)

150 g radish leaves

1 radish (for decoration)

2 spring onions

1 garlic clove

Dash of soy sauce

60 g crumbly white cheese

2 eggs

25 ml olive oil

150 g filo pastry or shortcrust pastry

Method

Saute the chopped onions and garlic in a little olive oil in a heavy-based pan for 2-3 minutes, add a dash of soy sauce and then add the radish leaves and cook for another 2-3 minutes until the leaves start to wilt.

Allow the mix to cool for ten minutes then mix in the eggs and cheese. Prepare cases in small baking dishes with the filo pastry, brushing each filo leaf with olive oil.

Pour the mix into each pastry case to half way and then bake for 20 minutes in an oven pre-heated to 180 c.

Garnish with radish slices and serve with a green salad laced with more sliced radish!