26 June 2025
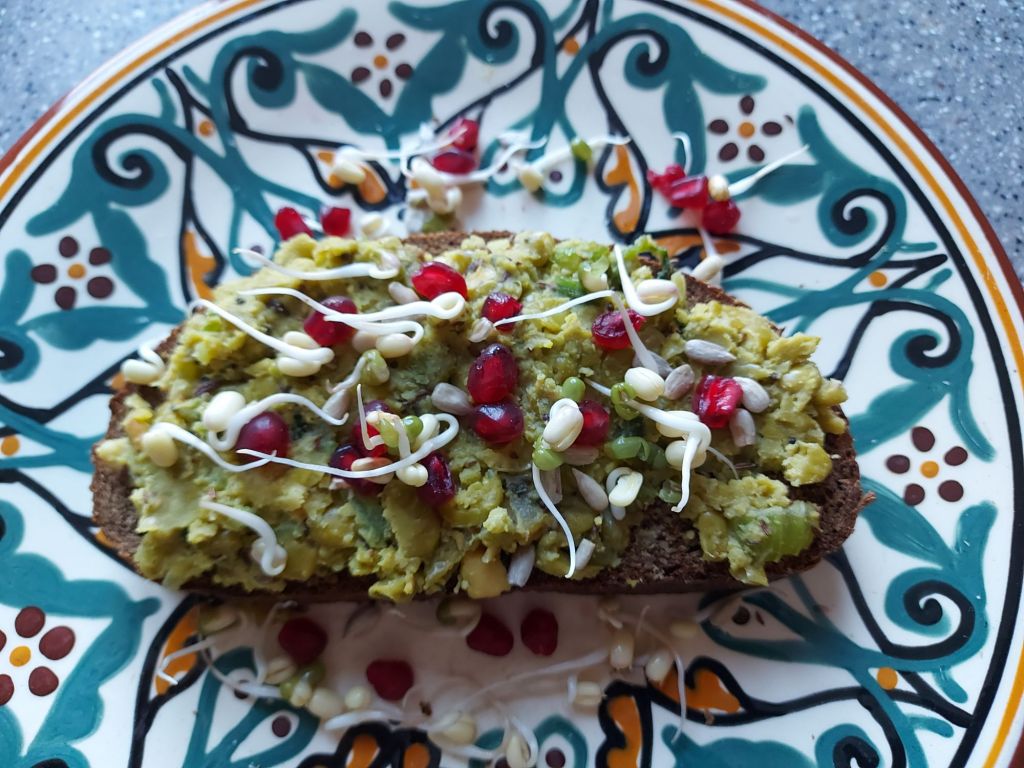
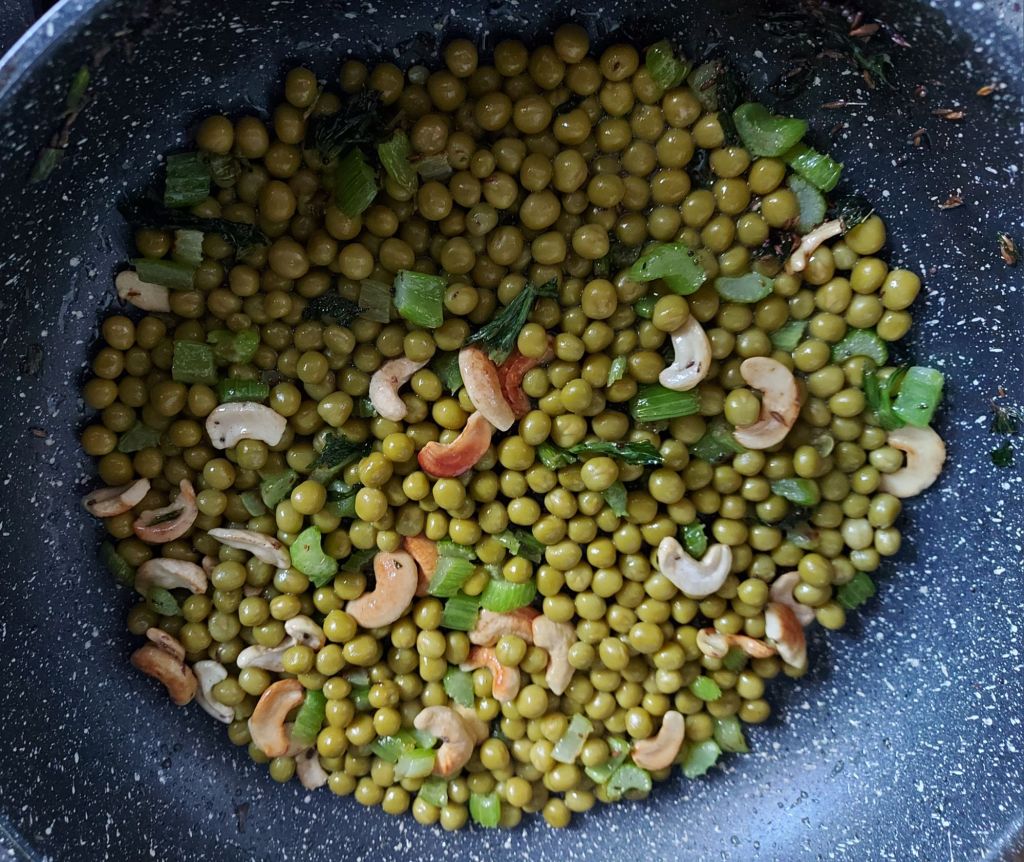
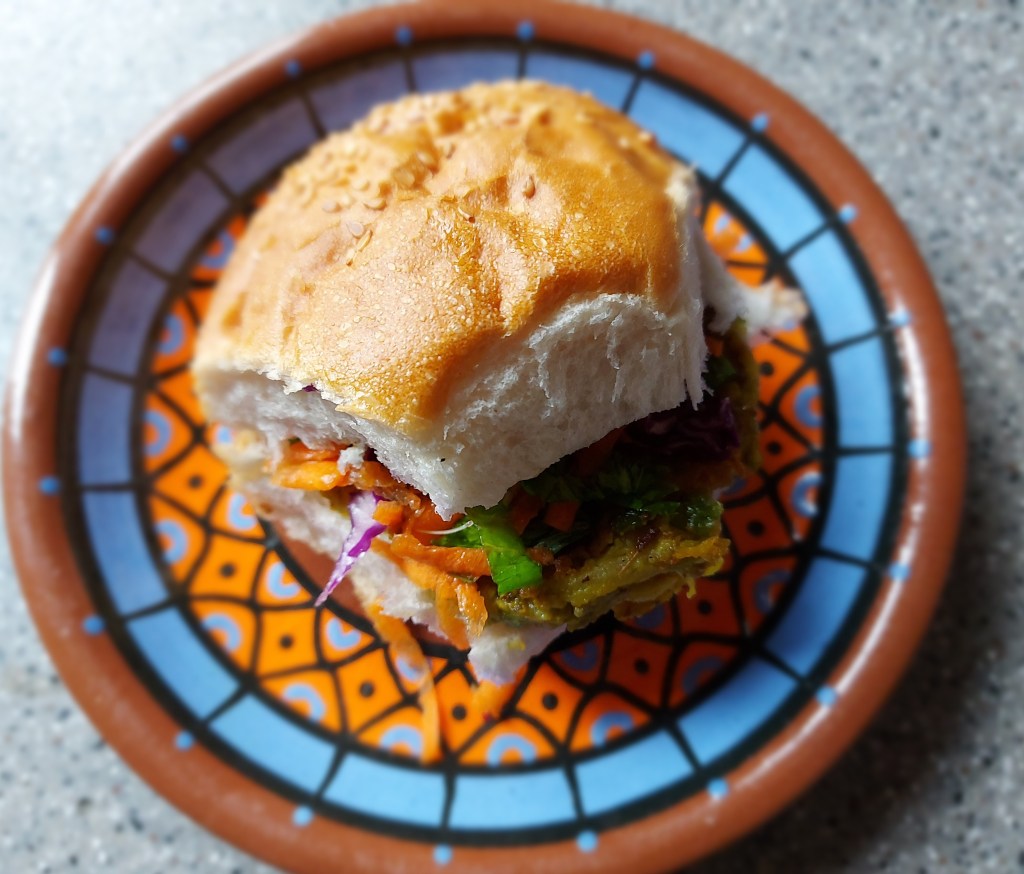
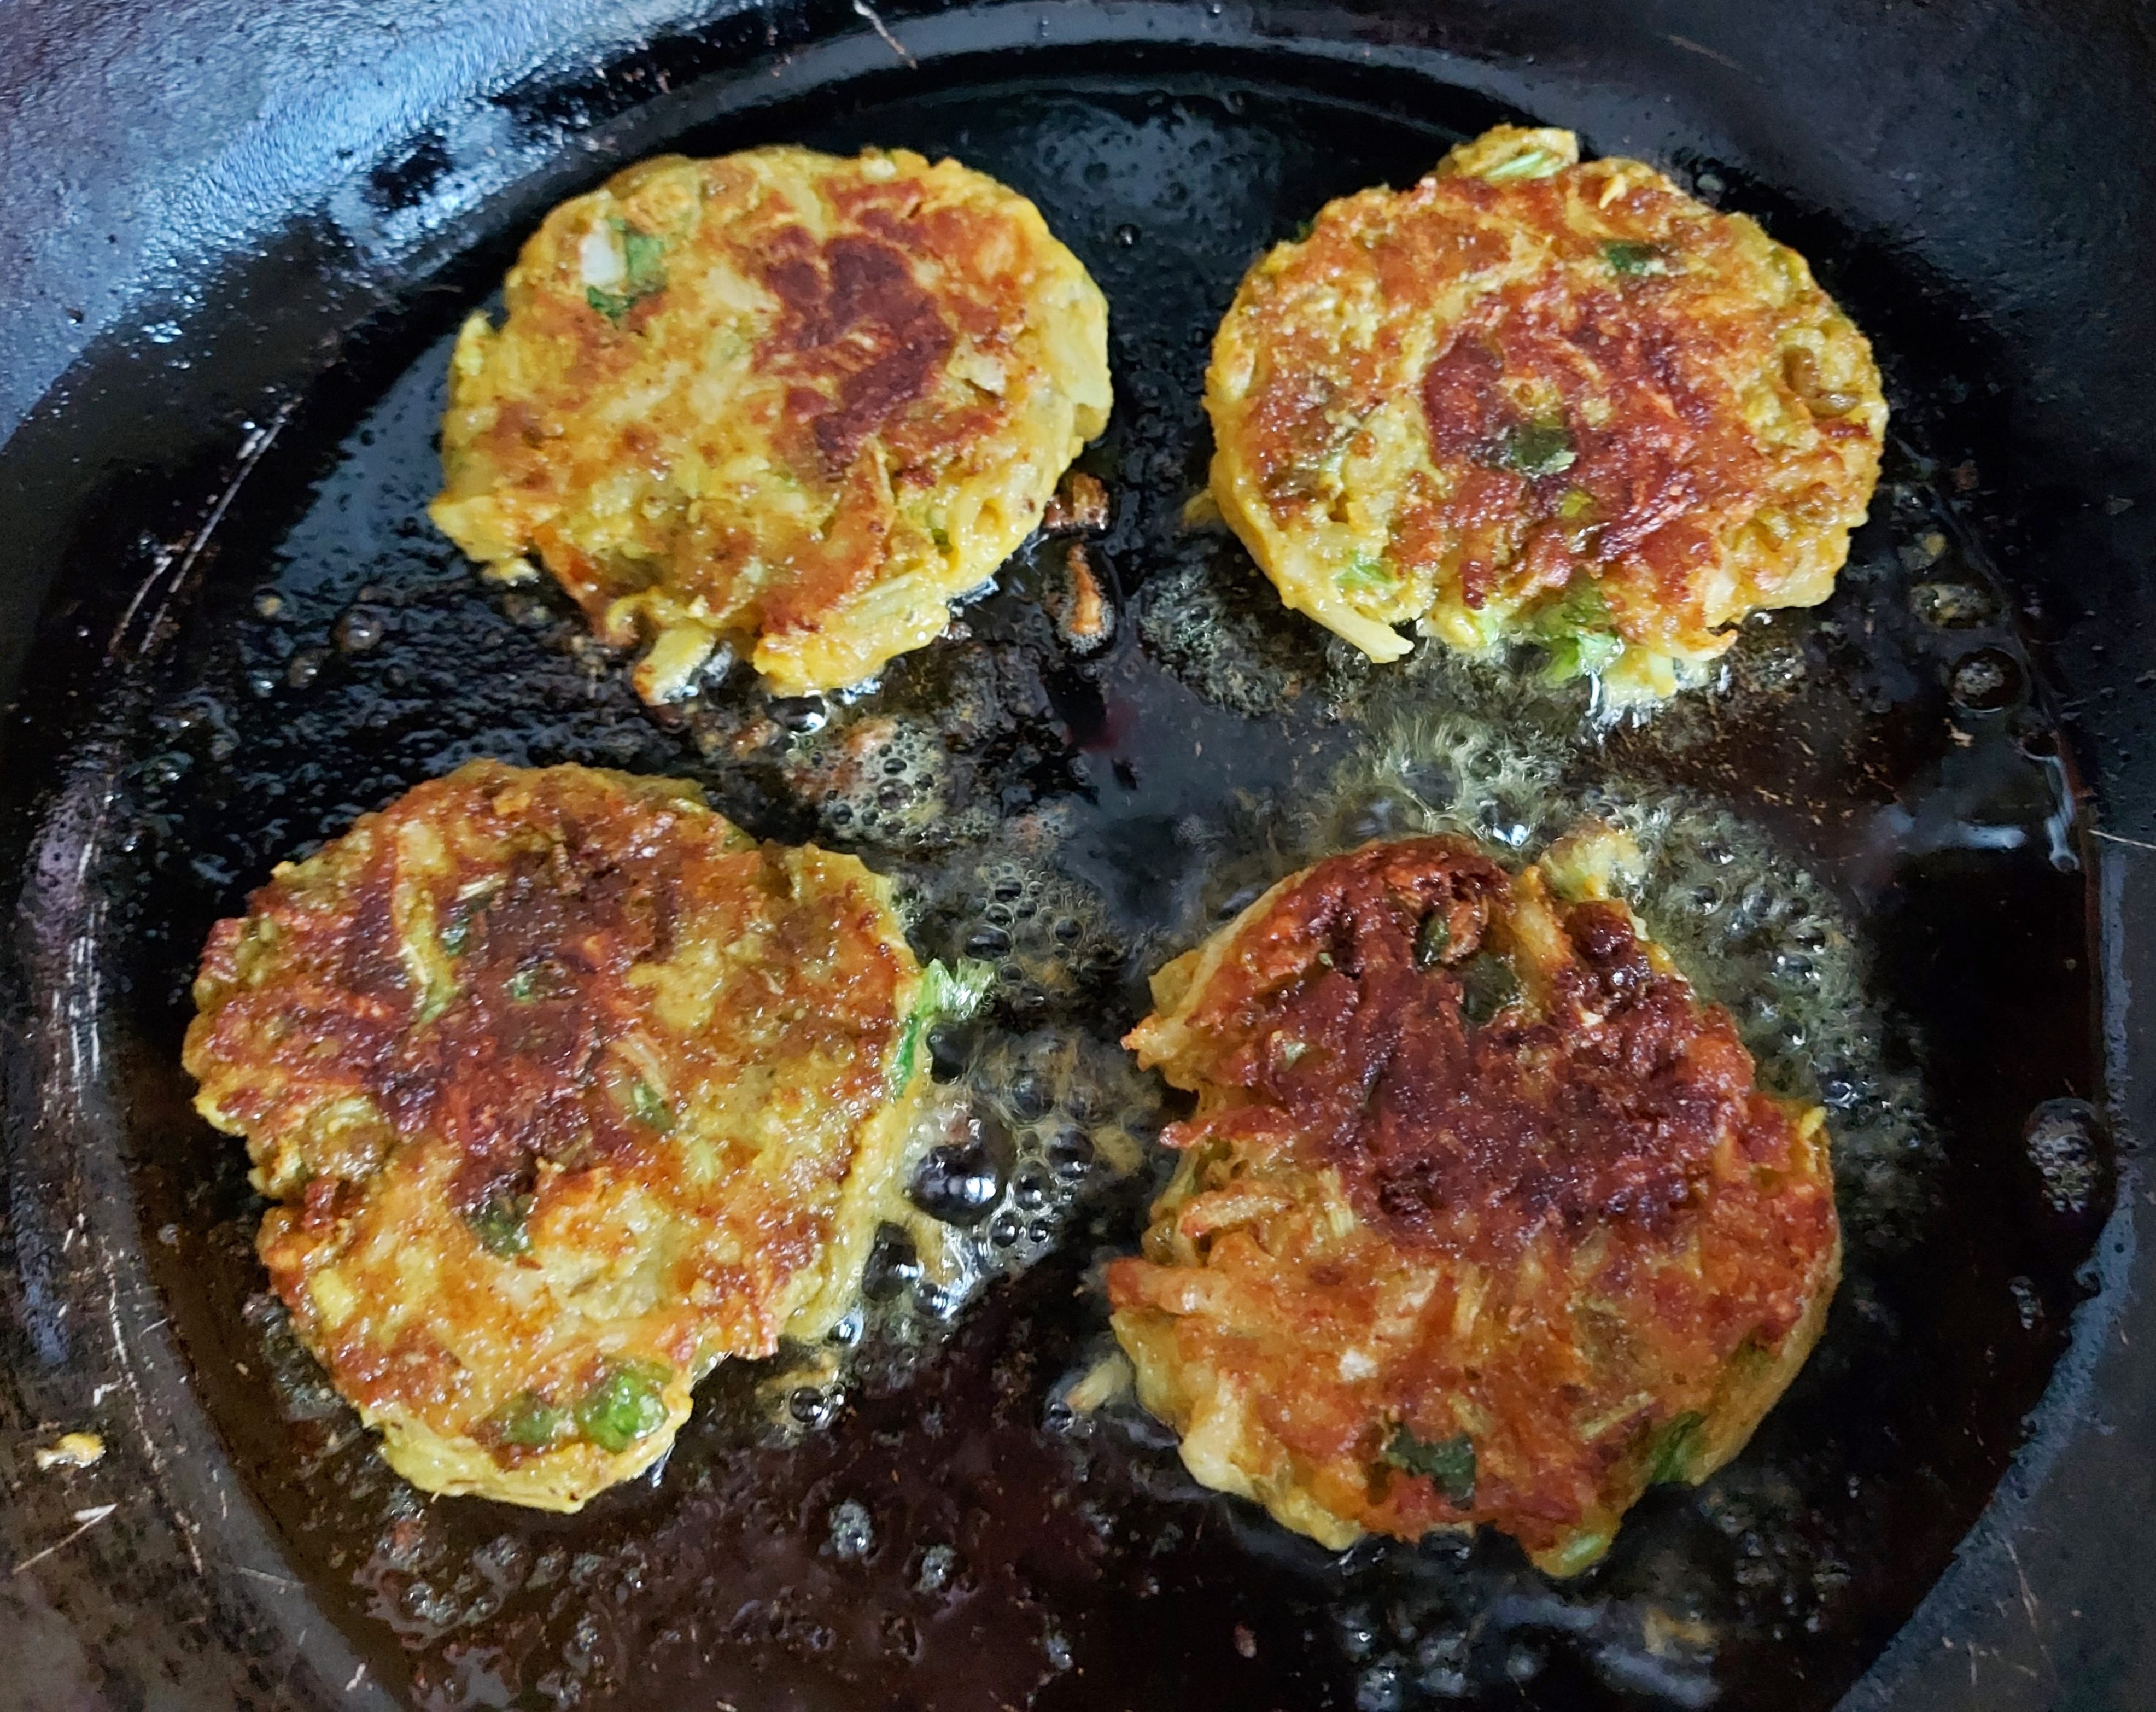
Summer is in full flow so it’s time for some lighter dishes that bring to the fore fresh seasonal ingredients at their best. I found this on-trend recipe that uses fresh peas, broad beans and runner beans while going through some old stuff in the UK recently.
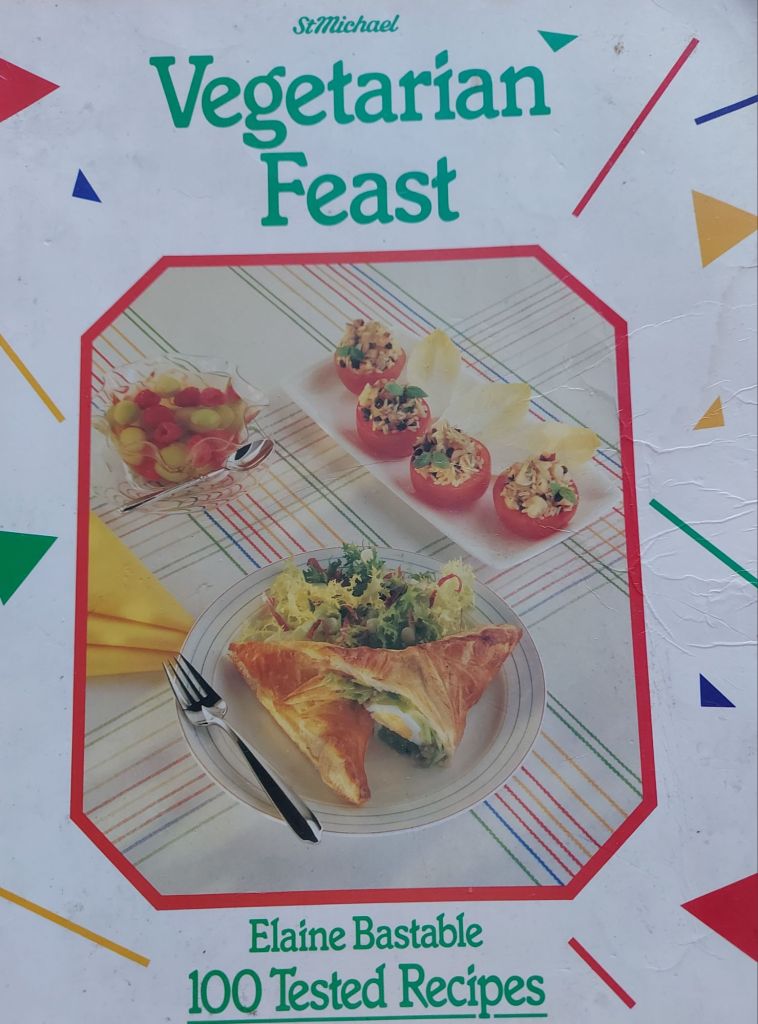
I was at my late parents’ old place and during the archaeological dig I found a copy of the first vegetarian cookbook that I owned – Elaine Bastable’s Vegetarian Feast, a Christmas present from way back in 1985. It was sold by Marks & Spencer under its StMichael guise.
Vegetarian Feast was quite advanced for its time with a recipe for Avocado (and Stilton) on Toast, a Felafel recipe and other dishes that were very exotic for Margaret Thatcher’s meat-heavy Britain of the 80s. The cookbook’s over-reliance on butter comes across in the 2025 filter as a bit dated, but it still stands the test of time in many respects.
1985 was the year I finally took the plunge and went vegetarian. It had been coming for a while. As an impoverished student the meat that I could afford was of the type that had featured in documentaries of the time looking at the meat industry.
Affordable processed products such as burgers and sausages were shown to contain all parts of an animal – mashed up eyelids, lips, bollocks and toes, to be precise.
Although there are now many more vegans and vegetarians, not much has changed in the meat industry – as I write the Guardian is carrying this article on the shocking rise of factory farms across Europe and the UK.
In the summer of 1985 I had just finished uni and I was travelling through Yugoslavia, as was, to Greece via Bulgaria and Turkey. Bulgaria was a veggie turning point. Cafe menus featured a wide selection but when asking for a particular dish a frosty niama (approx: We don’t have it) was the usual response. Baked meat (of dodgy provenance) was the only option other than abundant salads. Who needed meat, especially baked meat of unknown origin, with all those veggies on offer?
Moving on into Greece, after the vegetarian heaven of Turkey’s ev yemekleri cafes, I finally started eating tomatoes, which I’d hated with a vengeance since my childhood. The tomato breakthrough opened up many new veggie avenues. From that point on I stopped eating meat and haven’t looked back since.
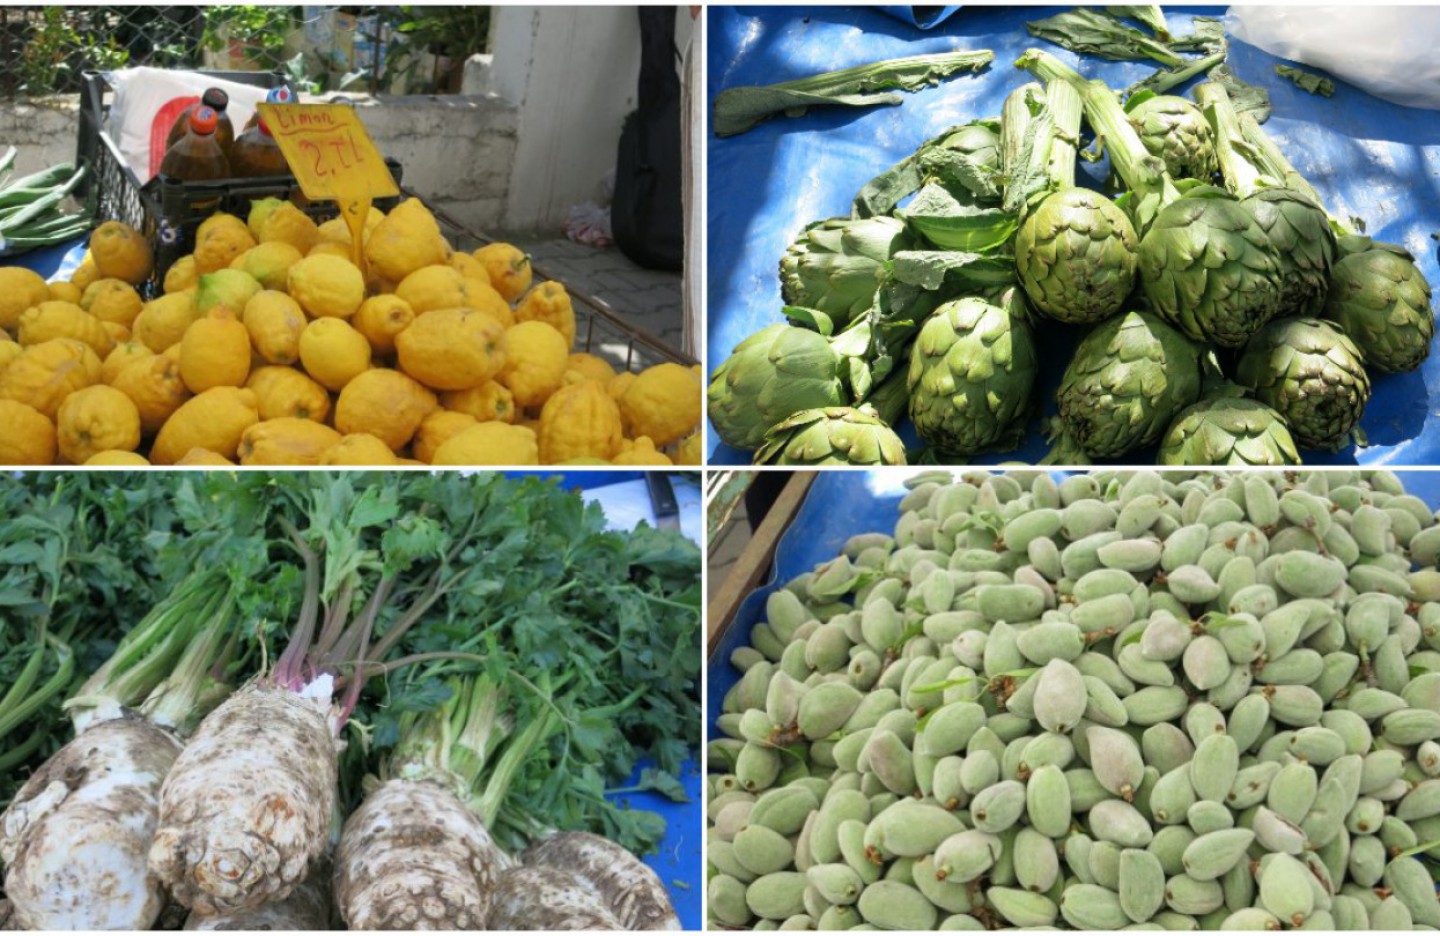
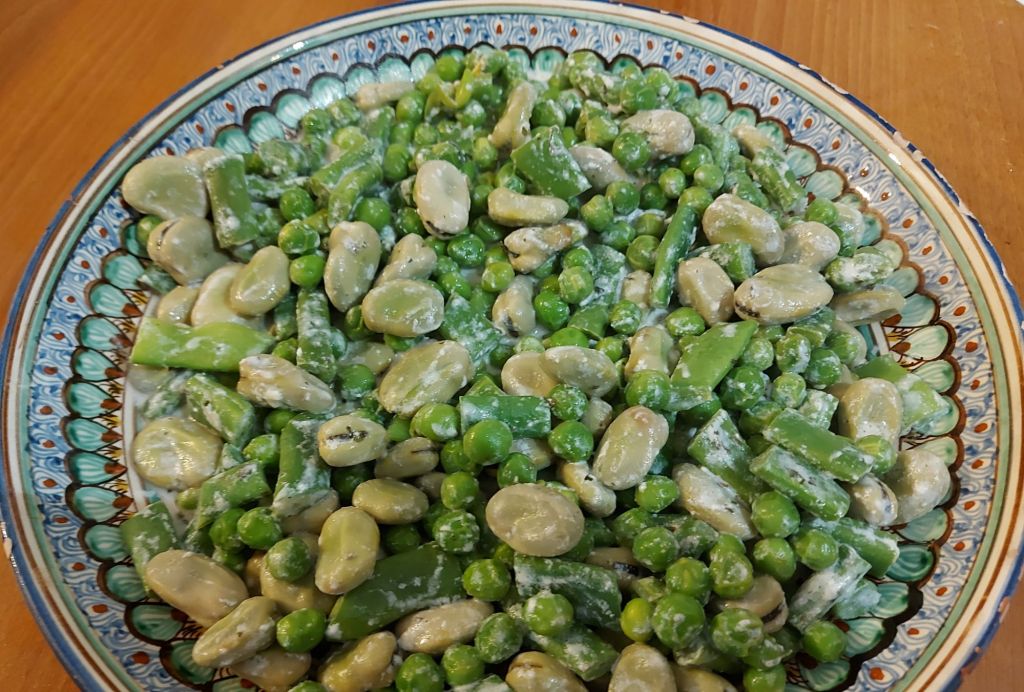
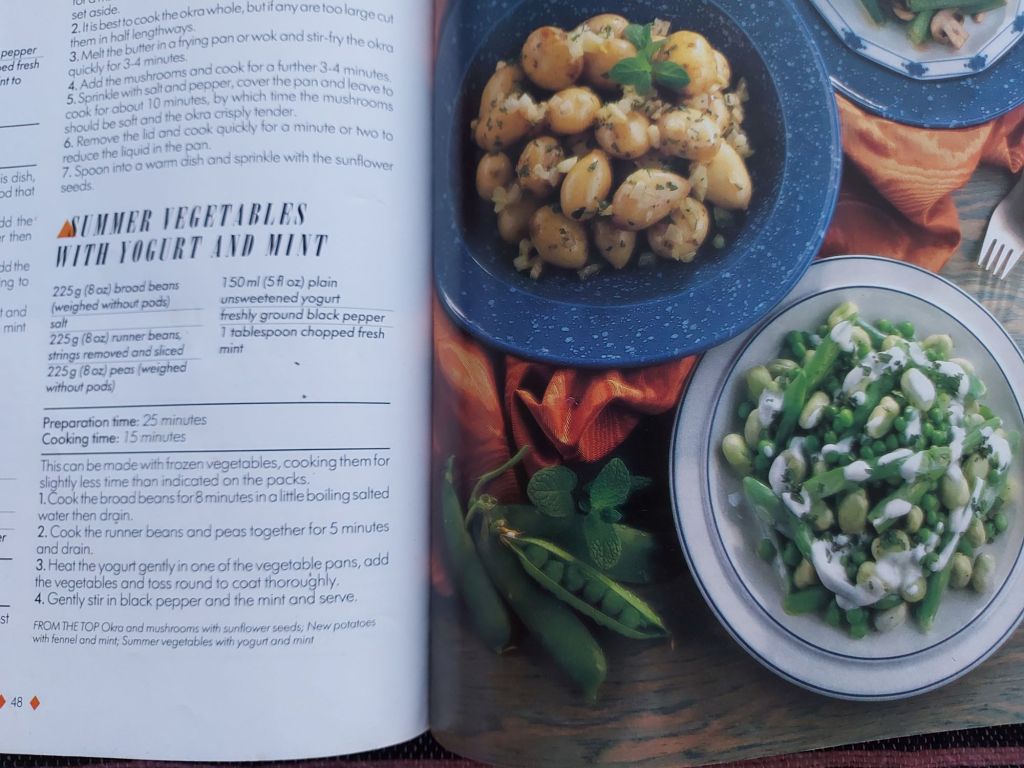
So, turning back to Vegetarian Feast, I found the recipe for this side dish of summer vegetables and Datça market came up trumps with fresh peas, broad beans and runner beans. Check out the recipe in the picture above.