11 January 2024
We’re almost two weeks into 2024, but in some parts of the world the new year is marked according to the Julian calendar rather than the Gregorian, which means that Old New Year’s Eve is celebrated on 13 January. This date is still marked in many parts of Eastern Europe. It’s also celebrated in parts of Wales, where it’s called Hen Galan (old new year), and some parts of Scotland, on 12 January .
Here at KCC, we regard old new year as the end of the holiday season, allowing a few weeks of respite before Chinese New Year! To mark the occasion, this cocktail combines cloudy apple juice with a cinnamon-infused cold brew. To see off the old year with a kick, add some shots of vodka to this apple spritz.
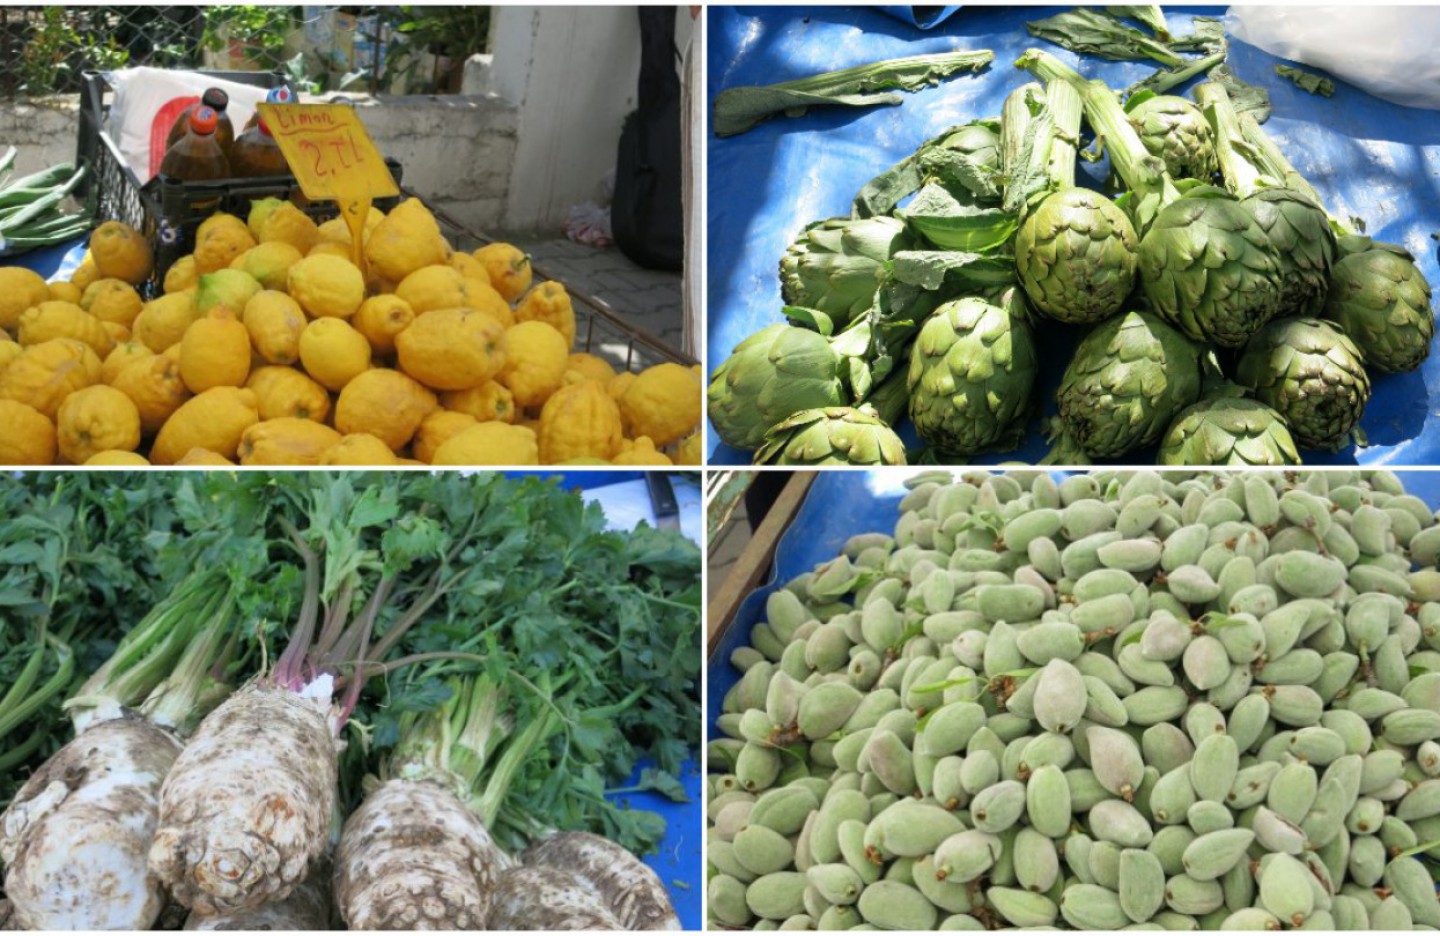
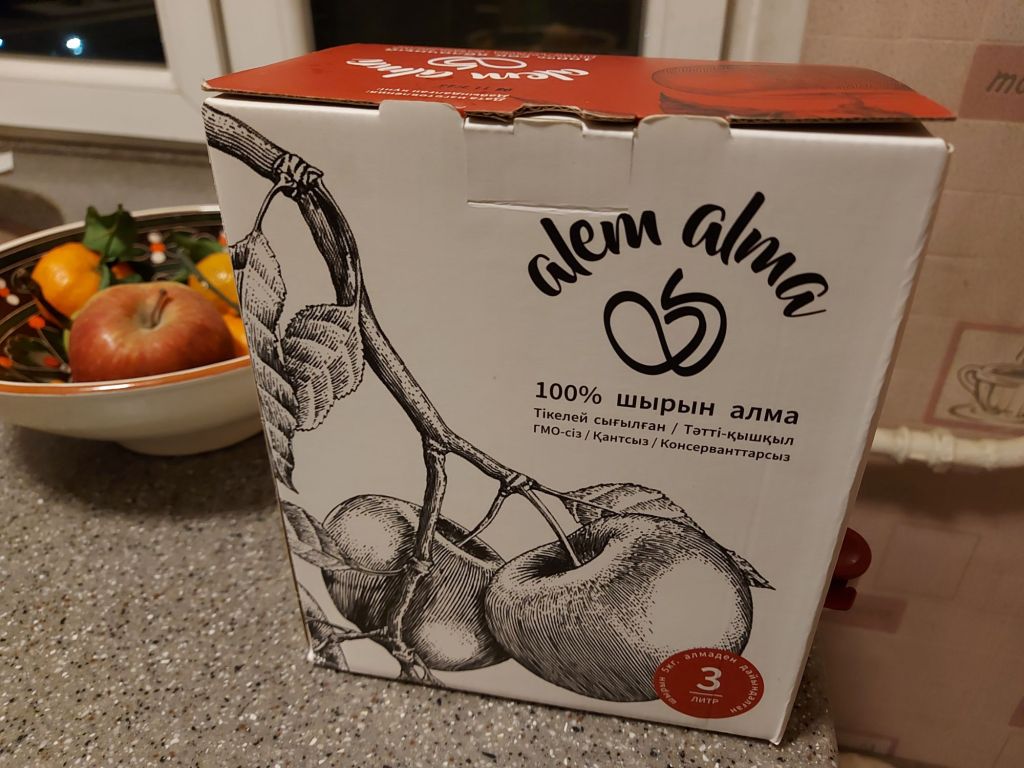
Any apple juice can be used – we used a local one from Almaty, Kazakhstan that’s free from extra sugar and other additives and is naturally cloudy. Almaty, whose name translates as “place of apples”, is where the antecedents of today’s apples evolved.
To make the cold brew, add a cinnamon stick, or a teaspoon of powdered cinnamon, five cloves, two teaspoons of fresh ginger and a pinch of nutmeg to a litre of cold water. Shake well and leave overnight in the fridge.
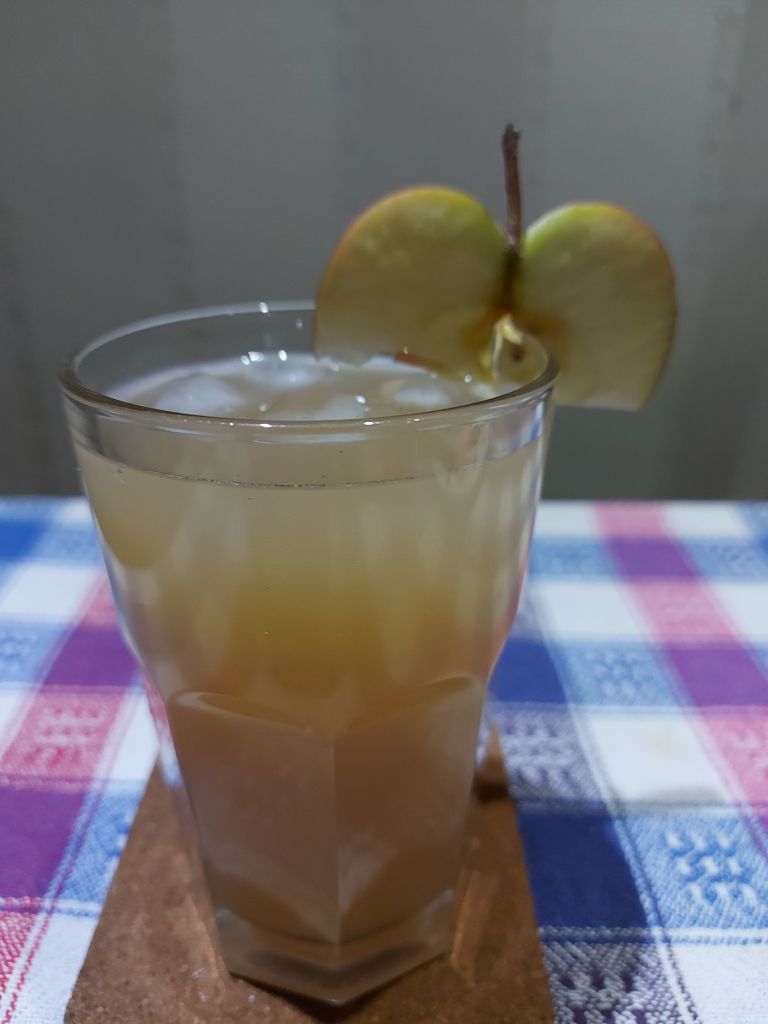
For one serving of the the Almaty Apple Spritz, put some ice cubes into a tall glass, pour in 25 ml of any vodka of your choice (or 50 ml if you want to get a jag on, if you’re doing dry January, just omit the vodka!). Add 75 ml of the cinnamon cold brew, 50 ml of apple juice and top up with fizzy water, garnish with a slice of apple and stir before drinking.
This cocktail also works well warmed up (you don’t need the ice or fizzy water).The spices and apple juice evoke a cosy mulled cider vibe. Simply heat until it’s just about to boil and serve asap. A recommended food pairing is with KCC’s coleslaw variation or a traditional new year Olivier salad.