10 Aug 2023
It’s that time of year again when you’ve got more courgettes than you know what to do with so here at KKC we’re looking at scarpaccia from Italy’s Tuscany region. Our take on this crispy tart uses chickpea flour, thinly sliced courgettes, garlic scapes, rosemary, parsley and the mystery ingredient, hemp seed oil.

A friend in Uzbekistan recently gave KCC a bottle of locally-produced, premium quality, first pressing hemp seed oil from a company called Leodar. Hemp seed oil adds an earthy, nutty flavour to dishes and salad dressings.
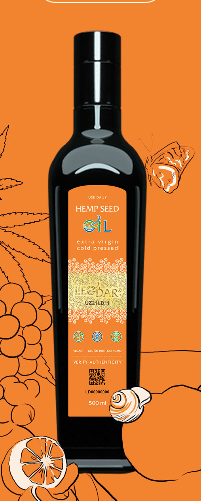
Hemp, the non-psychoactive cousin of marijuana, grows wild in many parts of Central Asia. It’s ideally suited to the arid conditions found here – a much better choice than thirsty cotton. Besides oil, this versatile plant can be used for textiles, paper and bio fuel amongst others.

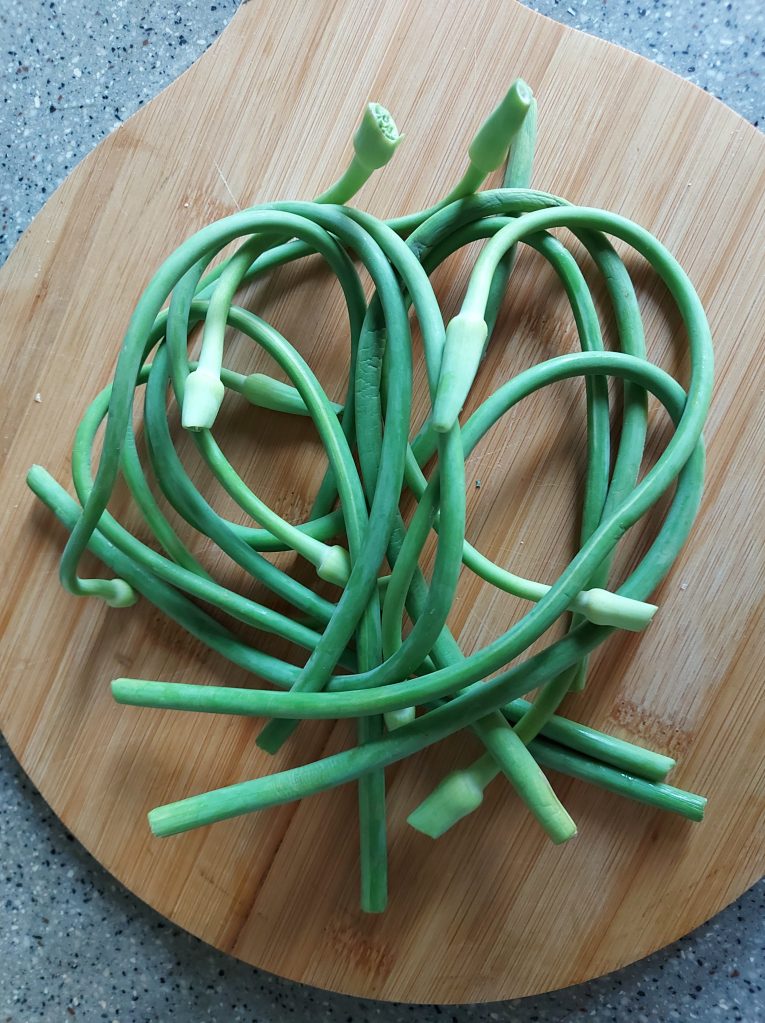
Regular readers may well remember garlic scapes, the edible stem that grows from the garlic bulb, from a previous recipe – a variation on the mücver theme. This flavoursome peduncle gives a mild garlicky kick to pies and tarts, soups and salads, pesto and stir fries.
Ingredients (serves 4)
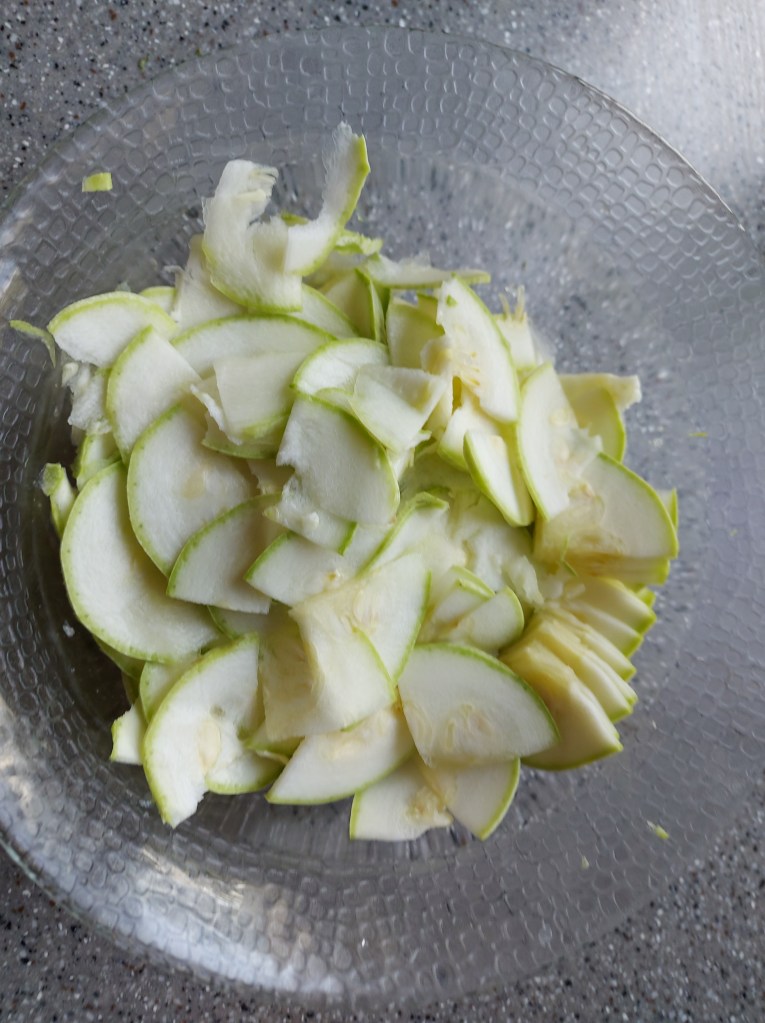
- 500 g courgette – thinly sliced with a potato peeler or similar
- 50 g garlic scapes – cut into 1 – 2 cm slices
- 2 teaspoons rosemary
- 5 g fresh parsley
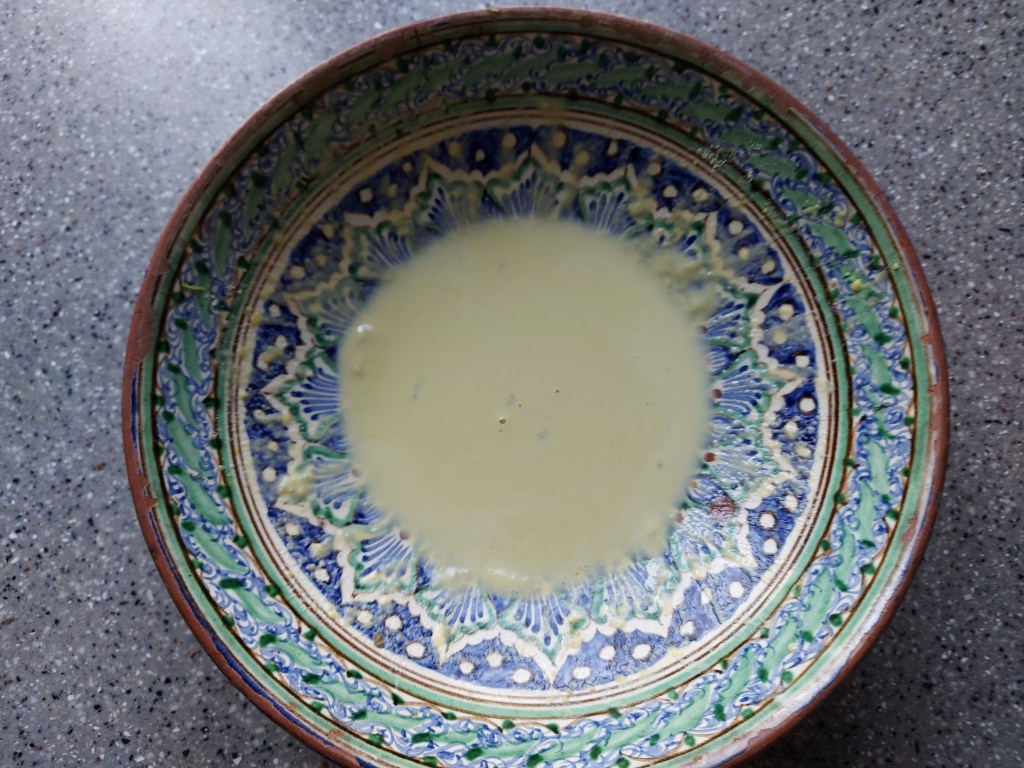
- 50 g chickpea flour
- 25 ml hemp seed oil (or any flavoursome oil you have to hand)
- 75 ml water, including any liquid left over from straining the sliced courgettes
Method


potato masher and cook over a low heat for ten minutes. Then finish off under a hot grill for another ten minutes until the top is browning and going crispy. Alternatively, cook in the oven for 30 minutes at 180 c.