2 August 2019
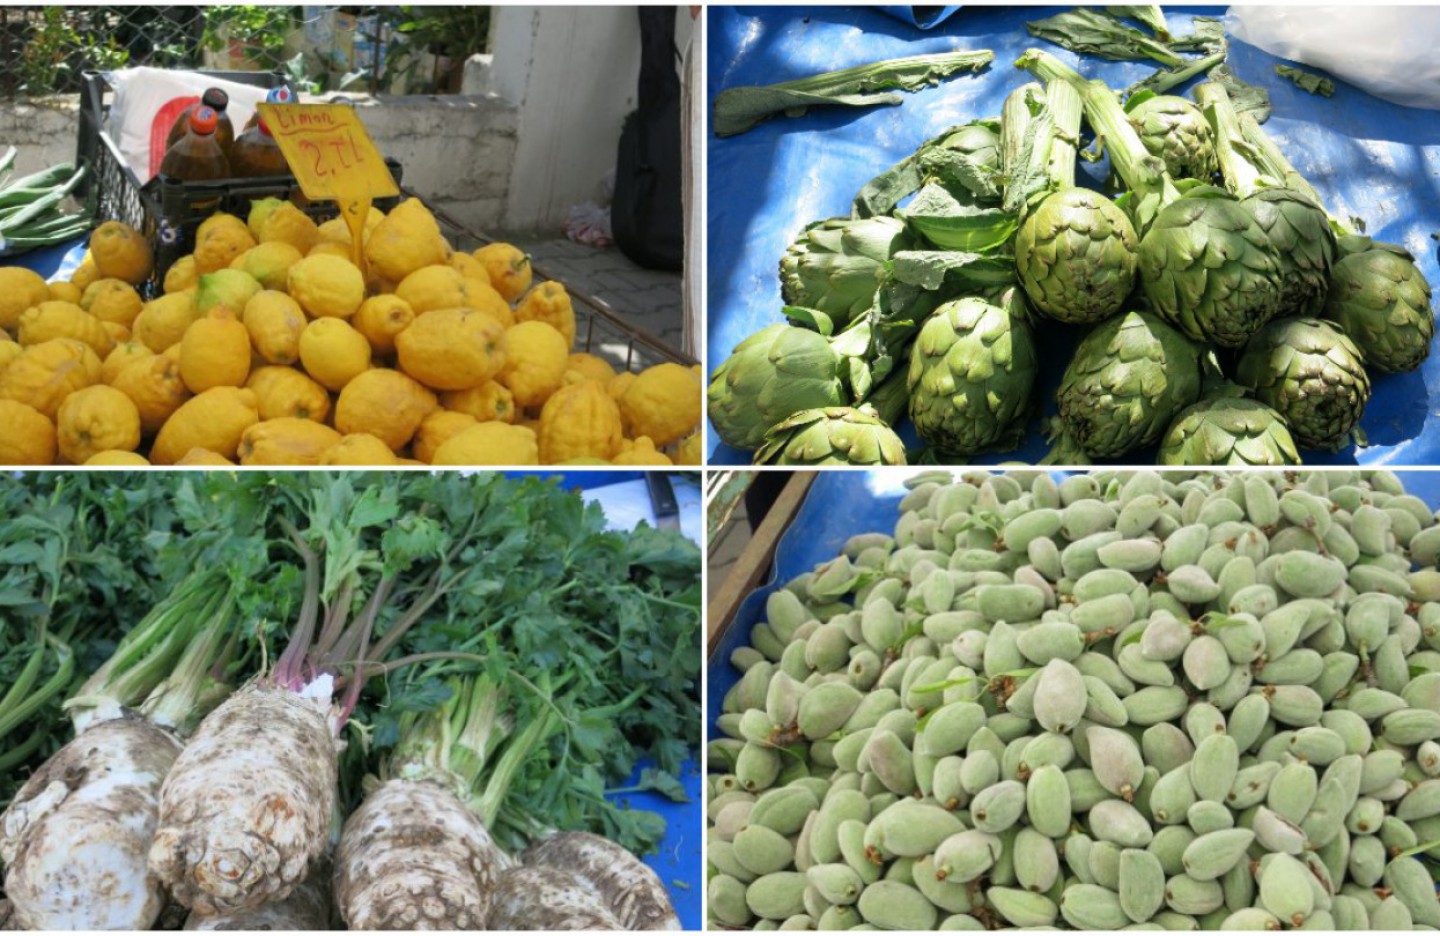
Knidos Cookery Club has just arrived back at its home base on the Datça Peninsula in Turkey. We’re going to soak up some more culinary inspiration from the place where the Mediterranean and Aegean Seas meet around the ancient Greek settlement of Knidos.
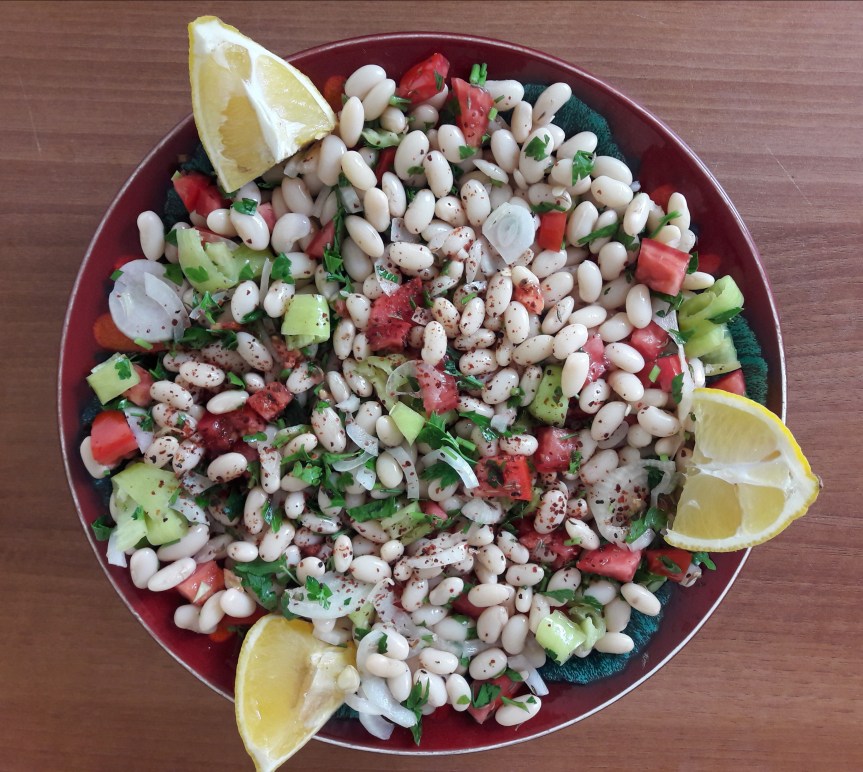
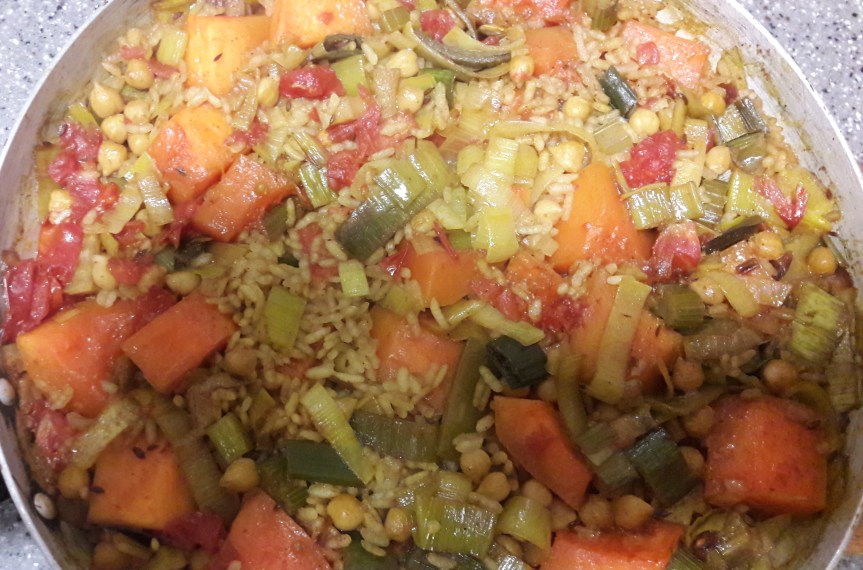
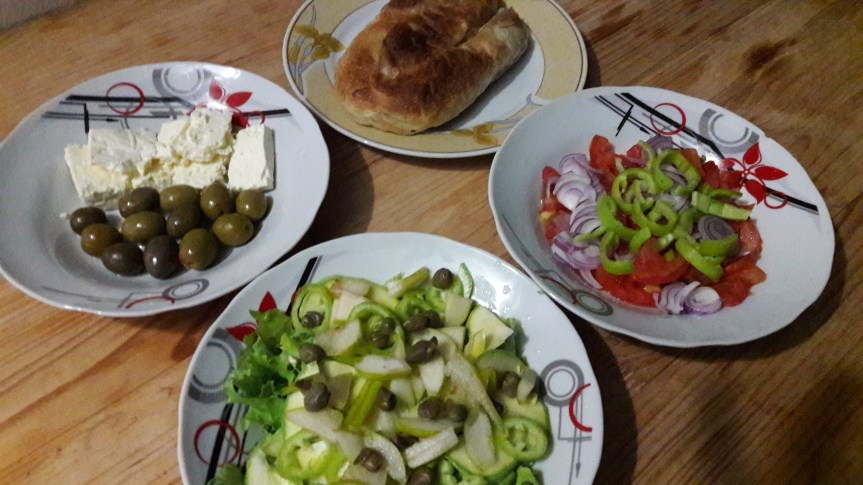
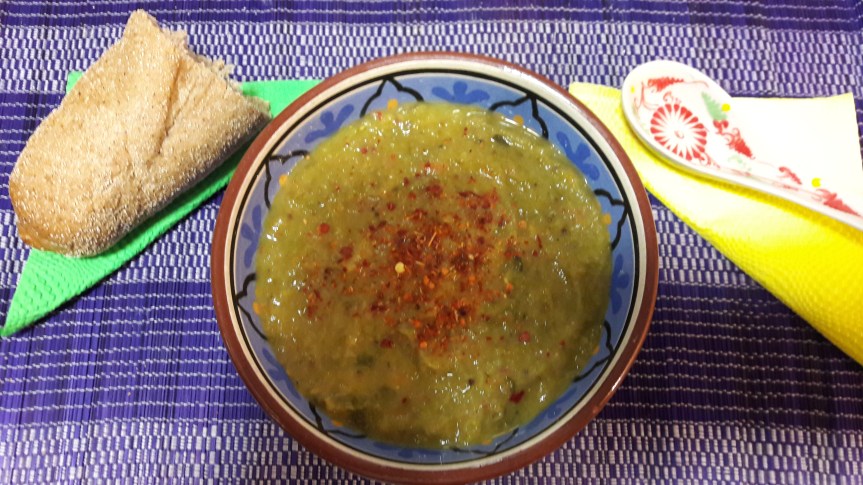
To celebrate being back in Turkey, we’ve prepared a piyaz salad, one of the classic dishes of Turkish cooking, that combines small white beans with some readily available staples of the local kitchen; namely tomatoes, onions, green peppers, parsley and lemons.
 Turkey’s çarliston peppers aka banana peppers
The secret of this dish is in getting the beans just right – not too mushy but not too firm either. They need a good, long overnight soak and some slow cooking to achieve the required consistency.
The dressing used varies across Turkey from the basic lemon, olive oil and apple vinegar one favoured in Istanbul to the tahini-infused one from Antalya, paying tribute to the Arabian influence from the Middle East on the city’s cuisine. We have opted for the creamy, nutty taste of the latter.
Ingredients (makes 3-4 servings)
- 200 g dried haricot beans or other small white beans soaked overnight
- 1 medium-sized plum tomato
- 1 long, green pepper (e.g. çarliston pepper – see photo above)
- 1 small onion
- 2 lemons
- Small bunch of parsley
- 50 ml olive oil
- 50 ml apple vinegar
- 25 ml tahini
- 2 teaspoon dried thyme
- 1 teaspoon red chilli flakes
- Optional: Two boiled eggs or one avocado
Method
- Cook the beans over a low heat until tender but not starting to go mushy. When cooked, drain off the cooking water, reserving 100 ml to make the dressing. Pour the vinegar and sprinkle the thyme over the beans and leave to cool.
- After leaving for a few hours, add the vinegar the beans were soaking in to the reserved bean juice and then blend with the olive oil, tahini and the juice of one lemon to make a smooth sauce.
- Finely dice the tomato, slice the pepper and onions into rings and chop the parsley finely. Add these to the beans.
- Cover the salad and put it in the fridge for a few hours. Serve with wedges of the second lemon and sprinkle the red chilli flakes over the salad.
- Just before serving, pour the dressing over the bean salad and season with black pepper and gently mix all the ingredients together with a wooden spoon.
- You can garnish with quarters of boiled egg if you wish or, for a vegan twist, you can garnish the salad with slices of avocado.